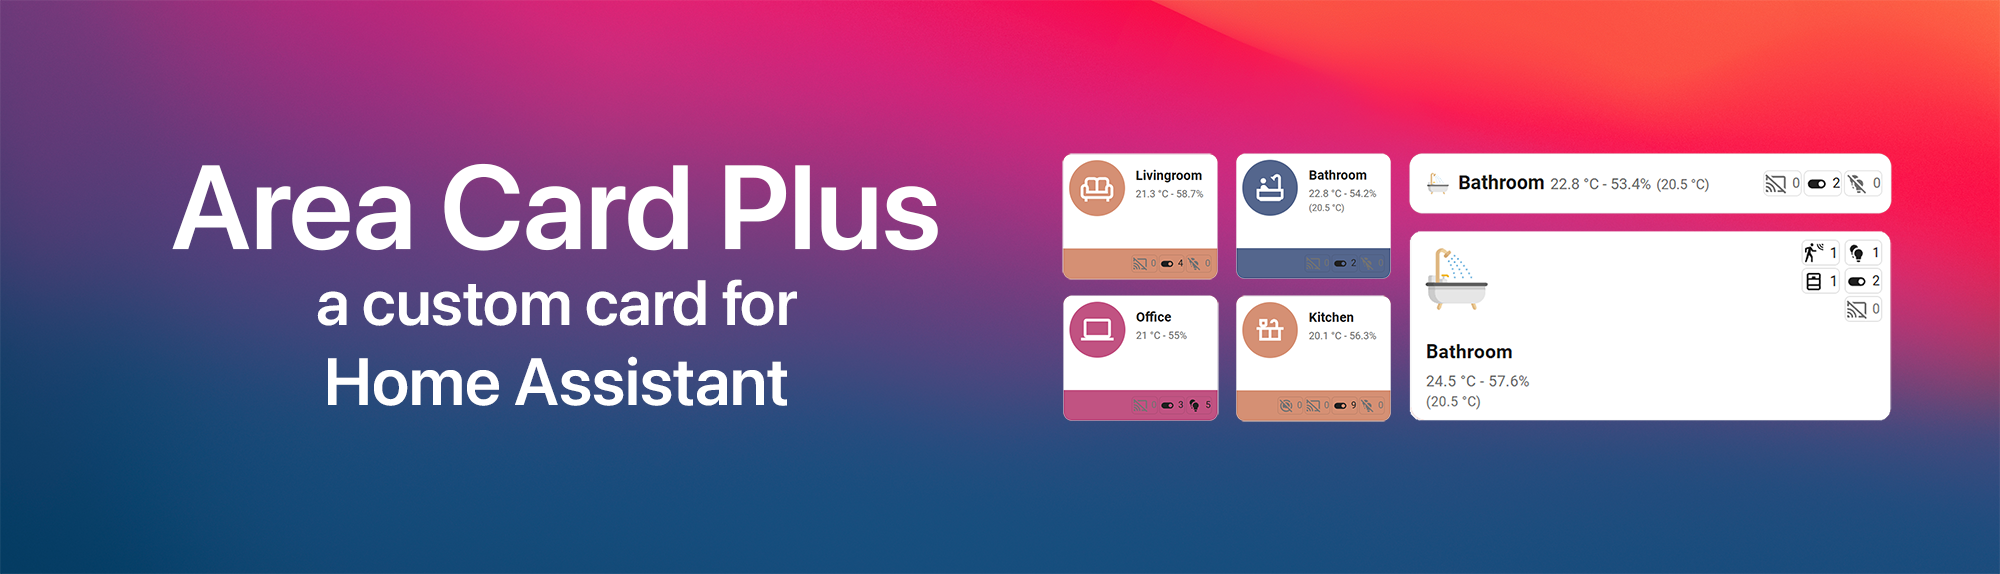





Area Card Plus is a beautifully engineered custom card for your Home Assistant Dashboard that unlocks the full potential of your Areas.
I always thought the default area card had so much more potential, so I built my own. This card intelligently gathers all entities and devices linked to an Area and neatly groups them by domains or device classes right out of the box.
(Note: To ensure this card works perfectly, please verify that your relevant entities are correctly assigned to their respective areas and domains.)
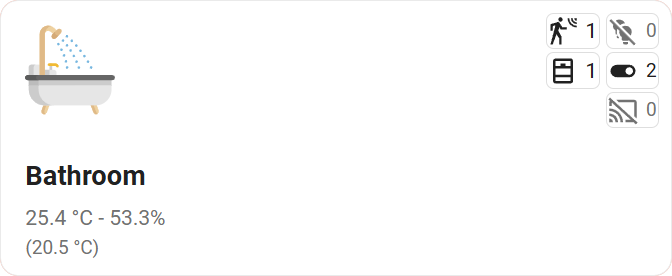
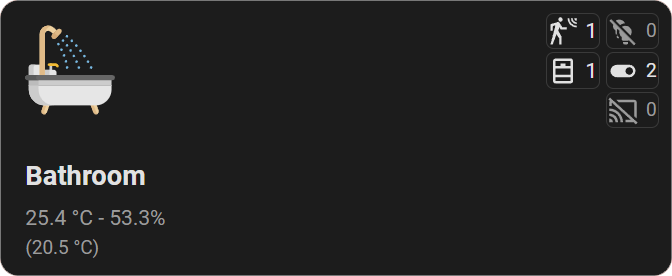
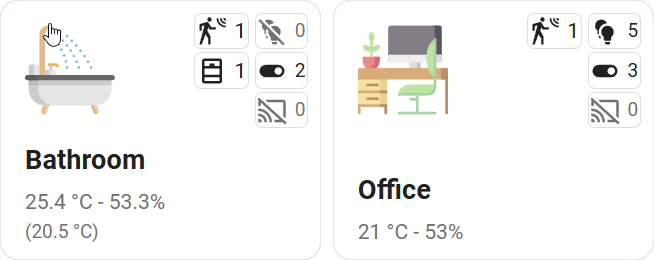
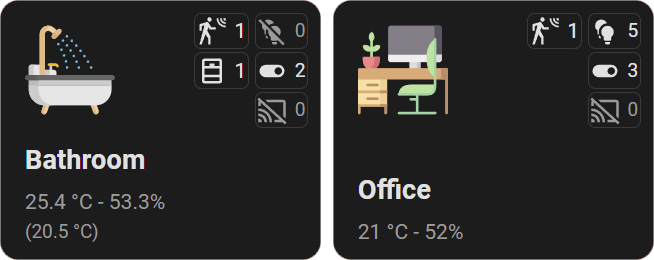


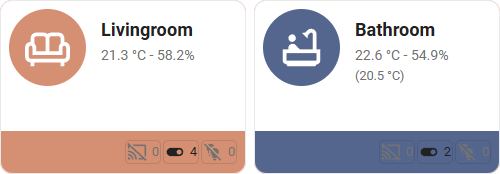
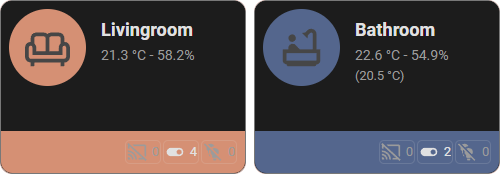
Note: This card is highly influenced by the fantastic Dwains Dashboard. Now you can harness that great idea as a single, versatile card in any of your Dashboards.
- 🤖 Zero-Configuration Magic - Automatically populates by simply selecting an Area.
- ✅ Smart State Filtering - Intelligently displays entities that are currently in an "on" or active state.
- 📚 Dynamic Grouping - Neatly organizes your active entities by their
domainordevice_class. - 🎨 Multiple Themes - Includes two distinct core designs (V1 & V2) to match your dashboard's style.
- 📑 Interactive Detail Popups - Tap any group to open a beautiful, native-feeling popup rendering entities as interactive Tile Cards.
- 🔧 Highly Customizable - Extensive styling and configuration options directly within the UI.
- 🧠 100% GUI Editor Ready - A fully-featured visual editor means no YAML editing is required to set it up!
- 📱 Fully Responsive - Carefully optimized layouts ensure the optimal viewing experience on both desktop and mobile devices.
- 🌍 Native Localization - Automatically translates perfectly into all Home Assistant supported languages.
The easiest way to install and keep Area Card Plus updated is via HACS.

- Ensure HACS is installed.
- Open HACS in Home Assistant.
- Search for Area Card Plus, or add this repository (
https://github.com/xBourner/area-card-plus) as a Custom Repository under the Dashboard category. - Download and Install.
- Clear your browser cache and refresh (F5) the page.
(For detailed help on custom repositories, see HACS Custom Repositories)
- Download the area-card-plus.js file from the latest release.
- Put the area-card-plus.js file into your
config/wwwfolder. - Add a reference to area-card-plus.js in your Dashboard. There are two ways to do that:
- Using UI: Settings → Dashboards → More Options icon → Resources → Add Resource → Set Url as
/local/area-card-plus.js→ Set Resource type as JavaScript Module. (Note: If you do not see the Resources menu, you will need to enable Advanced Mode in your User Profile) - Using YAML: Add the following code to your lovelace section:
 resources:
 - url: /local/area-card-plus.js
   type: module
- Using UI: Settings → Dashboards → More Options icon → Resources → Add Resource → Set Url as
Once installed, simply edit your dashboard, click Add Card, and search for Area Card Plus. The visual editor will guide you through all options!
Just choose an Area and the card will handle the rest. Remember, the card relies on your Area configuration, so be sure you have properly assigned your devices/entities to their corresponding Areas in Home Assistant.
For advanced configuration and YAML examples, please visit the Wiki.
Developing and maintaining custom cards takes a lot of time and coffee. If you enjoy using Area Card Plus and want to support its ongoing development, I would greatly appreciate it!




Join the community Discord server to leave feedback, request features, or get help with your configuration.