- Who are we?
ArkusNexus, a leader in software development innovation, this project harnesses their expertise in leveraging cutting-edge technology to enhance product capabilities and drive growth. ArkusNexus specializes in offering comprehensive services including full-stack development, mobile app creation, quality assurance, and artificial intelligence solutions. This initiative underscores their commitment to privacy, security, and efficient technology deployment, demonstrating their capability to deliver sophisticated solutions that cater to the specific needs of businesses seeking to utilize AI technologies in a secure and private infrastructure.
With rapid development of AI technologies, new possibilites are available for developers to create new products leveraging AI. However, most of the tools that are available are designed to be used "as a service" over the cloud which in some cases may not be desirable or beyond the scope of the project (college projects, small office setups, etc.). Sensitive data traveling across the internet may also represent a privacy risk.
But setting up a AI workflow environment in a more private infrastructure is not excactly easy, the 'as a service' experience abstracts much of what's needed to setup an environment in order to provide a streamlined user experience.
Thankfully this is a topic well covered by the open source community and there is a wide variety of tools and resources that we can use; with this project we want to help developers and researchers understand some of the tools that are needed to setup the infrastructure and setup a workflow to train or serve a model so they can tweak and experiment on their own.
In this case we'll use the example of an environment to fine-tune and serve an image recognition model using open source tools and technologies in a manner that can be installed in your own private cloud or even in your own hardware on premises.
The project leverages Kubernetes to be able to eaisily setup and configure the 3rd party tools needed, but also showcases how a custom app can be quickly integrated into the environment to serve a model itself. A basic understanding of k8s components is recommended in order to follow along this demo.
The code for this project is available at: [Link to repo]
We will be setting up an environment for a simple use case: train and serve an image recognition model, using YOLOv8 in our case.
Tipically a workflow for image recognition applications looks something along the lines of:
[Diagram goes here]
- We need a dataset to fine tune our model, usually consits of images or videos that will be tagged in order to use in the training and validation processes. The images should be as close as the real case and should contain the object to identify.
- We'll need a tool to tag our dataset efectively identifying objects of interests. For this project we're using LabelStudio in our environment since it allows to export datasets in YOLO format.
- Once the dataset has been pre-processed, it is used to fine tune our model until we reach the desired accuracy. We can use a Jupyter notebook and a python script for this as ultralytics provides a clean interface for both training and serving a model.
- We can also include a custom app in our environment to serve the model. Ideally, serving the model, should be done in a separate environment than the training env, but for the purposes of this project we bundled everything in a single environment.
This project focuses in showing how to setup the infrastructure for a specific environment used to train or serve an AI model using a few tools that fitted the needs for the proof of concept, but the same principles and techniques can be adopted to fit a wide range of use cases using different tools and models.
Ultralytics YOLOv8 stands at the forefront of real-time object detection frameworks, offering remarkable speed and accuracy in identifying objects within images and videos. Leveraging the YOLO (You Only Look Once) architecture
A versatile data annotation tool facilitating efficient labeling of diverse datasets for machine learning projects, boasting an intuitive interface and support for various annotation types. YOLO being one that's supported
A cornerstone of collaborative computational environments within the Jupyter ecosystem, enabling seamless deployment and management of multi-user Jupyter Notebook servers for efficient team collaboration.
Offers standardized containerization for applications, ensuring consistency and portability across diverse environments.
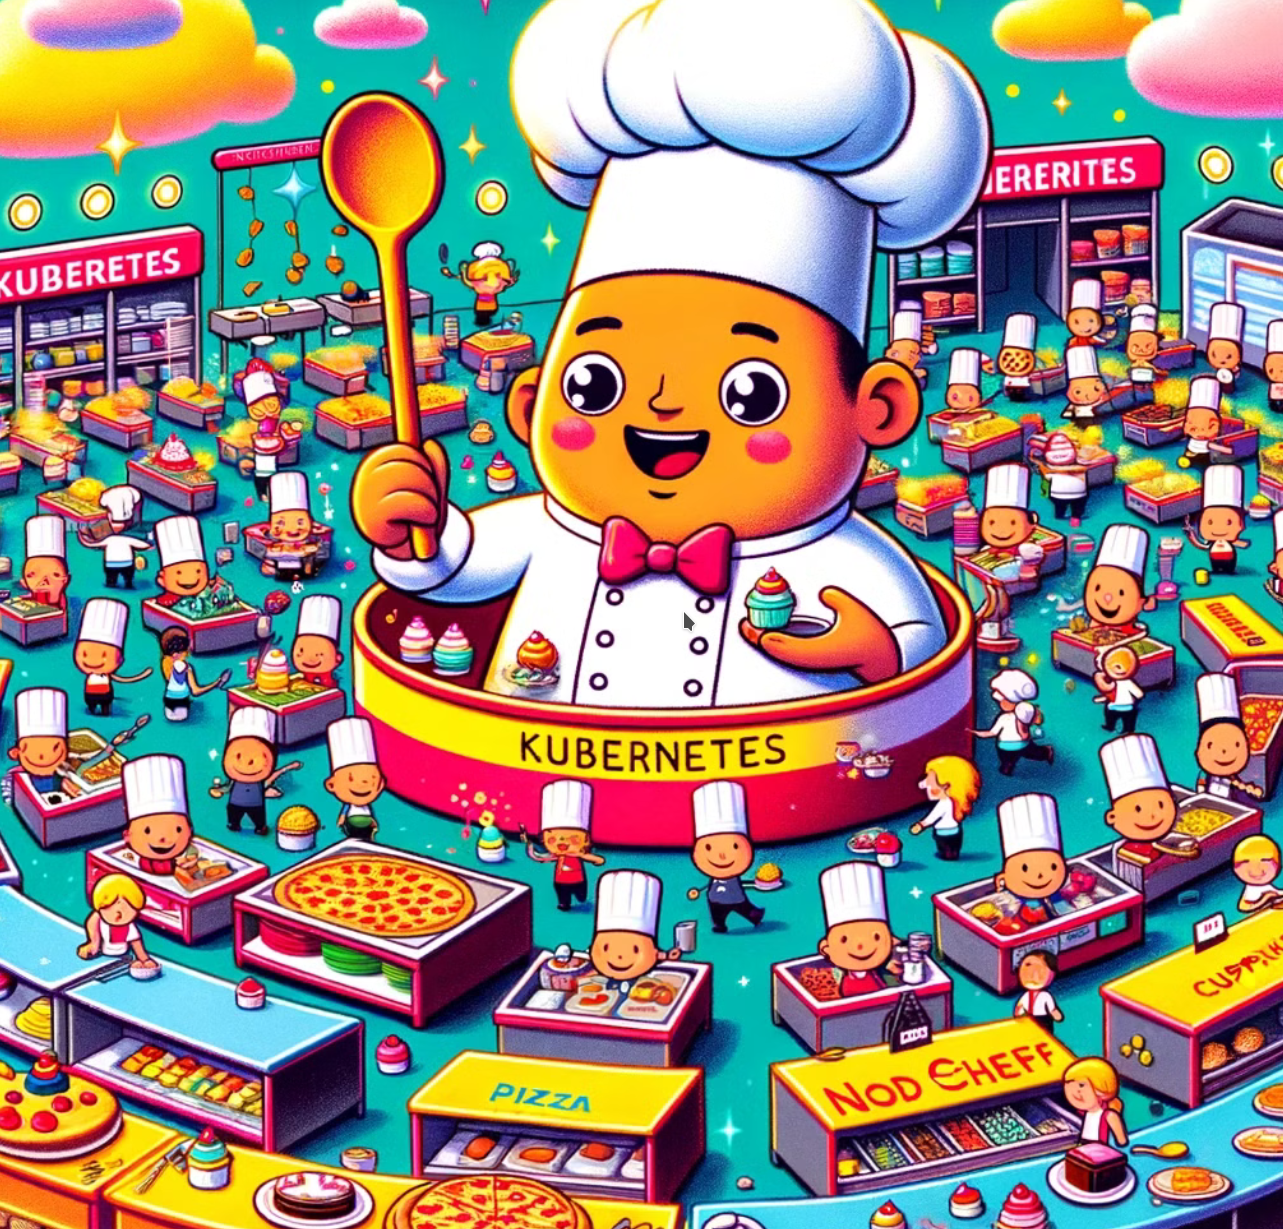 Powerful container orchestration platform automating deployment, scaling, and management of containerized applications, fostering high availability and scalability in distributed environments for cloud-native architectures
Imagine you're running a big restaurant with lots of chefs cooking different dishes in the kitchen. Each chef needs their own space, ingredients, and utensils to work efficiently. Now, think of Kubernetes as the chef manager who organizes everything behind the scenes to make sure each chef gets what they need and that the dishes are served perfectly every time.
In tech terms, Kubernetes is like a powerful system that helps manage and coordinate lots of individual 'containers' (which are like virtual kitchens for running software) across a large number of computers or servers. It ensures that these containers are deployed, scaled, and managed efficiently, so your applications run smoothly no matter how big or complex they are.
Just like a good manager keeps an eye on the kitchen, Kubernetes constantly monitors the health of your applications and automatically takes actions to fix things if something goes wrong, like moving containers to healthier servers or starting up new ones if needed.
Helm Charts simplify the deployment and management of complex applications on Kubernetes, providing pre-configured packages of Kubernetes resources. With Helm Charts, users can efficiently package, share, and deploy applications with ease, streamlining the process of managing Kubernetes applications.
- Docker
- nodejs & cdk8s cli
- A kubernetes cluster where the environment will be installed. You can have this in the cloud or in prem. For development you can use kind, that's what we are using. This project has also been tested on k3s and minikube
kubectlinstalled and configured to connect to the kubernetes cluster.- Helm 3 installed and add all the repos needed for the tools we'll be using (
helm repo add <NAME> <URL>)- MetalLB:
metallb https://metallb.github.io/metallb - LabelStudio:
heartex https://charts.heartex.com/ - JupyterHub:
jupyterhub https://hub.jupyter.org/helm-chart/ - GPU Operator:
nvidia https://helm.ngc.nvidia.com/nvidia
- MetalLB:
- If running on custom hardware outside a cloud provider, the cluster most likely will need to have installed a custom load balancer. K3s comes with it's own load balancer preinstalled, but for this demo we'll be using MetalLB.
- Cluster setup:
kind create cluster --config cluster/kind-config.yamlkind load docker-image aiarkusnexus/opensource-demo-be:latestkubectl apply -f dist/0000-network-setup.k8s.yamlkubectl apply -f dist/0001-metallb-config.k8s.yaml
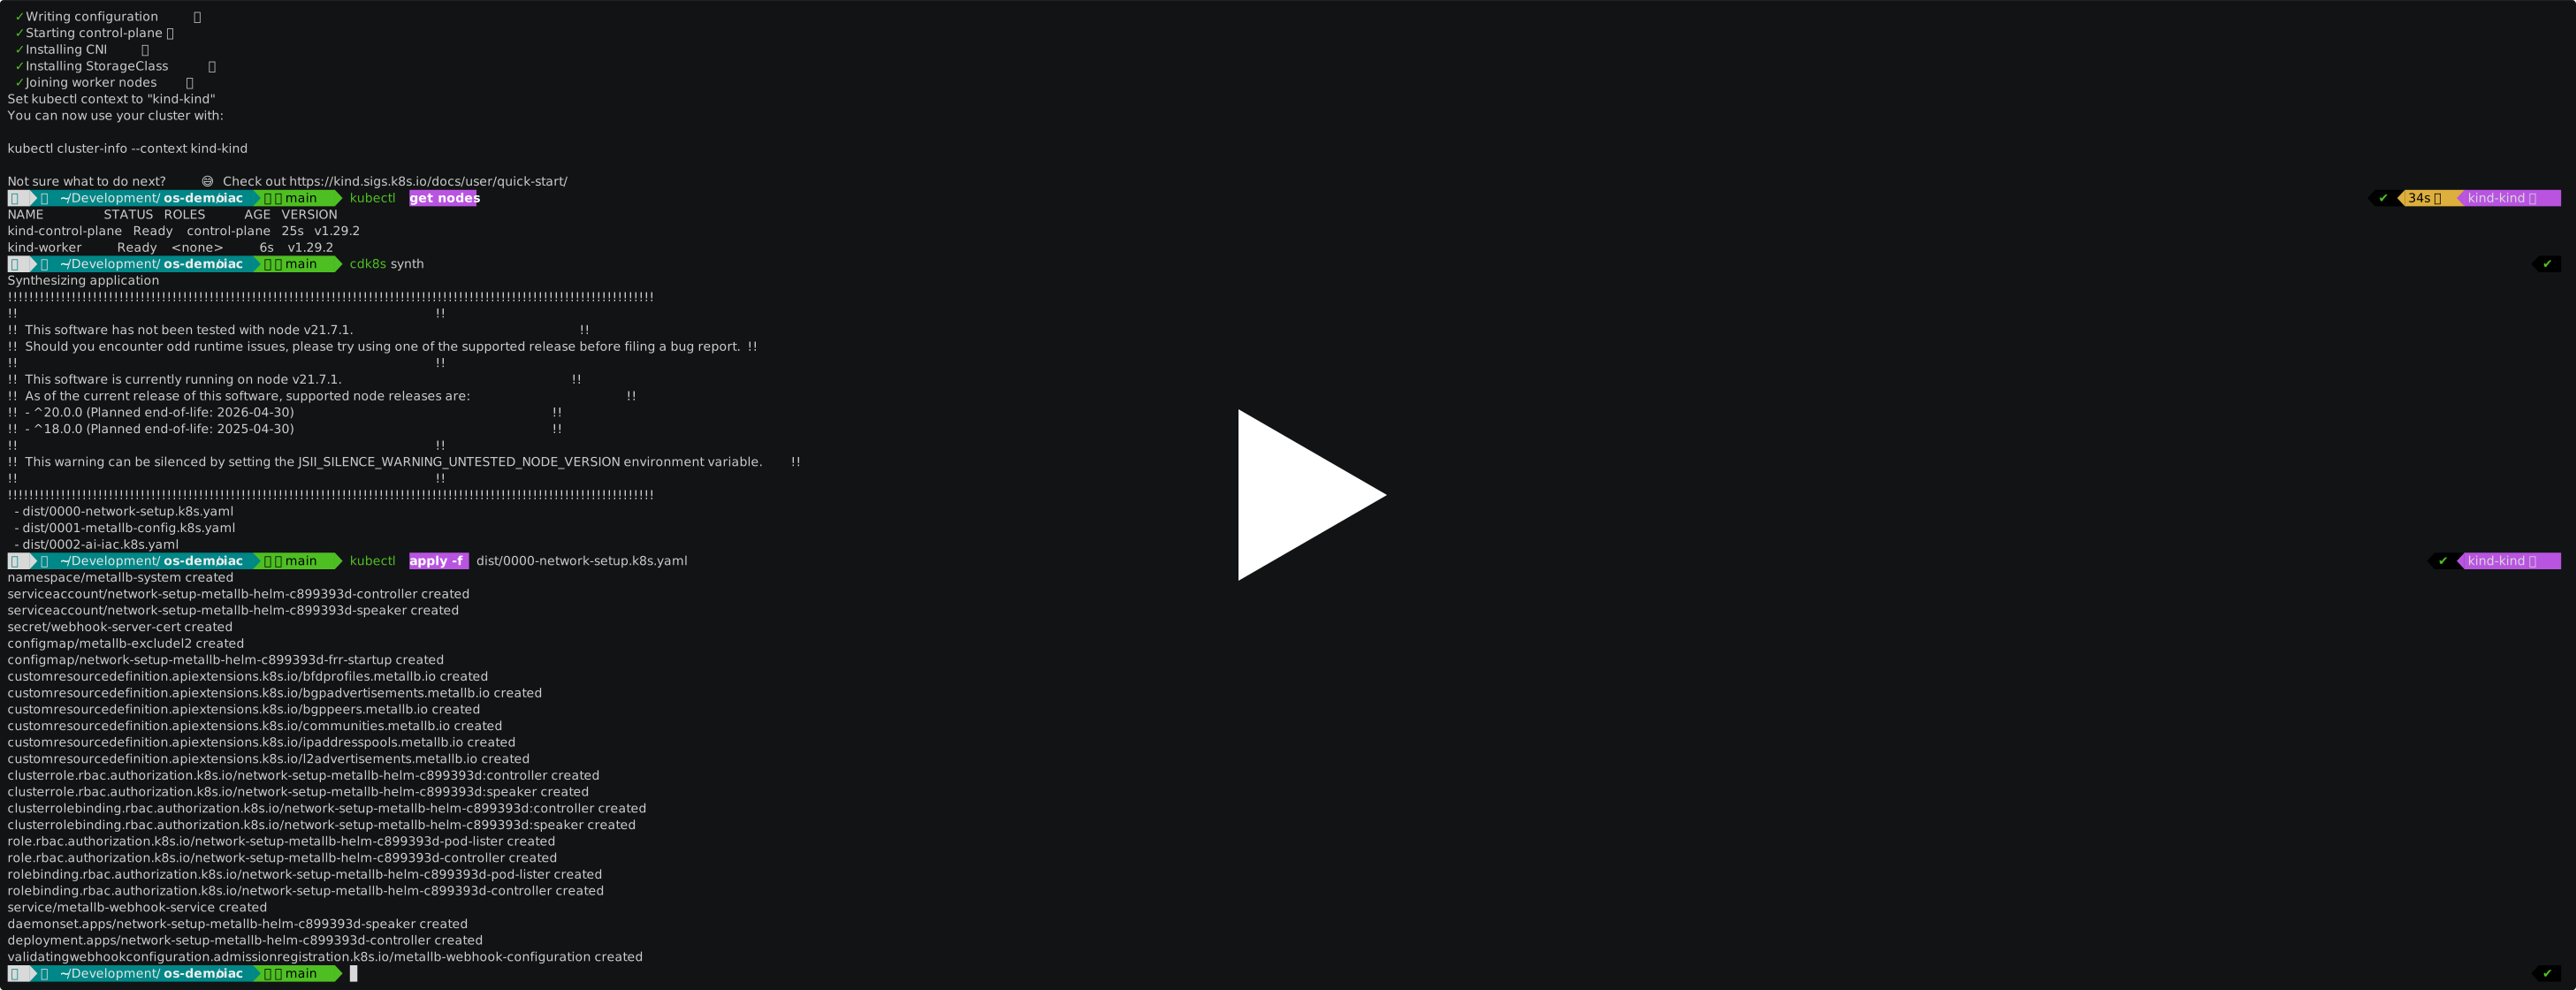
You can checkout the start-here branch from this repo and skip ahead to the Create a chart for our AI infrastructure section.
If you want to start from scratch, the first thing we'll want to do is to create a new CDK8S project. It will allow us to manage all of our kubernetes infrastructure as code, making it reproduceable and esier to mantain.
CDK8S is inspired by AWS' CDK, but was designed for managing infrastructure inside a k8s cluster using code. It is not tied to AWS so it can be used with any other cloud provider or custom hardware as long as there is a kubernetes cluster accessible via kubectl.
In this project cdk8s will help us manage all the different tools and components that we need to add to our environment, but the same environment could be achieved by manually installing all components separately.
Install cdk8s with:
npm install -g cdk8s-cliThe recommended language for cdk8s is Typescript and I recommend that you stick to that, as it is best covered in the documentation, but for this demo we choose to experiment with go:
mkdir my-demo-folder
cd my-demo-folder
mkdir iac
cd iac
cdk8s init go-app
The main.go file is the entry point for the project and it will contain generated code by the cdk8s cli, you can modify that chart in place, but we'll be using a separate file to keep things tidy.
It is also important to run the cdk8s import command as this will import all the base constructs to work with kubernetes.
cdk8s importDelete everything from the main.go file until it looks like this:
package main

import (
	"github.com/cdk8s-team/cdk8s-core-go/cdk8s/v2"
)

func main() {
	app := cdk8s.NewApp(nil)
	app.Synth()
}A GPU Operator is a Kubernetes (k8s) operator specifically designed to manage and orchestrate GPU resources within a Kubernetes cluster. It automates the deployment, configuration, and lifecycle management of GPU-enabled applications by abstracting the complexities of GPU management from users.
The GPU Operator typically works by extending Kubernetes' capabilities to include GPU-specific resources, such as GPU nodes and device plugins. It ensures that GPU-accelerated workloads are scheduled onto appropriate nodes with GPU resources available, manages GPU device drivers, and handles any necessary configurations or optimizations to enable efficient utilization of GPU resources by applications running in the cluster. Essentially, it simplifies the process of integrating GPU resources into Kubernetes environments, making it easier for developers and data scientists to leverage GPU capabilities for their workloads.
There is a HelmChart to install the gpu operator, but before installing it we need to make some tweaks in our node containers in order to workaround errors related with the gpu setup (more info) the issue seem to be specific to Kind:
docker exec -ti kind-control-plane ln -s /sbin/ldconfig /sbin/ldconfig.real
docker exec -ti kind-worker ln -s /sbin/ldconfig /sbin/ldconfig.real
Now we can install the helmchart:
helm repo add nvidia https://helm.ngc.nvidia.com/nvidia && helm repo updatehelm install --wait --generate-name \
-n gpu-operator --create-namespace \
nvidia/gpu-operatorcdk8s uses the concept of charts to bundle up resource management. Basically, you define a set of resources under a cdk8s chart and it will generate a single resources file (yaml) ready to be applied to the cluster.
These charts are different from helm charts, and in fact helm charts can be installed using a cdk8s chart, that's how we will install some of our tools. We'll use Helm Charts to add LabelStudio and JupyterHub to our environment.
Create a new file called ai-iac.go and we'll add the first of our tools, LabelStudio:
package main

import (
	"encoding/base64"
	"fmt"
	"example.com/my-demo/imports/k8s"
	"github.com/arkusnexus/ai-demo/iac/imports/k8s"
	"github.com/aws/constructs-go/constructs/v10"
	"github.com/aws/jsii-runtime-go"
	"github.com/cdk8s-team/cdk8s-core-go/cdk8s/v2"
	"os"
)

type AIChartProps struct {
	cdk8s.ChartProps
}

func NewAIChart(scope constructs.Construct, id string, props *AIChartProps) cdk8s.Chart {
	namespace := "ai-iac"
	var cprops cdk8s.ChartProps
	if props != nil {
		cprops = props.ChartProps
	}
	cprops.Namespace = jsii.String(namespace)
	chart := cdk8s.NewChart(scope, jsii.String(id), &cprops)

	k8s.NewKubeNamespace(chart, &namespace, &k8s.KubeNamespaceProps{
		Metadata: &k8s.ObjectMeta{Name: &namespace},
	})

    /************************** label-studio  ********************************/
	cdk8s.NewHelm(chart, jsii.String("label-studio"), &cdk8s.HelmProps{
		Chart:     jsii.String("heartex/label-studio"),
		HelmFlags: &[]*string{jsii.String("--namespace"), jsii.String(namespace)},
		Values: &map[string]interface{}{
			"app": map[string]interface{}{
				"service": map[string]interface{}{
					"type": "LoadBalancer",
				},
			},
			"replica": map[string]interface{}{
				"replicaCount": 1,
			},
		},
	})
	/************************** label-studio  ********************************/
	return chart
}
Make sure to add the helm repo as stated in the prerequisites by executing the following command in the terminal: helm repo add heartex https://charts.heartex.com/
The first thing we do is to create a namespace and tie it to our cdk8s chart so that every construct defined within it will be created under that same namespace.
	cprops.Namespace = jsii.String(namespace)
	chart := cdk8s.NewChart(scope, jsii.String(id), &cprops)

	k8s.NewKubeNamespace(chart, &namespace, &k8s.KubeNamespaceProps{
		Metadata: &k8s.ObjectMeta{Name: &namespace},
	})
cdk8s.NewHelm is the costruct provided to work with helm charts, and the helm chart to use is passed in the Chart property of the HelmProps parameter Chart: jsii.String("heartex/label-studio")
The values passed in the rest of the props, correspond to the configuration provided by the helm chart installation instructions for Label Studio
And that's it, this will make sure that when we apply our manifest to the cluster it will be boostraped with the LabelStudio app available to start using it, but before testing that we also need to modify our main.go file again.
...

func main() {
	app := cdk8s.NewApp(nil)

	networkChart := NewNetworkSetupChart(app, "network-setup", nil)
	metallbConfigChart := NewMetallbConfigChart(app, "metallb-config", nil)
	metallbConfigChart.AddDependency(networkChart)

	aiChart := NewAIChart(app, "ai-iac", nil)
	aiChart.AddDependency(metallbConfigChart)
	app.Synth()
}
With aiChart := NewAIChart(app, "ai-iac", nil) we are instructing cdk8s to take that chart and generate the necessary yaml configuration files to be applied to the cluster.
For this demo we also needed to include two charts to setup MetalLB (which were not shown here, but are part of the source code in case you want to take a look) and that's why we're adding a dependency between them with metallbConfigChart.AddDependency(networkChart) and aiChart.AddDependency(metallbConfigChart), this will cause the output to be generated in a three separate yaml files that need to be applied in order.
In order to test these changes, we'll need to run the synth command at the root folder of our IaC project
cdk8s synthThis will create the dist folder if it does not exists and add the yaml files within it:
0000-network-setup.k8s.yaml
0001-metallb-config.k8s.yaml
0002-ai-iac.k8s.yamlMake sure that kubectl is configured to use your intended cluster before applying any changes. In our case we're using kind, we can simply run kubectl cluster-info --context kind-kind but you could also inspect the nodes to make sure you are connected to the right cluster kubectl get nodes. Checke your .kubeconfig file if kubectl is not connecting properly
To apply the changes we'll need to run the following command:
kubectl apply -f dist/0000-network-setup.k8s.yaml
kubectl apply -f dist/0001-metallb-config.k8s.yaml
kubectl apply -f dist/0002-ai-iac.k8s.yaml
If your applying more than one file, you'll need to run them individually and wait until the changes are successfully applied to the cluster before running the next one.
You can monitor the state of the installation using the watch command and wait until all pods are in a running state before moving on to the next file.
watch -n -2 sudo kubectl get pods -AOnce the Label Studio pods are running, you can look into the services to get the url for accessing the app
kubectl get services -AIn the cluster, look for a service named after LabelStudio and take note of its external IP
Input the URL into a browser and you should be greeted by the LabelStudio login screen. You'll need to create a new user the first time you use LabelStudio.

LabelStudio provides versatile data annotation capabilities, enabling efficient labeling of diverse datasets for machine learning projects, with support for various data types including text, image, and audio, along with an intuitive interface for streamlined annotation workflows. It can also export processed datasets in YOLO format which is why we choose it for this project.
Similarily to Label Studio, we will be using a Helm Chart to add Jupyter Hub to our cluster. Jupyter Hub will allow us to create notebooks in order to train and fine tune our model in a collaborative manner, it will also allow us to import our dataset once we've preprocessed it with Label Studio.
Add the following code after the helm chart for Labels Studio in the ai-iac.go file:
    ...
	/************************** label-studio  ********************************/
	/************************** jupyterhub    ********************************/
	cdk8s.NewHelm(chart, jsii.String("jupyter-hub"), &cdk8s.HelmProps{
		Chart:     jsii.String("jupyterhub/jupyterhub"),
		HelmFlags: &[]*string{jsii.String("--namespace"), jsii.String(namespace)},
		Version:   jsii.String("3.2.1"),
		Values:    &map[string]interface{}{},
	})
	/************************** jupyterhub    ********************************/
    ...
If we generate the k8s files again and apply them to the cluster (cdk8s synth and kubectl apply), we'll notice that it will only add resources related to Jupyter Hub and did not perform any changes to our previously defined resources. This is because Kubernetes applies manifest changes incrementaly, detecting changes directly from the yaml files and only modifying resources that are new or have changes in their definitions.

If we instead destroy our cluster and generate a new one to apply the changes to, we'll see that it will create all of the resources from the beggining.
Look under the cluster services and take note of the external IP for the Jupiter Hub service and open it in a browser. You can use any username/password combination for now.
Create a new notebook and test the YOLOv8 model
[Image here]
pip install ultralytics
pip install opencv-python-headless
from ultralytics import YOLO

model = YOLO('yolov8n.pt')
results = model.train(data='coco128.yaml', epochs=3, imgsz=640)So far we've used the provided Helm Charts to install 3rd party tools into our cluster, but for our custom app we'll use core kubernetes resources with cdk8s and configure them on our own.
All that kubernetes needs to install any kind of app in a cluster is a docker image provided by an image repository. For this demo I have setup an image that contains a small web application that uses a fine tuned YOLOv8 model to identify tacos in youtube videos. The application itself is just a wrapper around Ultralytics' CLI tool. The image is published in docker.io and you can see it defined in the Dockerfile within the server folder:
FROM golang:alpine3.19 as builder
COPY . /server
WORKDIR /server

RUN go build -o server .

FROM ultralytics/ultralytics:latest as yolov8
WORKDIR /server
COPY --from=builder /server/server .
COPY --from=builder /server/client ./client
COPY --from=builder /server/static ./static
COPY --from=builder /server/templates ./templates
COPY --from=builder /server/best.pt ./best.pt

ENV TZ=US/Pacific
RUN ln -snf /usr/share/zoneinfo/$TZ /etc/localtime && echo $TZ > /etc/timezone

RUN apt update && apt upgrade -y
RUN conda update -y ffmpeg

ENTRYPOINT [ "/server/server" ]
The kubernetes cluster will need access to the registry in order to download the image, we'll need to add registry credentials as part of our cluster resources (If you're using images publicly available, you won't need to setup credentials for img pull)
ai-iac.go
registrySecretName := "registry-secrets"
rawAuth := fmt.Sprintf("%v:%v", os.Getenv("DOCKER_USER"), os.Getenv("DOCKER_PASSWORD"))
auth := base64.StdEncoding.EncodeToString([]byte(rawAuth))
rawDockercfgjson := fmt.Sprintf(`
{
"auths": {
"%v": {
"auth": "%v",
"email": "%v"
}
}
}
`, os.Getenv("DOCKER_REGISTRY_SERVER"), auth, os.Getenv("DOCKER_EMAIL"))
dockercfgjson := base64.StdEncoding.EncodeToString([]byte(rawDockercfgjson))
k8s.NewKubeSecret(chart, ®istrySecretName, &k8s.KubeSecretProps{
Metadata: &k8s.ObjectMeta{
Name: ®istrySecretName,
Namespace: &namespace,
},
Type: jsii.String("kubernetes.io/dockerconfigjson"),
Data: &map[string]*string{
".dockerconfigjson": &dockercfgjson,
},
})We're getting the actual cred values from the local docker environment variables and creating a Kubernetes Secret in our cluster.
With a deployment we tell kubernetes what do we want to deploy and how to manage its resources
- They represent the in-cluster desired state of our application
- Resource Management and Scaling can be configured through a Deployment
Back in our ai-iac.go file we can add to our chart:
	appName := "arkusnexus-demo-be"
	labels := map[string]*string{
		"app": jsii.String(appName),
	}

	deploymentName := fmt.Sprintf("%v-deployment", appName)
	k8s.NewKubeDeployment(chart, jsii.String(deploymentName), &k8s.KubeDeploymentProps{
		Metadata: &k8s.ObjectMeta{
			Name:      jsii.String(deploymentName),
			Namespace: jsii.String(namespace),
		},
		Spec: &k8s.DeploymentSpec{
			Replicas: jsii.Number(1),
			Selector: &k8s.LabelSelector{
				MatchLabels: &labels,
			},
			Template: &k8s.PodTemplateSpec{
				Metadata: &k8s.ObjectMeta{
					Labels: &labels,
				},
				Spec: &k8s.PodSpec{
					Containers: &[]*k8s.Container{{
						Name:  jsii.String("be-container"),
						Image: jsii.String("aiarkusnexus/opensource-demo-be:latest"),
						Ports: &[]*k8s.ContainerPort{{
							ContainerPort: jsii.Number(8080),
						}},
					}},
				},
			},
		},
	})
Notice that the deployment definition contains a pod spec, this is a core resource in kubernetes that allows us to run our application and in this case we need to indicate what image we want the pod to be running Image: jsii.String("aiarkusnexus/opensource-demo-be:latest") this will use the registry credentials that we defined previously
By default pods running applications will only be reacheable by other apps inside the same cluster, that works for some service arrays, but most likely you'll want to expose your app to a network, wether that'd be the internet or a local network. Kubernetes uses services to achieve that and they work in conjunction with the load balancer to expose designated apps to out-of-cluster network traffic
	serviceName := fmt.Sprintf("%v-service", appName)
	targetPort := float64(8080)
	port := float64(80)
	k8s.NewKubeService(chart, jsii.String(serviceName), &k8s.KubeServiceProps{
		Metadata: &k8s.ObjectMeta{},
		Spec: &k8s.ServiceSpec{
			Ports: &[]*k8s.ServicePort{
				{
					Port:       &port,
					TargetPort: k8s.IntOrString_FromNumber(&targetPort),
				},
			},
			Selector: &labels,
			Type:     jsii.String("LoadBalancer"),
		},
})Once we add that to our chart we can run cdk8s synth and apply the yaml manifest to the cluster using kubectl.
kubectl apply -f dist/0002-ai-iac.k8s.yamlA new pod should spin up in our cluster, running our app
watch -n 2 kubectl get -n ai-iac podsIf you check under services you will notice that a service for our app has been added.
watch -n 2 kubectl get -n ai-iac servicesTake note of the external IP in the service and paste it in a browser, our demo app should pop up. In it you can input a youtube video link and it will process it using a YOLOv8 model fine tuned to find tacos.
As we draw this project to a close, ArkusNexus reaffirms its dedication to leveraging AI technology within frameworks that ensure both security and privacy. Through navigating the complexities of cutting-edge AI integration, we aim to set a precedent for innovation that upholds the integrity of sensitive information. Our gratitude extends to our collaborators and clientele, whose partnership has been invaluable. Together, we look forward to forging ahead in our pursuit of technological advancement and excellence.