This tutorial shows how to run a Vaultwarden installation encrypted only on your own network with iOS integration.
I use a Raspberry Pi 3 and a Intel NUC (Ubuntu Server), but also works on other devices.
My username is pi, when your name is not pi change pi in the follow commands
Type in:
cd /home/pimkdir Docker/sslcd Docker/ssl- Create a CA key (your own little on-premise Certificate Authority):
openssl genpkey -algorithm RSA -aes128 -out private-ca.key -outform PEM -pkeyopt rsa_keygen_bits:2048
Now answer the questions. Actually, it doesn't matter what you enter here. The only thing that matters here is Common Name. You can also use another Common Name like vaultwarden.com or mypassword.com
- Create a CA certificate:
openssl req -x509 -new -nodes -sha256 -days 3650 -key private-ca.key -out self-signed-ca-cert.crt
Note: the -nodes argument prevents setting a pass-phrase for the private key (key pair) in a test/safe environment, otherwise you'll have to input the pass-phrase every time you start/restart the server.
- Create a bitwarden key:
openssl genpkey -algorithm RSA -out bitwarden.key -outform PEM -pkeyopt rsa_keygen_bits:2048
- Create the bitwarden certificate request file:
openssl req -new -key bitwarden.key -out bitwarden.csr
- Now create a new text file with
nano bitwarden.ext
authorityKeyIdentifier=keyid,issuer
basicConstraints=CA:FALSE
keyUsage = digitalSignature, nonRepudiation, keyEncipherment, dataEncipherment
extendedKeyUsage = serverAuth
subjectAltName = @alt_names

[alt_names]
DNS.1 = vaultwarden.de
DNS.2 = www.vaultwarden.de
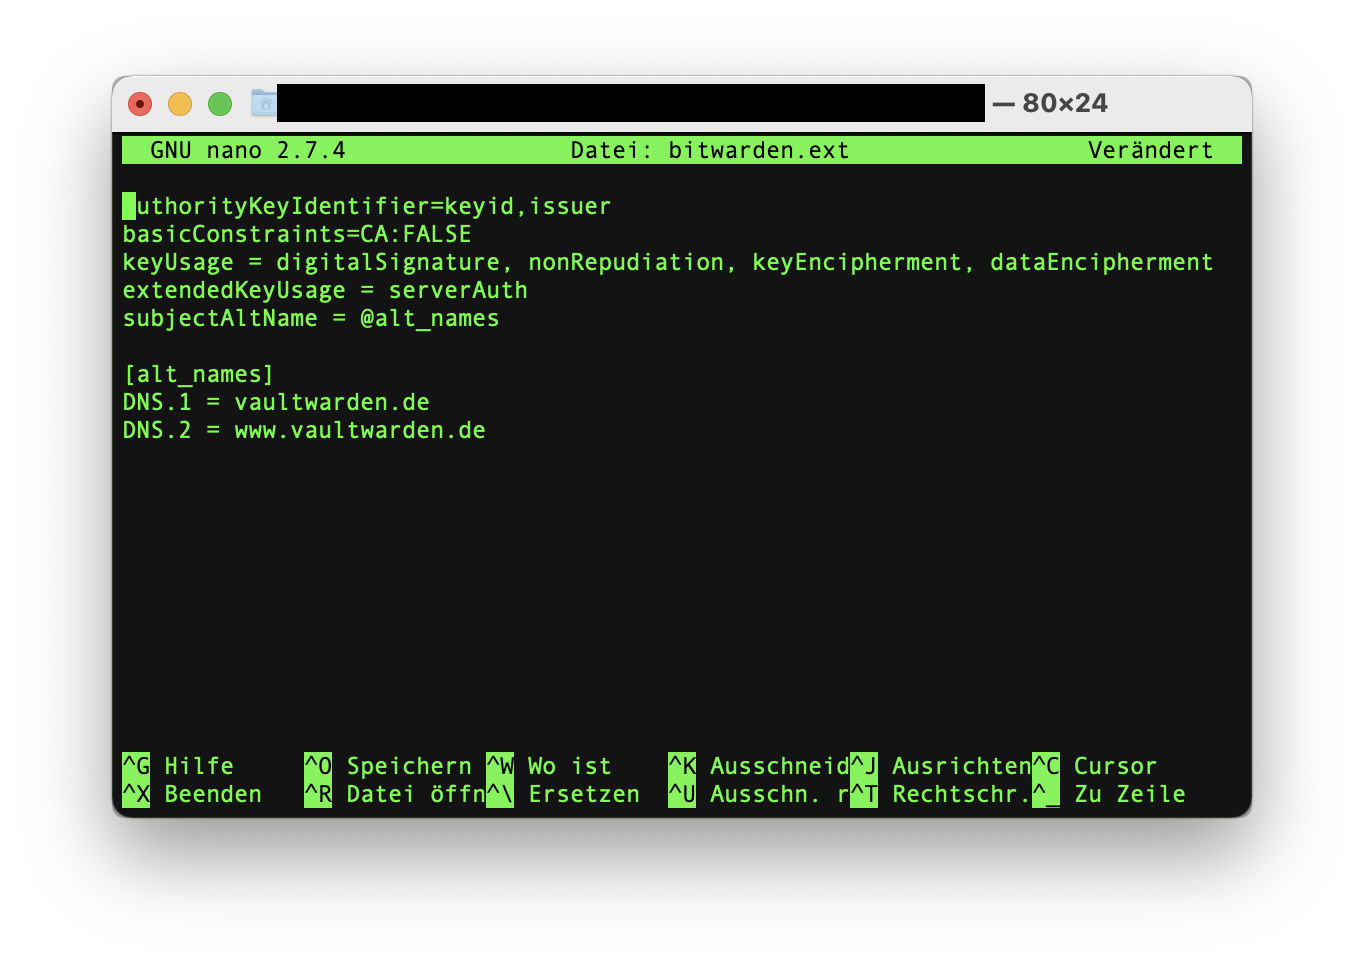
-
Save the file with CMD+X, accept with Y+ENTER (or J+ENTER)
-
Create the bitwarden certificate, signed from the root CA:
openssl x509 -req -in bitwarden.csr -CA self-signed-ca-cert.crt -CAkey private-ca.key -CAcreateserial -out bitwarden.crt -days 365 -sha256 -extfile bitwarden.ext
Note: As of April 2019 iOS 13+ and macOS 15+, the server certificate can not have an expiry > 825 and must include ExtendedKeyUsage extension https://support.apple.com/en-us/HT210176
I use 365 Days.
11. Now we can create a Docker Compose File:
version: '3'

services:
  vaultwarden:
    image: vaultwarden/server:latest
    container_name: vaultwarden
    environment:
      ROCKET_TLS: '{certs="/ssl/bitwarden.crt",key="/ssl/bitwarden.key"}'
      ADMIN_TOKEN: your_own_token
    volumes:
      - /home/pi/Docker/ssl/:/ssl/
      - bw-data:/data/
    ports:
      - "4430:80"
    restart: unless-stopped

volumes:
  bw-data:
I use Portainer to control Docker:

- Now you need to set up a local dns forwarding. Some routers can do this. But you can also use a Pi-hole or AdGuard system. If you now enter vaultwarden.de in the local network, you will not land on the vaultwarden.de website but will be redirected to our local Vaultwarden instance. This step is necessary for iOS to accept our self generated certificate.

- Start the browser and open
https://vaultwarden.de:4430
- Go through the setup
Install the self-signed certificate on your iOS/MacOS Device
15. Download the certificates from your Raspberry to your Computer. For example with Filezilla
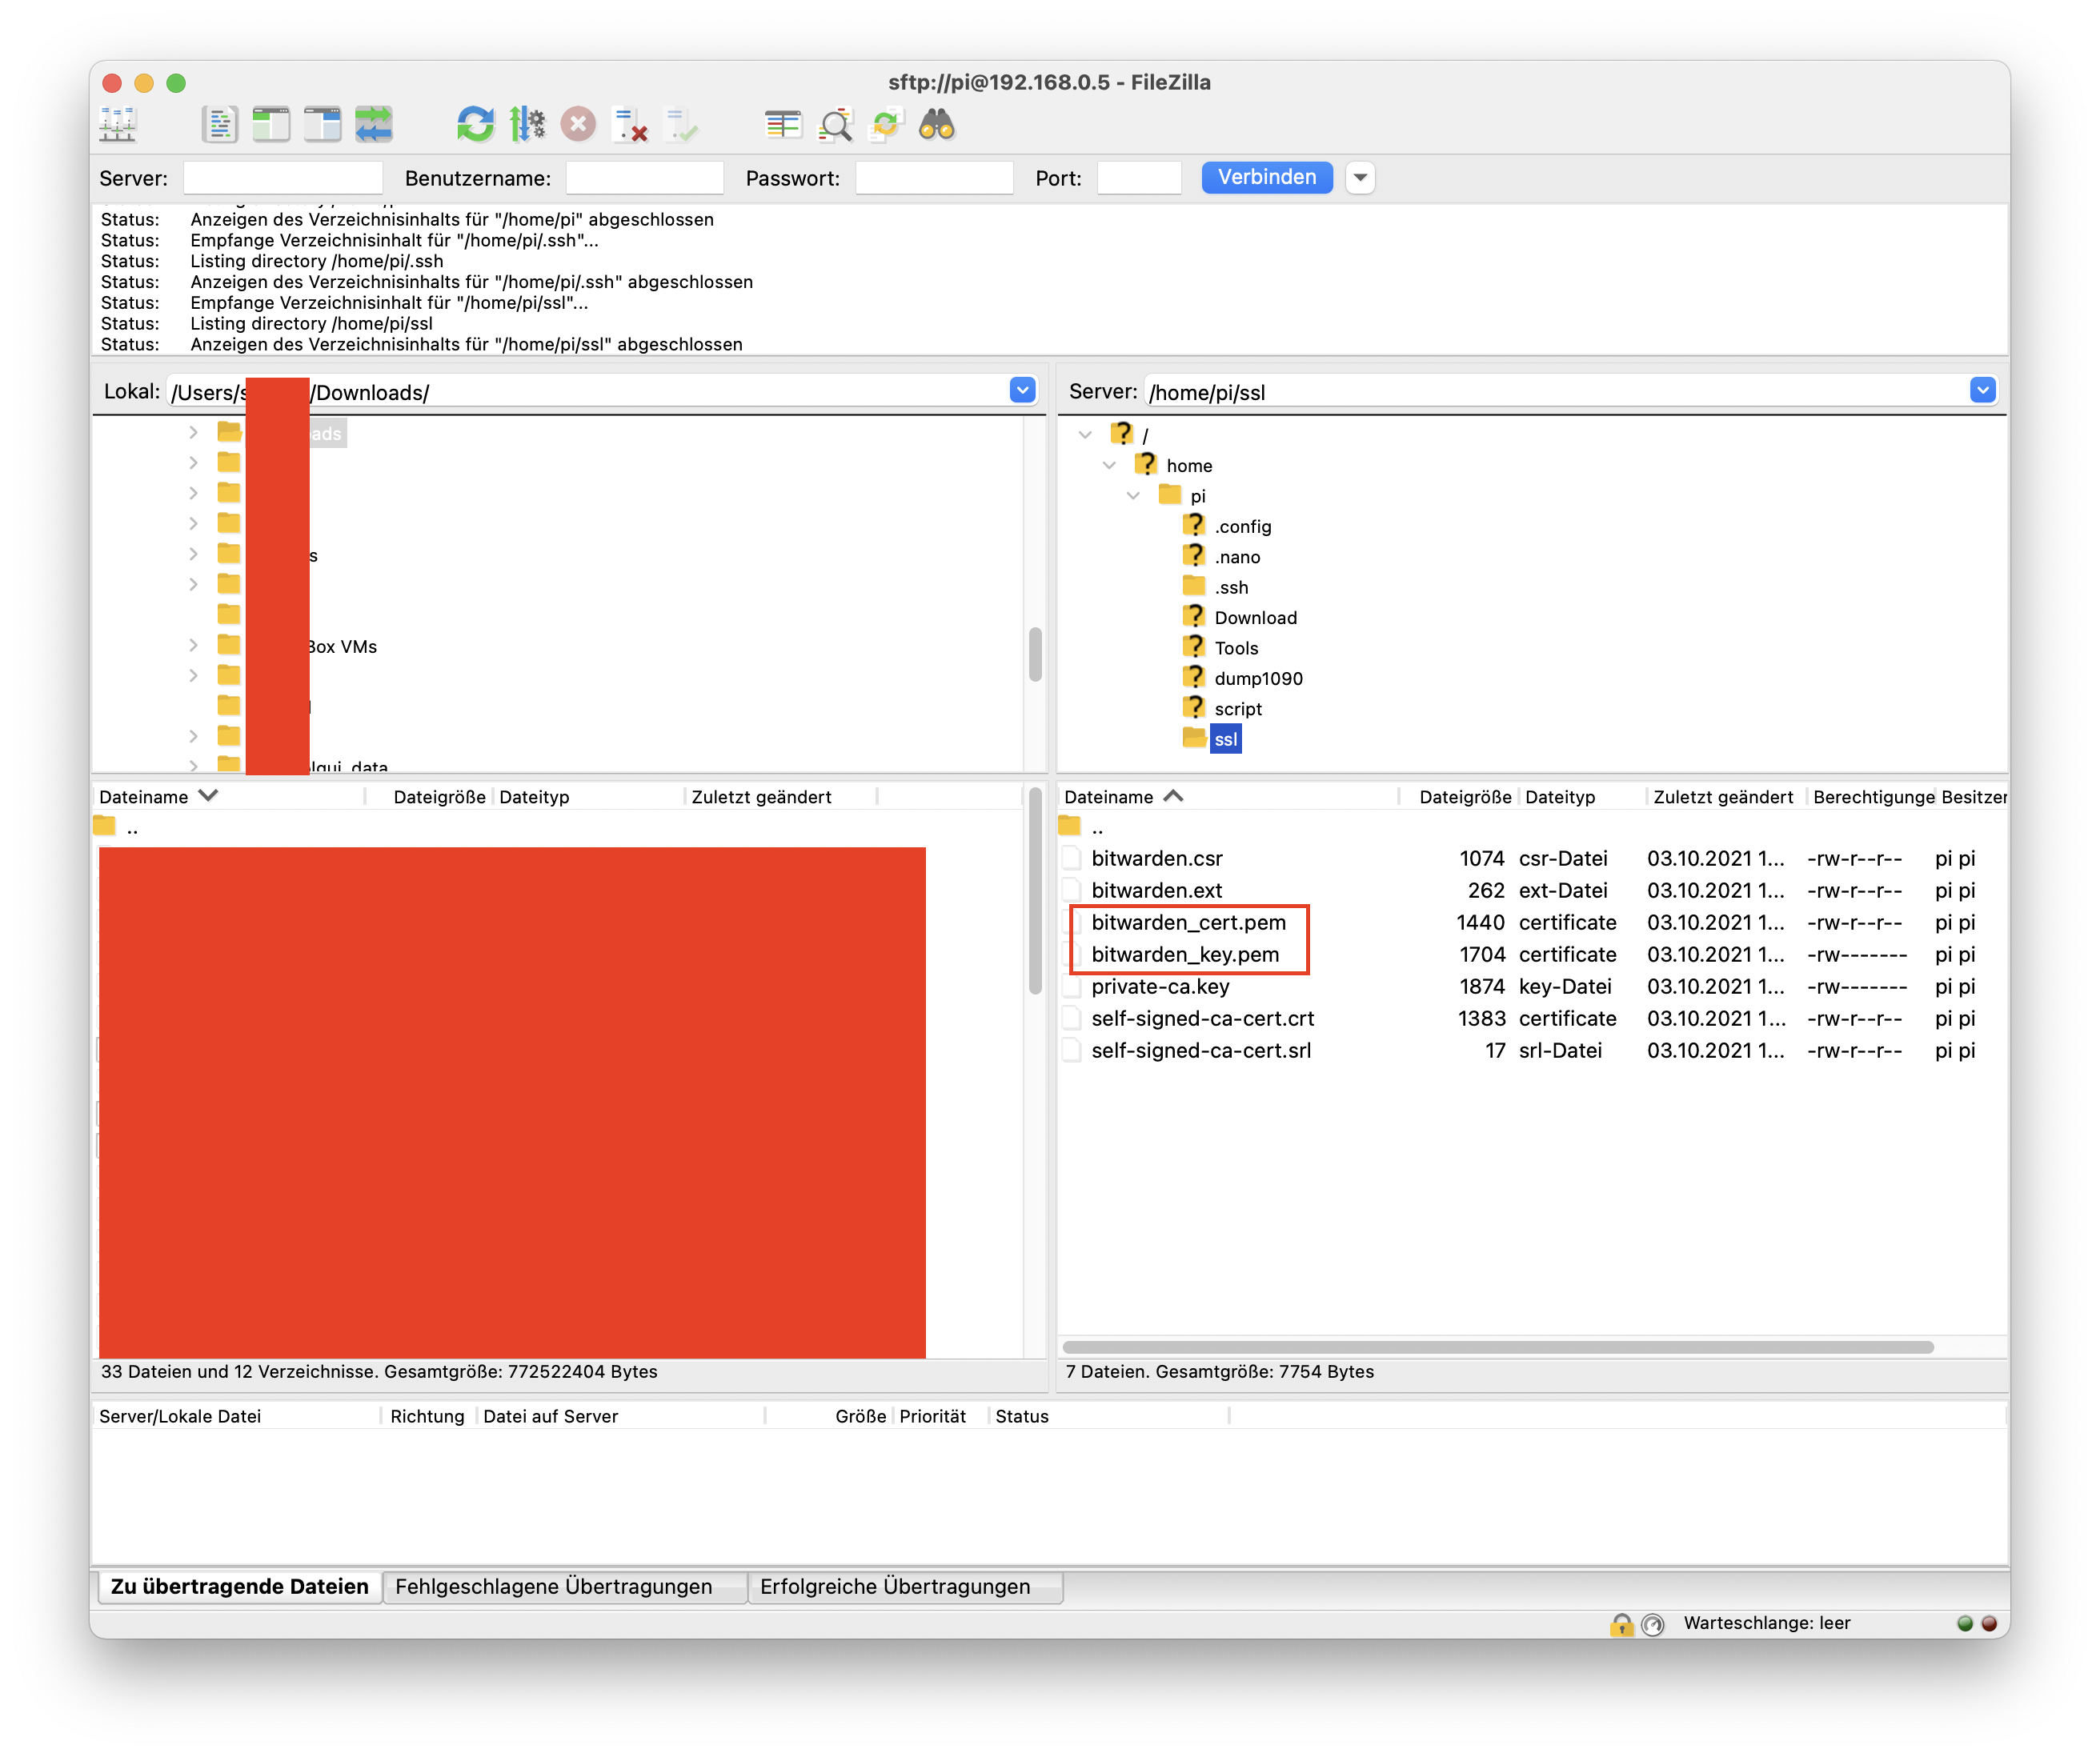
- Transfer the bitwarden_cert.pem and the bitwarden_key.pem to your iOS Device with AirDrop or Email
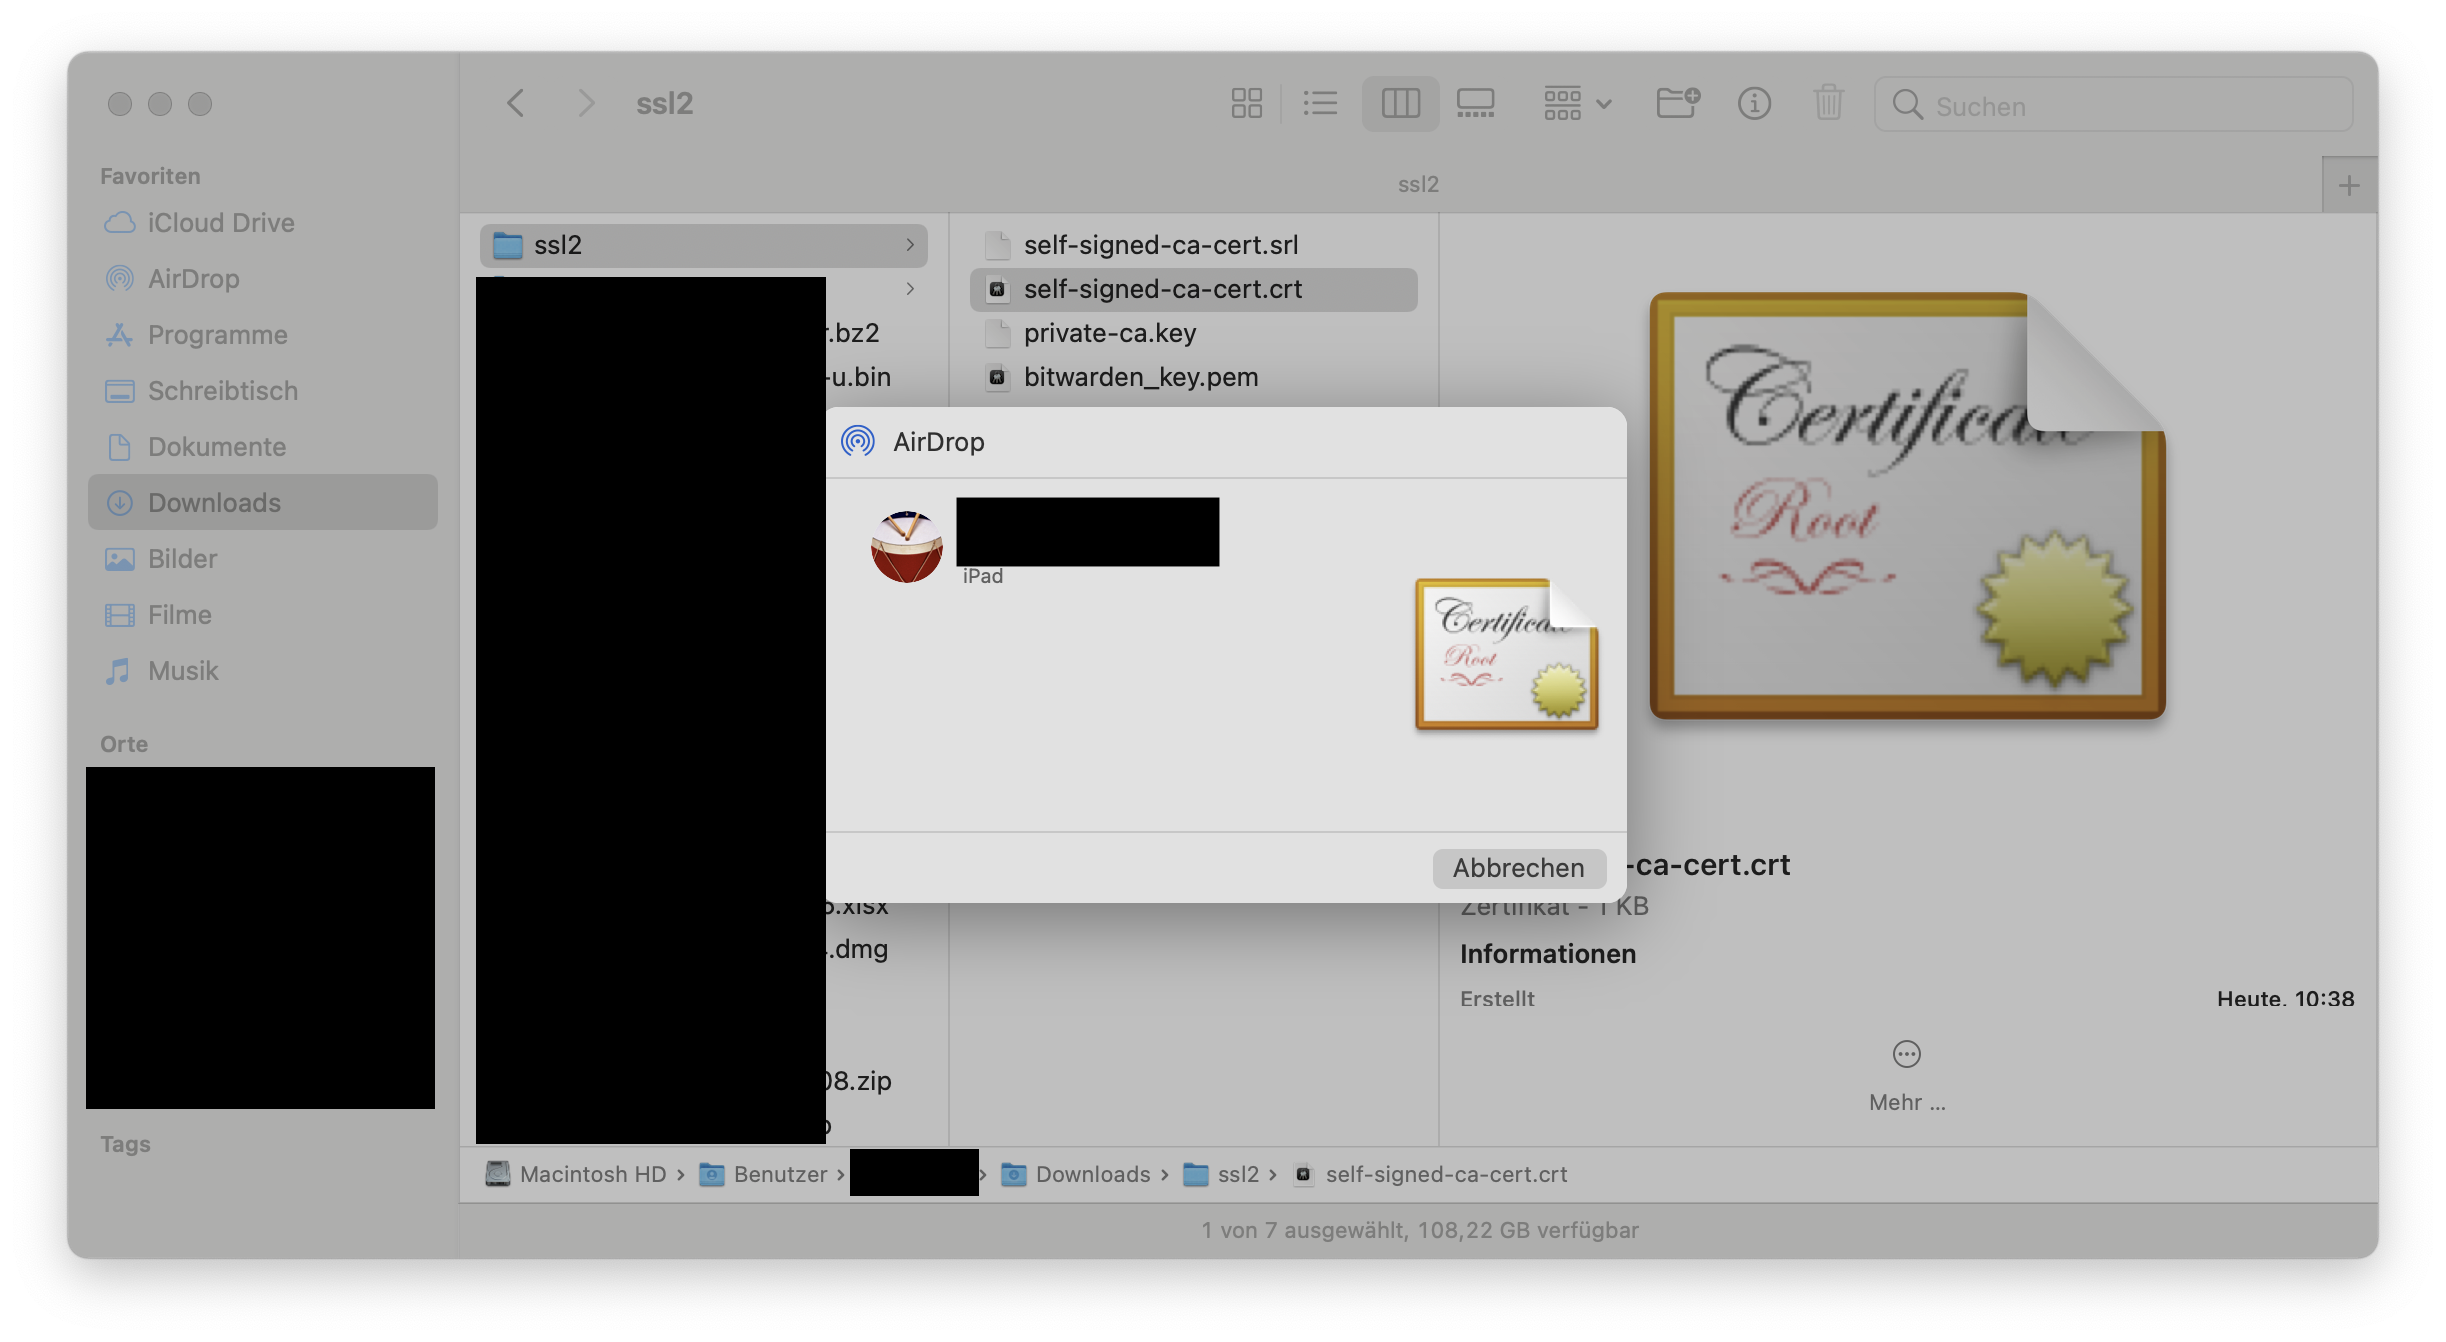
- Install both Certificates


On MacOS you can import the Certificates via the Keychain App.

Both certificates should be trusted.
-
If you have set multiple dns servers, it may not work. Set only the DNS server where the DNS forwarding set up above is enabled

-
Start the Bitwarden App

-
Enter at Server URL
https://vaultwarden.de:4430

- Delete the old bitwarden.crt file. (cd /home/pi/Docker/ssl/)
- Create a new one with:
openssl x509 -req -in bitwarden.csr -CA self-signed-ca-cert.crt -CAkey private-ca.key -CAcreateserial -out bitwarden.crt -days 365 -sha256 -extfile bitwarden.ext
- Enter a passphrase for the root certificate
- Use Filezilla to download the new bitwarden.crt to your computer
- Restart the Docker container for Vaultwarden
- Delete the old certificate from your devices (not the root certificate)
- Transfer the new bitwarden.crt to the devices and install it
- If you have renewed the certificate, it can happen that the Firefox Bitwarden add-on can no longer establish a connection to the server. The following must be done:
- Go to the Firefox settings and delete all cookies, website data and the cache under Privacy and security under Cookies and website data.

- Go to Privacy and Security and click on Show certificates under Certificates. Then search for the entry Vaultwarden under Server and delete it. Now click on Add exceptions and enter https://vaultwarden.de:4430/ (or your correct address). Now download the certificate. If this fails, there is something wrong with your certificates.


- It can't hurt to delete the Firefox addon from Bitwarden, restart Firefox and reinstall the addon.
- Restart Firefox
More information:
- https://www.reddit.com/r/Bitwarden/comments/ep9qyz/self_signed_certs_iosmacos_issue_solved/
- https://github.com/dani-garcia/vaultwarden/wiki/Private-CA-and-self-signed-certs-that-work-with-Chrome
- https://deliciousbrains.com/ssl-certificate-authority-for-local-https-development
- https://github.com/dani-garcia/vaultwarden/wiki/Enabling-HTTPS
Backup your Vaultwarden Data: