|
|
|
|
|

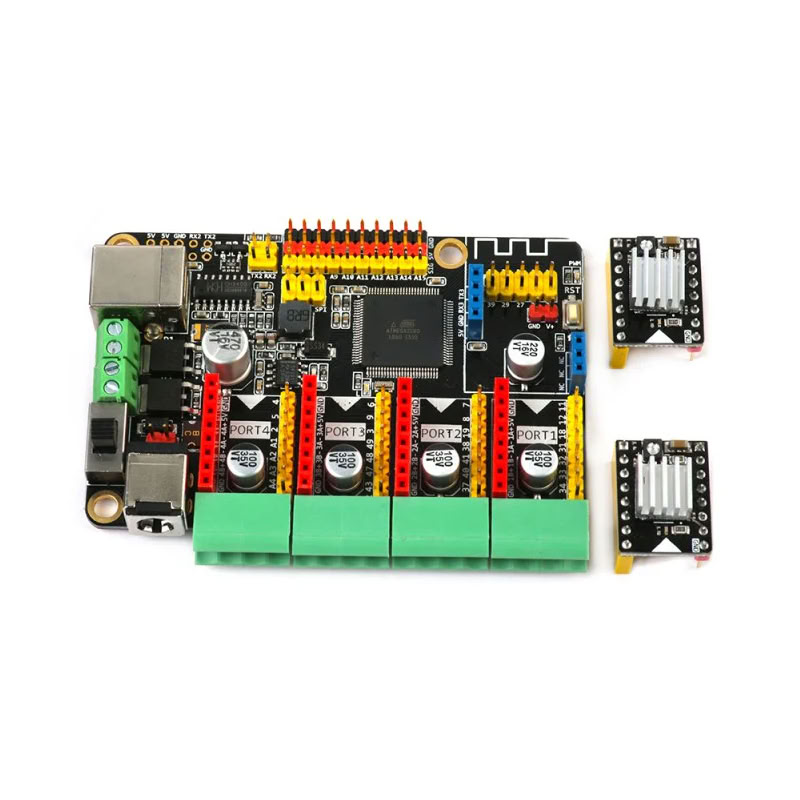
Upgrading the LaserBot firmware has really brought this laser engraver back to life! It rivals some of my new engravers and works well.
Latest stable for LaserBot: https://github.com/porrey/grbl-MegaPi/releases/latest
- Open the latest stable release:
- Download source ZIP, then install the
grblfolder as an Arduino library.- Arduino IDE: Sketch > Include Library > Add .ZIP Library...
- Open File > Examples > grbl > grblUpload.
- Select Arduino Mega or Mega 2560 and upload to your MegaPi.
Planned distribution path: Arduino Library Manager support (see
doc/markdown/distribution.mdfor submission/release steps).
This repository is a Grbl-Mega fork configured for the Makeblock LaserBot and its MegaPi (ATmega2560) controller.
The goal is to replace the original legacy firmware/software stack with a standard Grbl workflow so the LaserBot can be used with modern software like LightBurn.
Base Grbl-Mega documentation is available here:
https://github.com/gnea/grbl-Mega/blob/edge/README.md
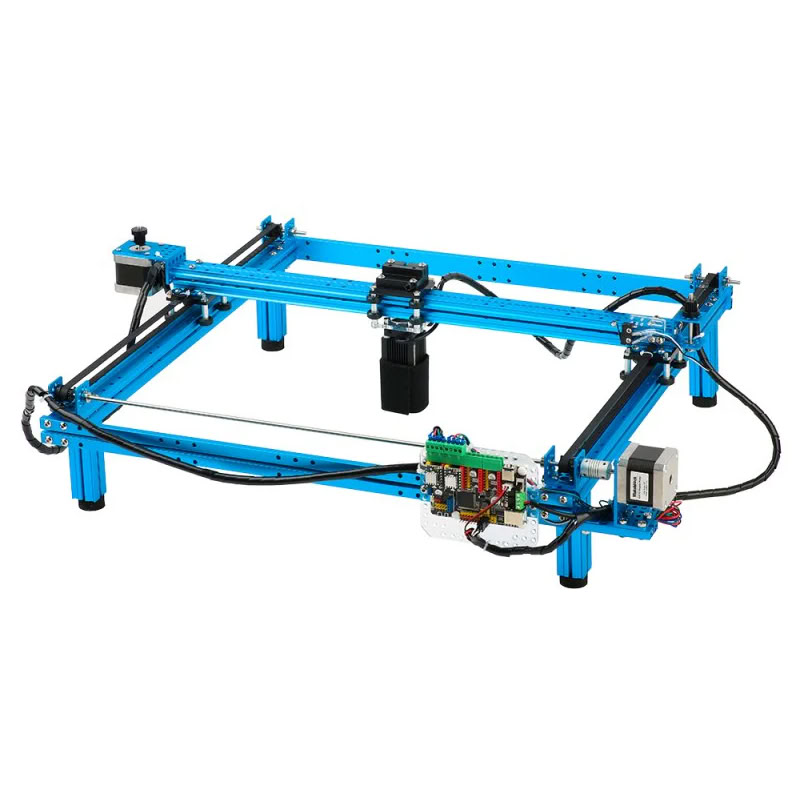
The Makeblock LaserBot is a 2-axis laser engraver/cutter platform. In this firmware:
- X/Y motion is fully supported with LaserBot pin mapping.
- Laser power uses Grbl spindle/laser control (
M3,M4,M5,Svalues). - Homing and limit behavior are configured for LaserBot endstops.

The MegaPi is based on the ATmega2560, so it can be programmed directly from the Arduino IDE as an Arduino Mega-class target.
This fork includes a dedicated MegaPi board map and LaserBot defaults:
DEFAULTS_MEGAPI_LASERBOTenabled ingrbl/config.hCPU_MAP_2560_MEGAPI_BOARDenabled ingrbl/config.h- LaserBot-specific pin map in
grbl/cpu_map.h - LaserBot driver/limits/laser PWM handling in
grbl/megapi.c

See MegaPi Documentation for more information.
Key machine defaults compiled into this build include:
- Baud: 230400
- Work area defaults: X 340 mm, Y 360 mm
- Laser mode enabled by default (
$32=1) - Homing enabled by default (
$22=1) - PWM range aligned for LaserBot laser control (
S0toS255)
These come from the DEFAULTS_MEGAPI_LASERBOT profile in grbl/defaults.h.
The LaserBot uses the standard Arduino upload workflow.
Either:
- Clone:
git clone https://github.com/porrey/grbl-MegaPi.git
- Or download ZIP from GitHub and extract it.
- Copy the repository's
grblfolder into your Arduino libraries folder.- Typical location:
Documents/Arduino/libraries/grbl
- Typical location:
- Restart Arduino IDE.
In Arduino IDE:
- Open File > Examples > grbl > grblUpload
- This loads:
grbl/examples/grblUpload/grblUpload.ino
In Tools:
- Board:
Arduino Mega or Mega 2560 - Processor:
ATmega2560(if shown) - Port: Select the LaserBot serial port
Click the standard Upload button in Arduino IDE.
That is all that is required to flash the LaserBot.
After firmware upload, configure LightBurn with the provided device profile.
Get LightBurn from: https://lightburnsoftware.com
- Open LightBurn.
- Go to Devices.
- Click Import.
- Select:
LightBurn/Laserbot.lbzip
- Finish the import wizard and connect to the LaserBot serial port.
The Laserbot.lbzip profile includes the key connection and machine parameters needed for this firmware.
This repository includes LightBurn samples in LightBurn/:
-
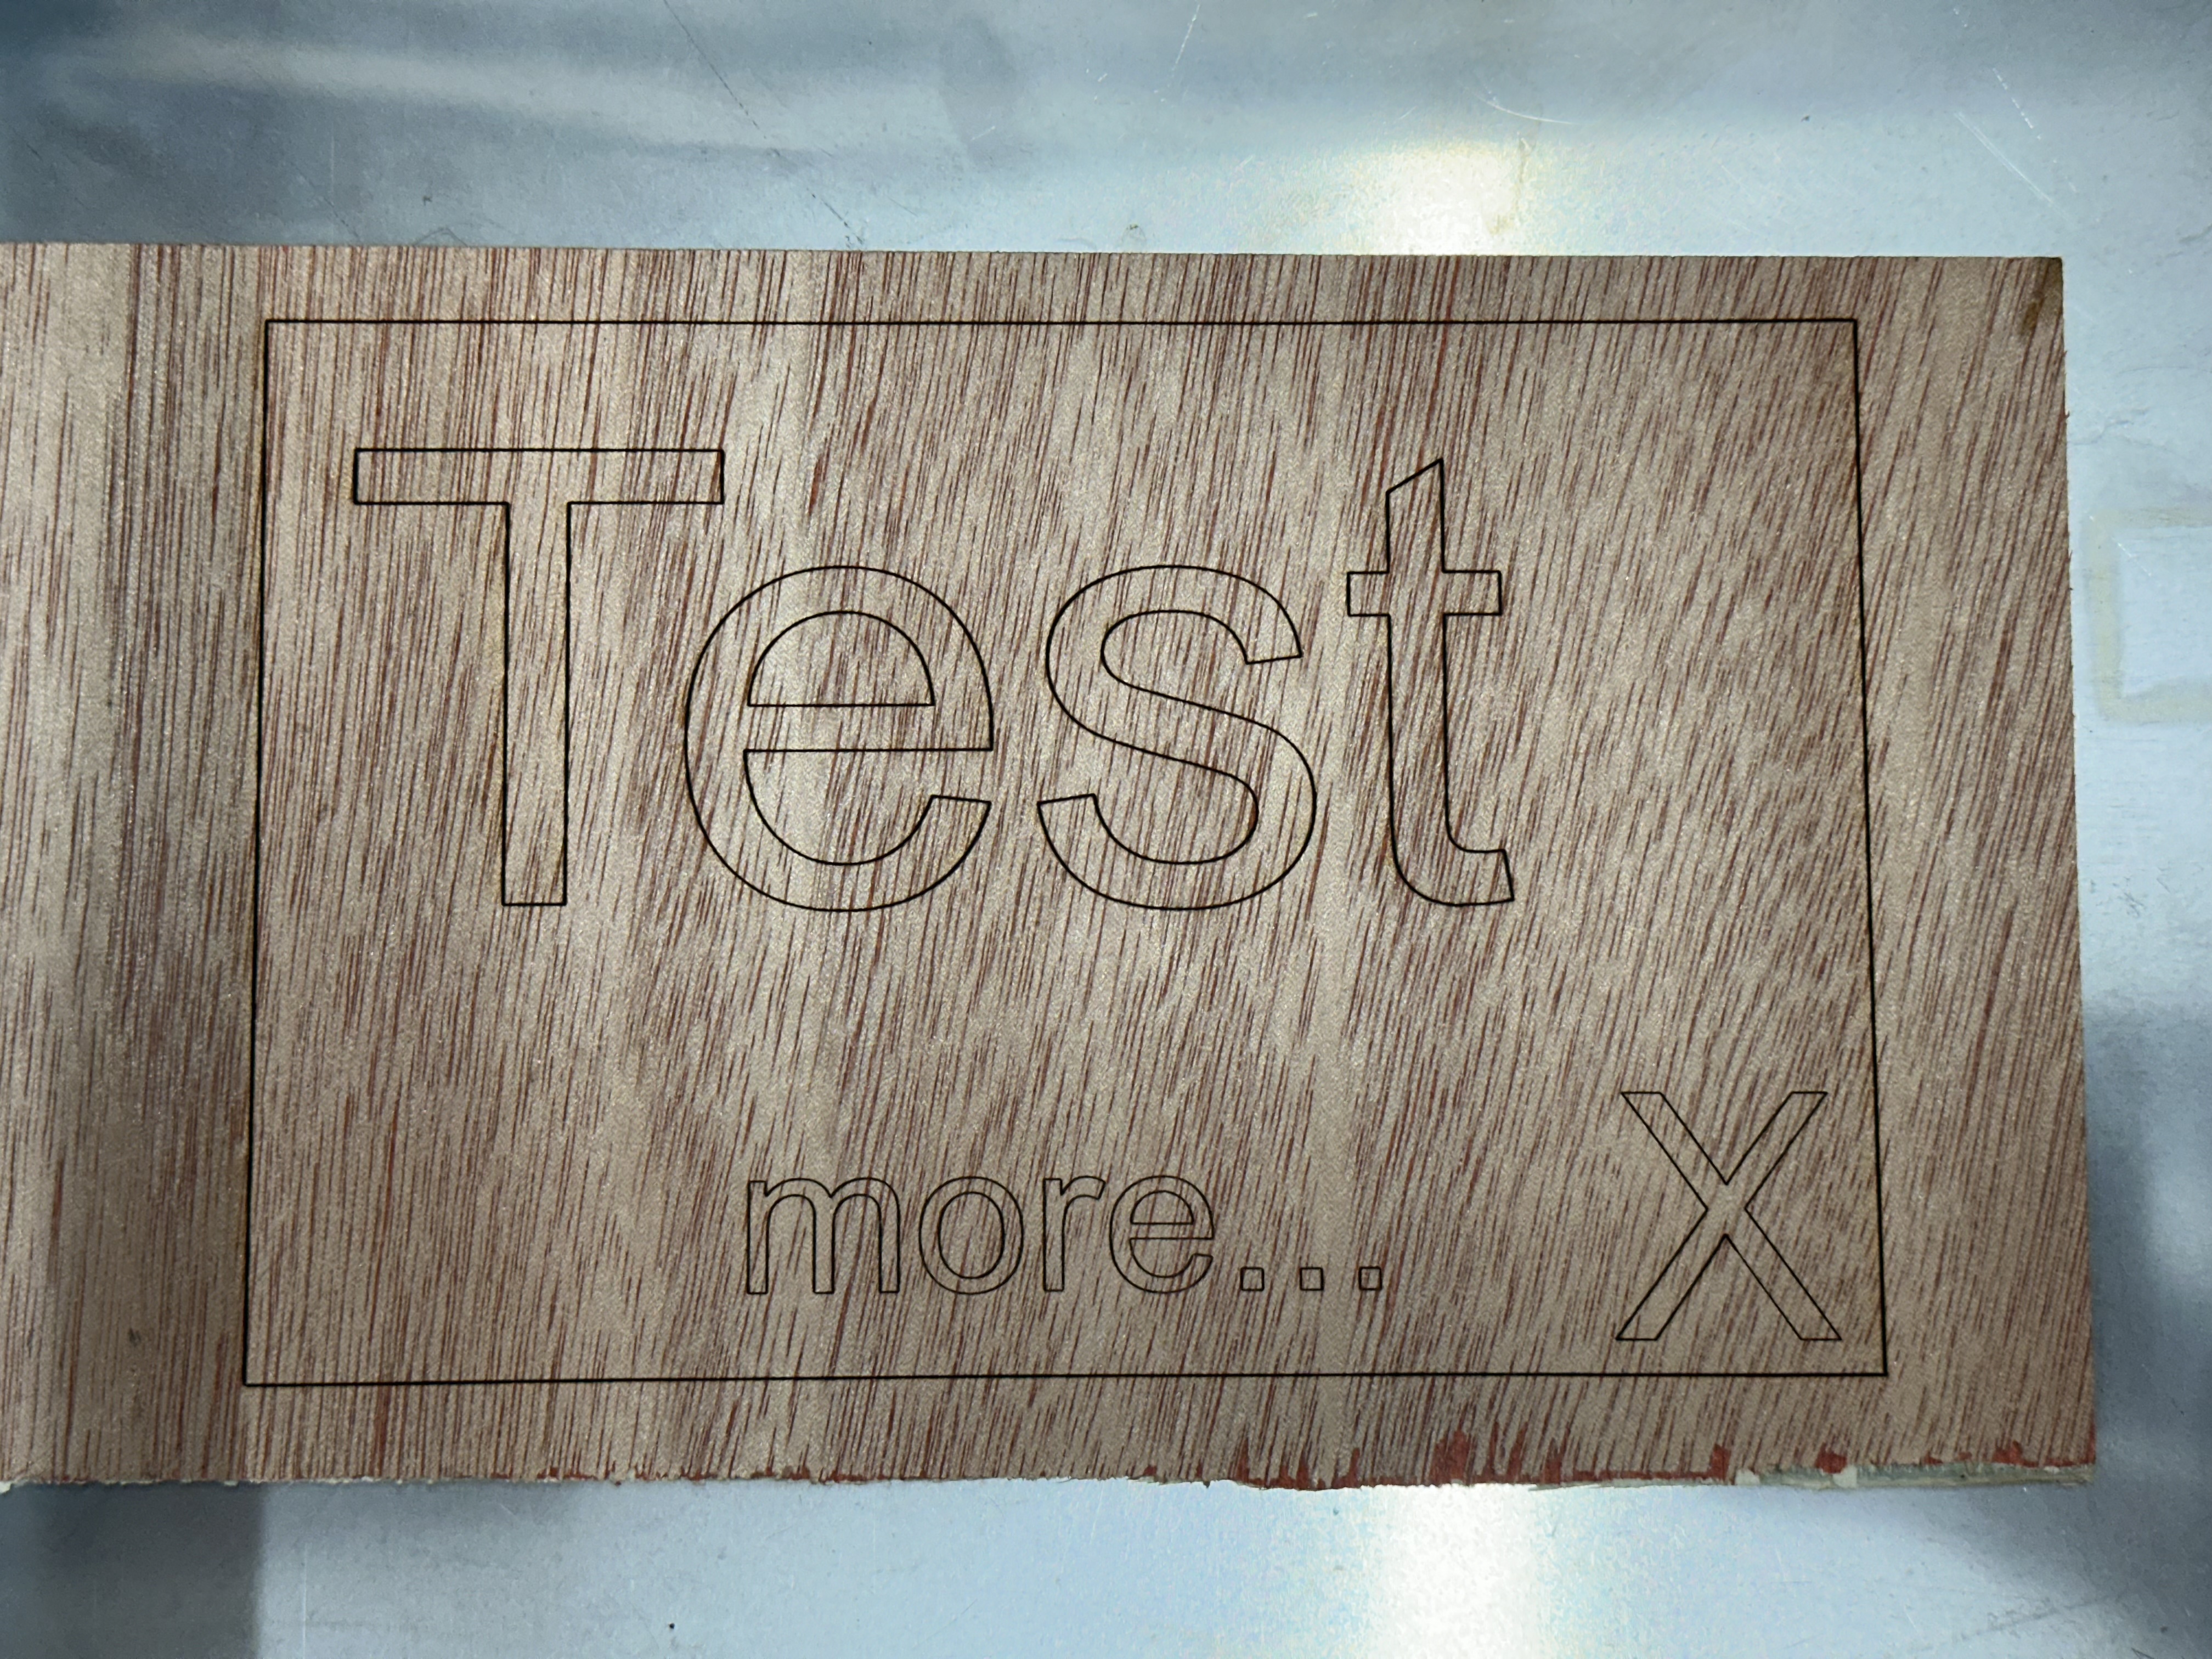
Test.lbrn2
Text engraving test file.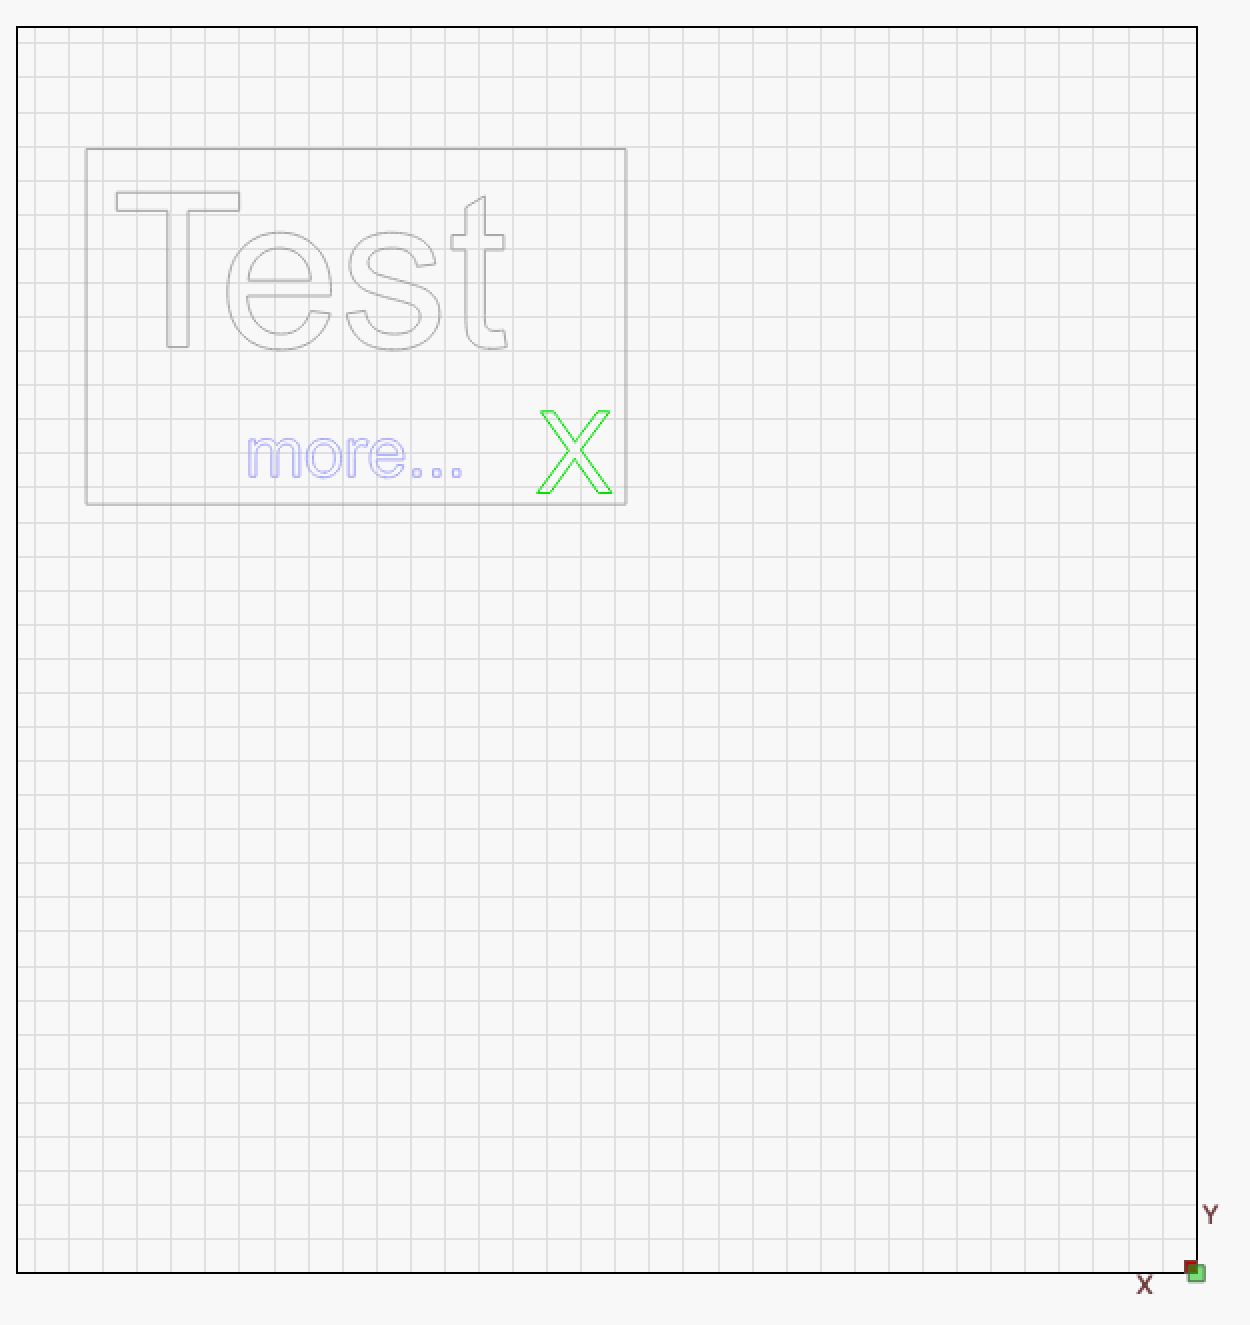
-
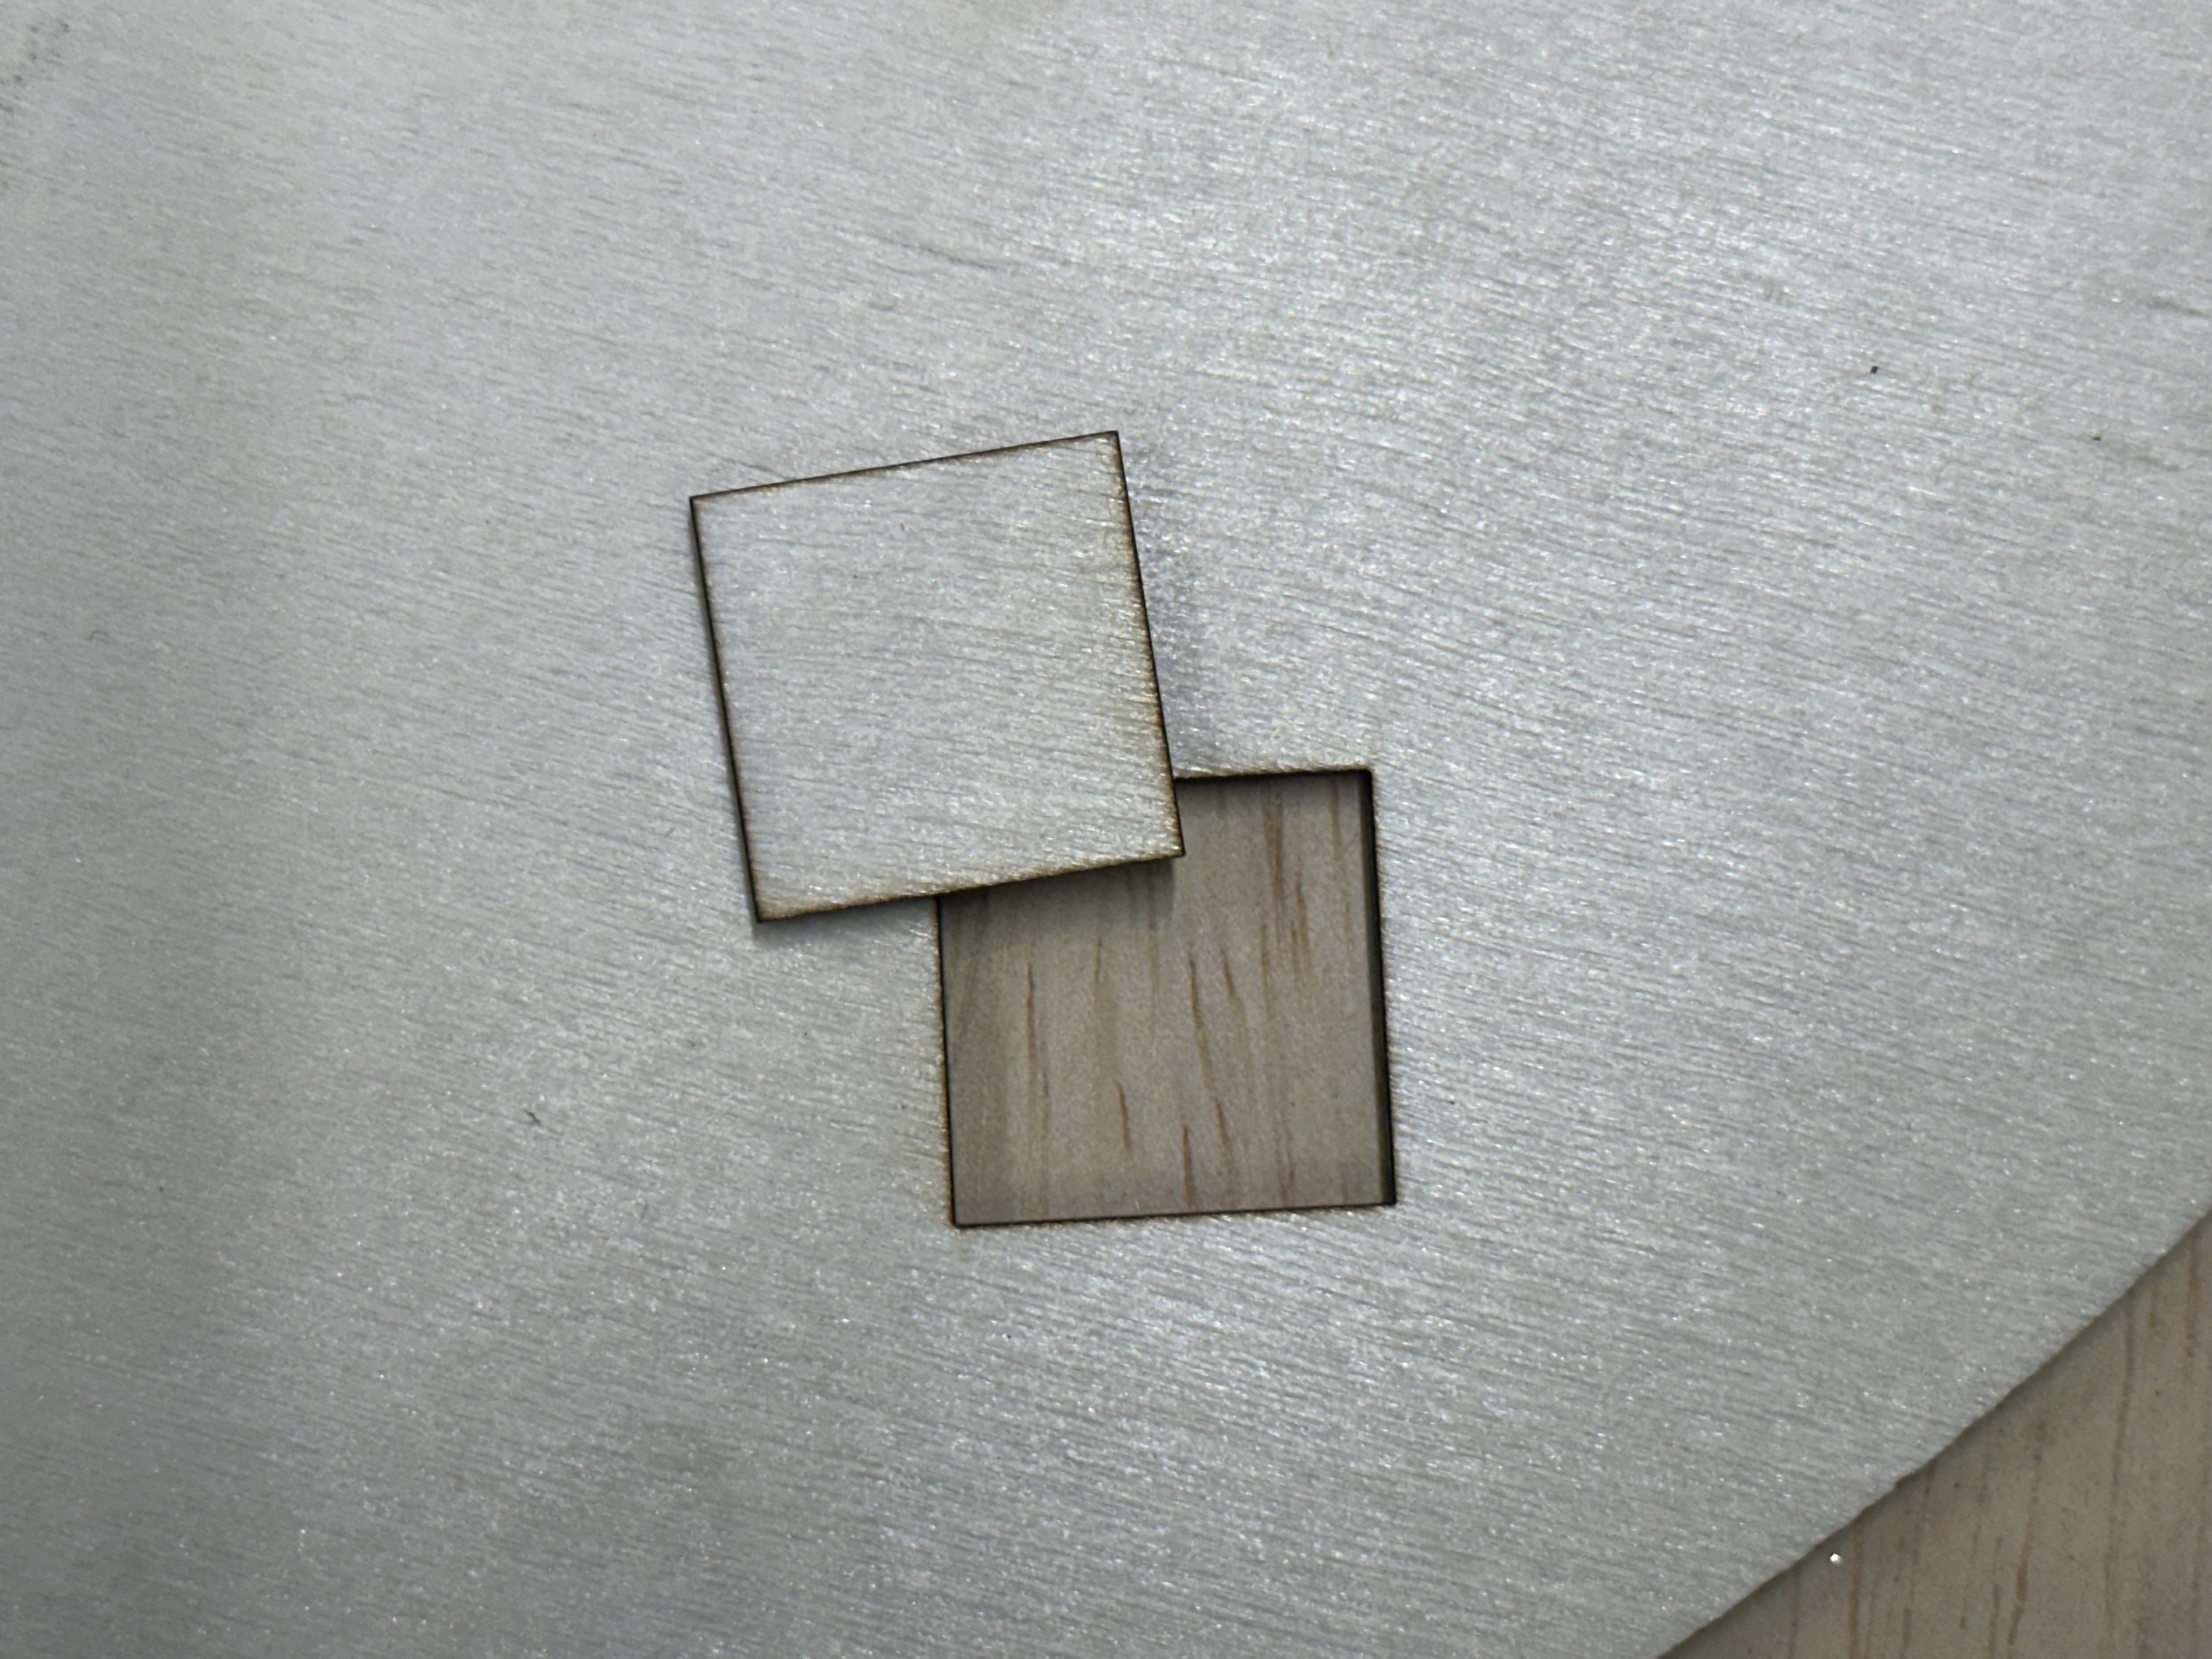
Cut-Test.lbrn2
20 cm x 20 cm cut test pattern.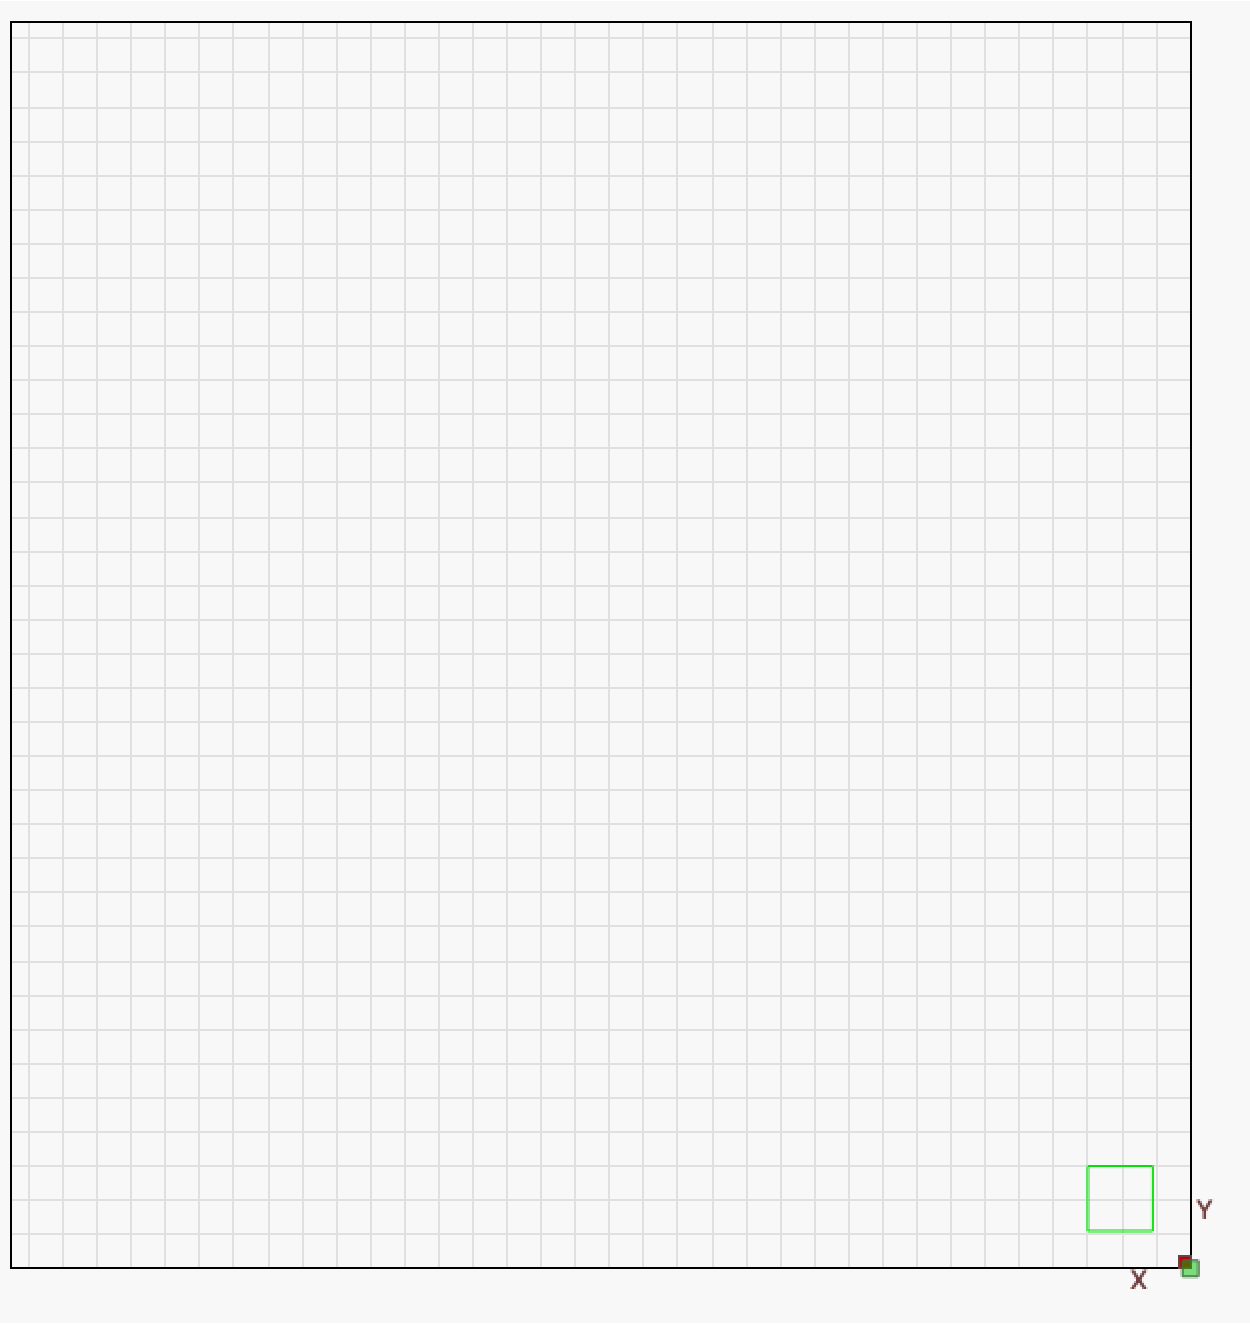
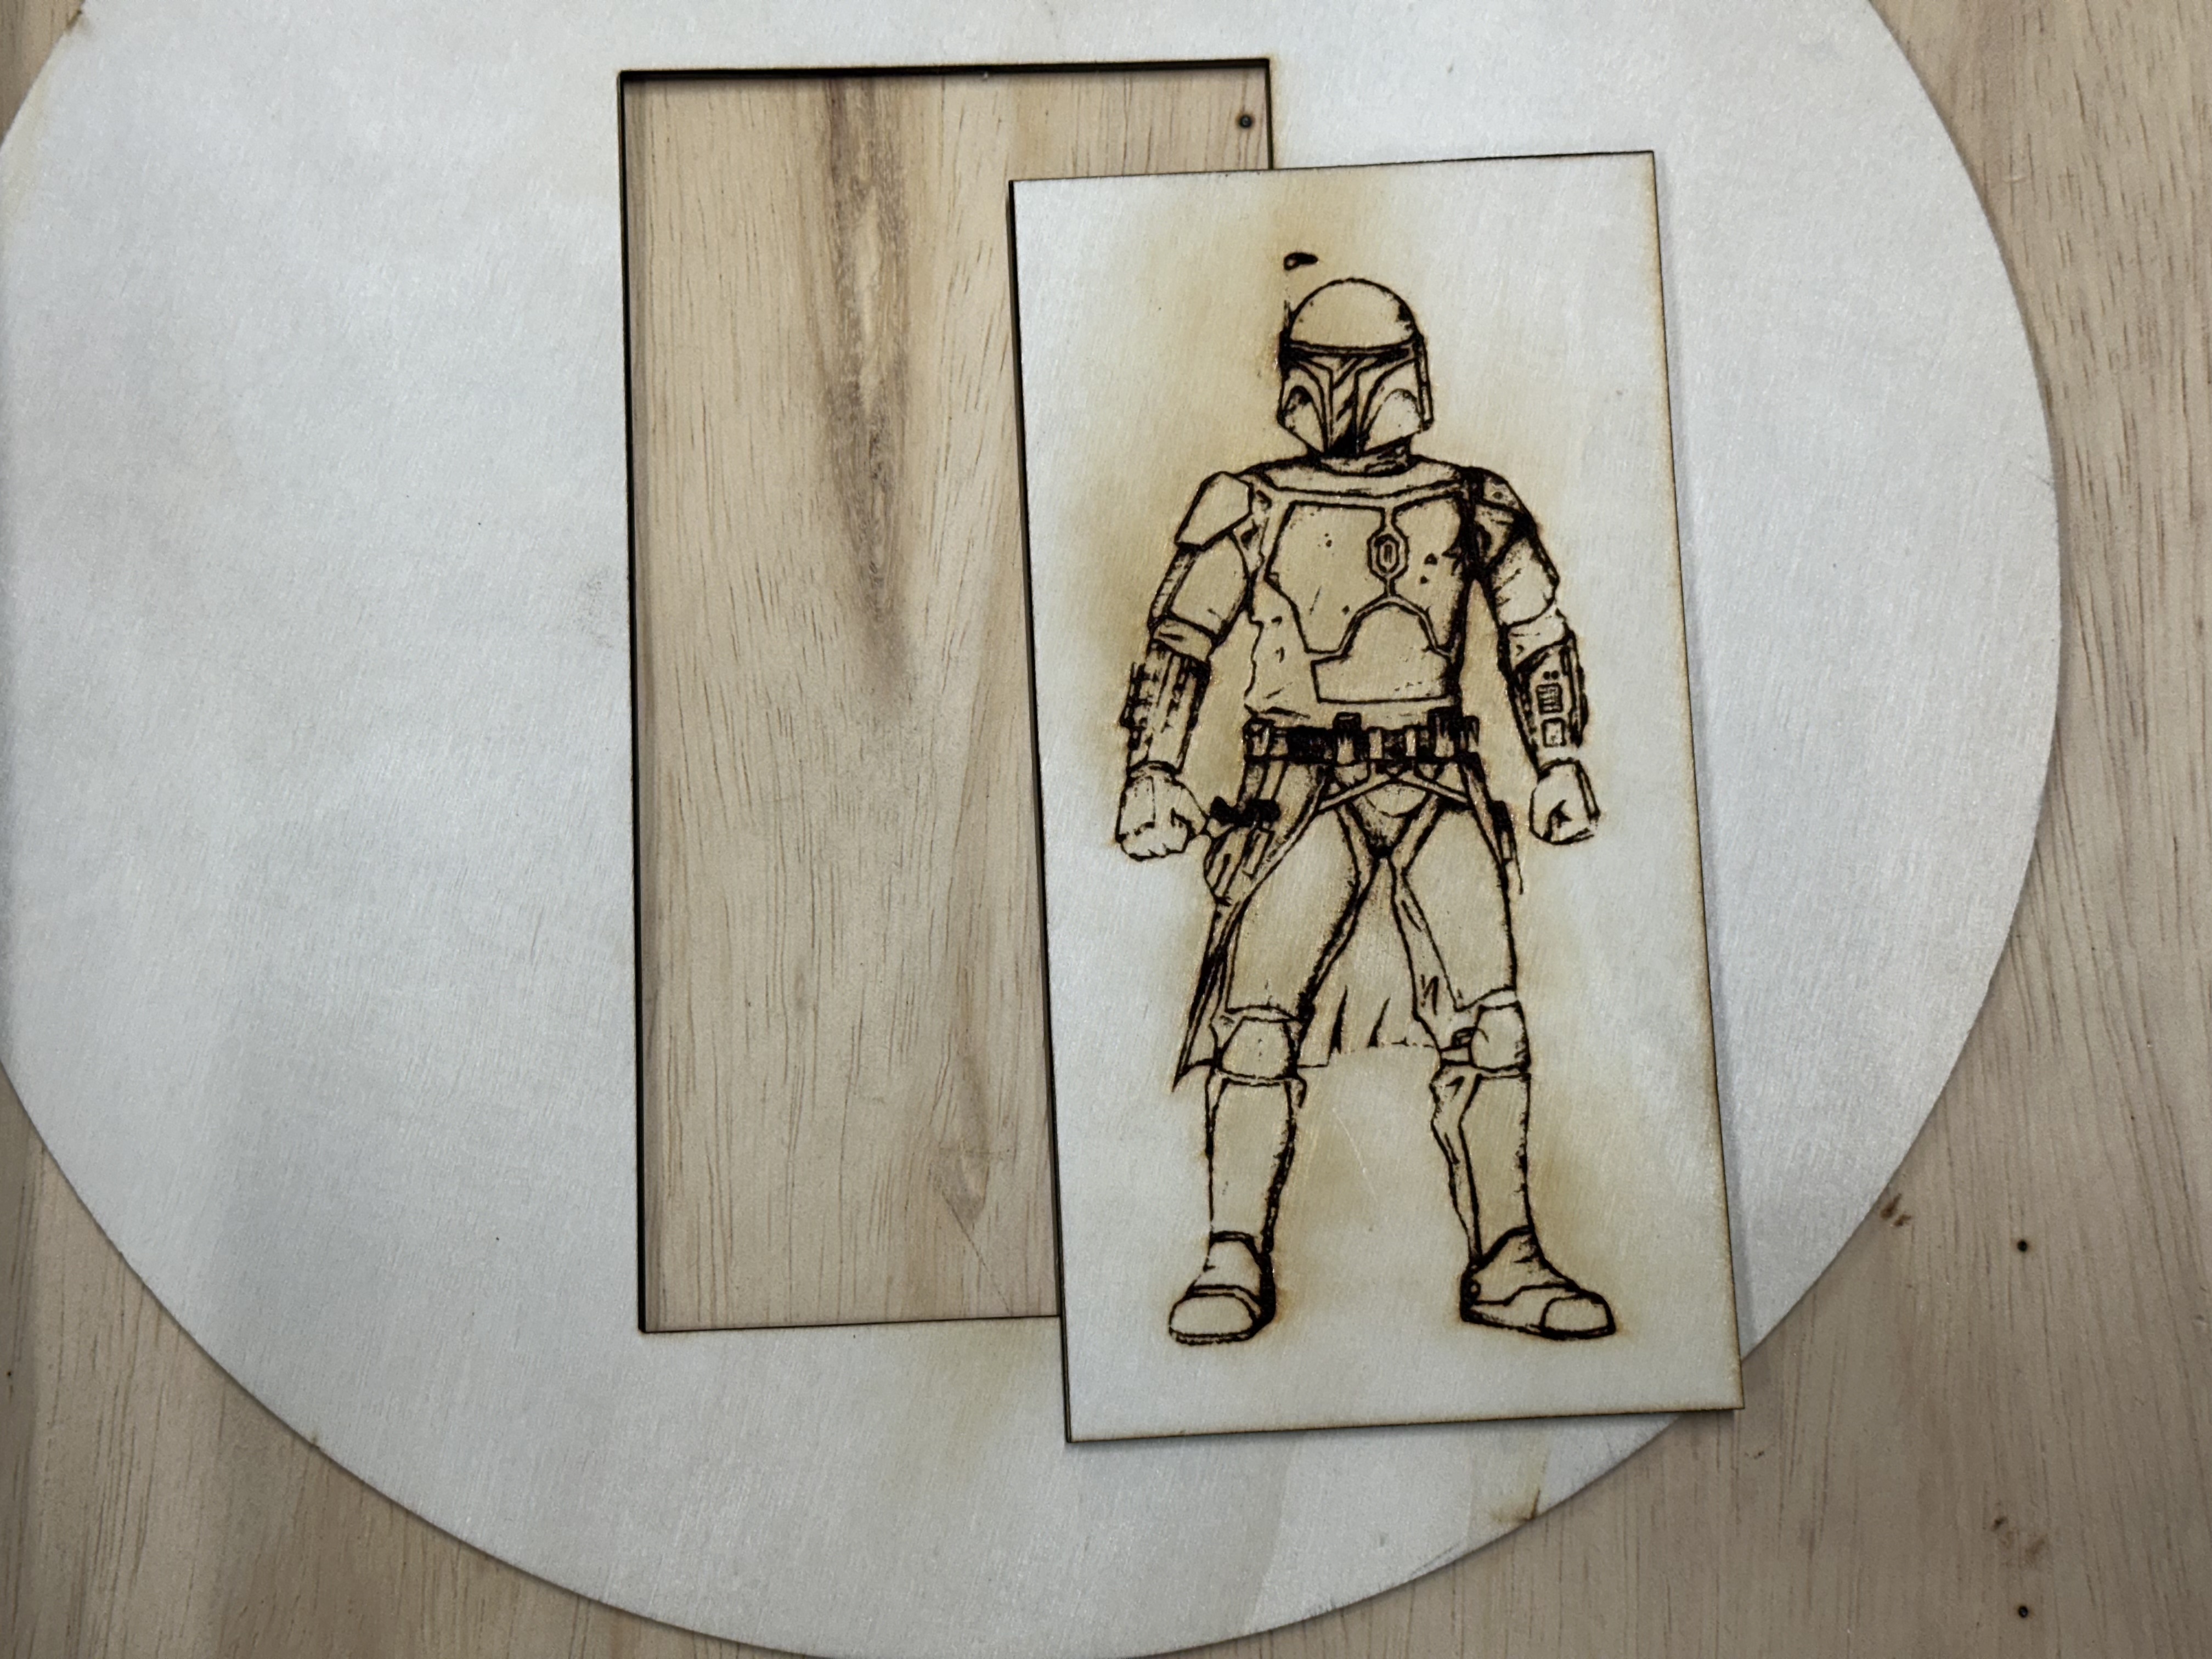
-
mando.lbrn2
Image etching example.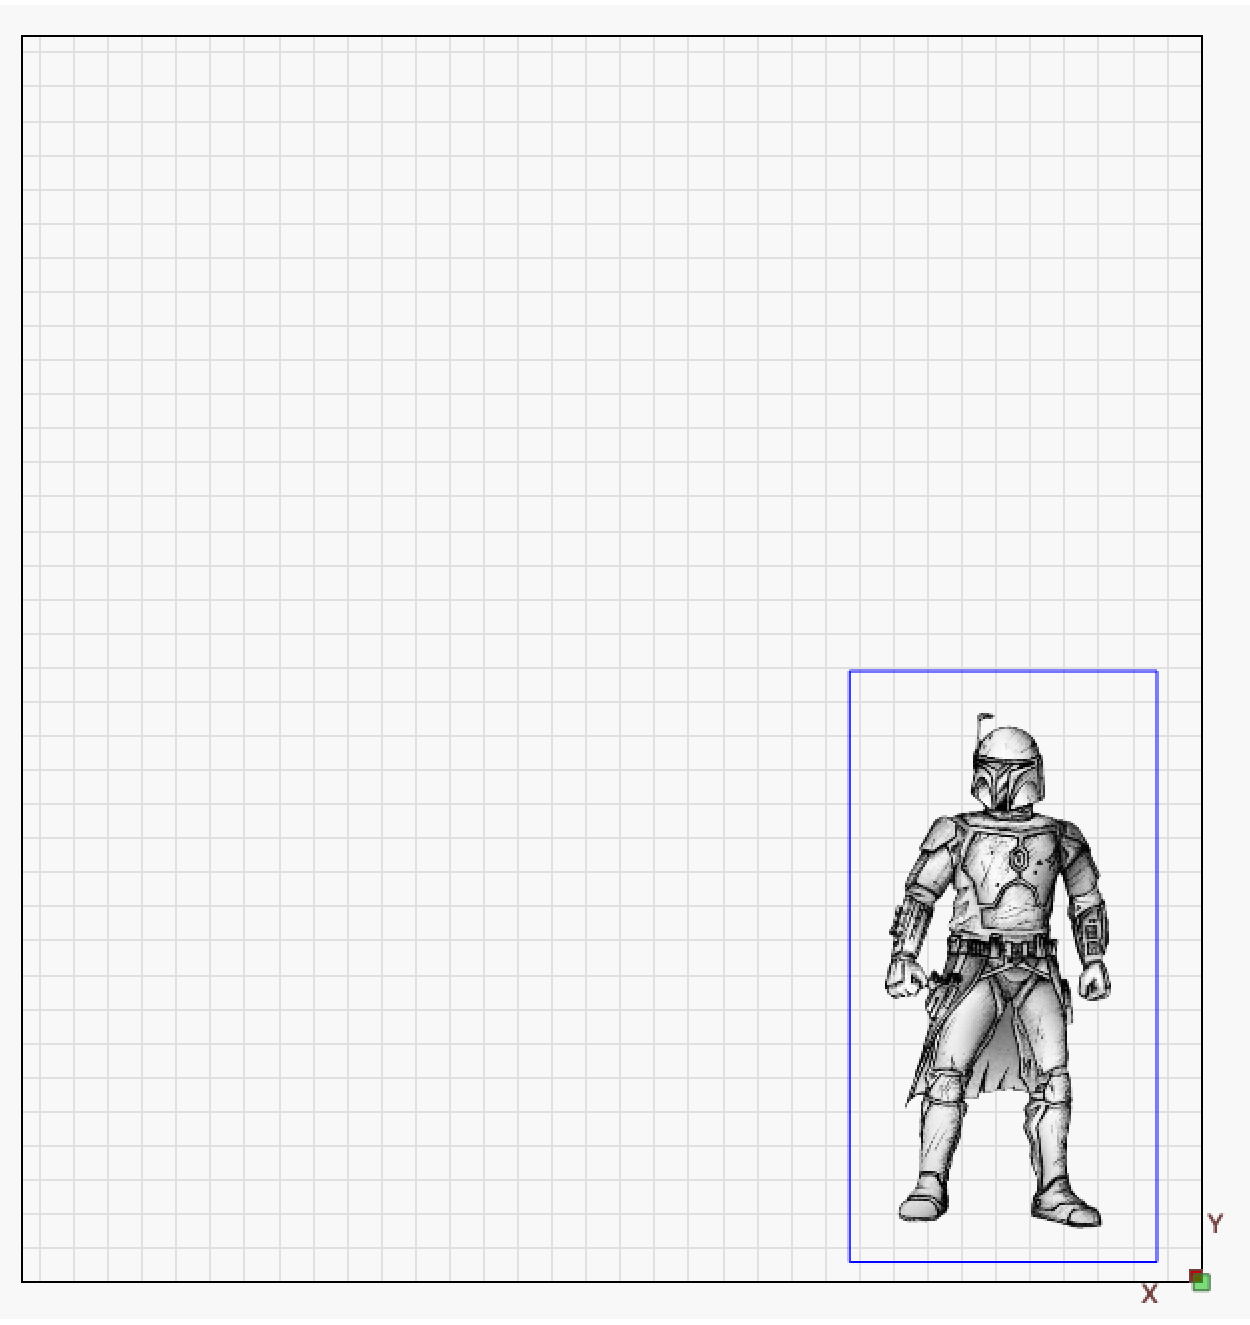
You can also run this firmware with LaserGRBL instead of LightBurn.
Download from: https://lasergrbl.com
- Start LaserGRBL.
- Select the LaserBot COM port.
- Set baud rate to 230400.
- Click Connect.
Use these baseline values for this firmware:
- Controller type: Grbl
- Work area: X 340 mm, Y 360 mm
- Laser mode enabled:
$32=1
Optional but recommended:
- Home the machine (
$H) before jobs.
Soft limits are disabled by default in this firmware ($20=0), so enable them after setup if you want Grbl to alarm on out-of-range moves.
- Connect to the LaserBot in LightBurn.
- Open the Console panel.
- Send:
$20=1
- Confirm by sending
$$and checking that$20=1is reported.
Soft limits require homing and valid travel settings ($130, $131).
You can set the same option from Arduino IDE using Serial Monitor.
- Open Tools > Serial Monitor.
- Set line ending to Newline and baud to 230400.
- Send:
$20=1
- Send
$$to verify that$20=1is saved.
Soft limits are stored in Grbl settings, so this only needs to be done once per controller reset/config reset workflow.
You can also enable soft limits directly from LaserGRBL.
- Connect to the LaserBot in LaserGRBL.
- Open the Console area.
- Send:
$20=1
- Send
$$and confirm$20=1is shown in the settings list.
Soft limits require homing and valid travel settings ($130, $131).
This firmware is configured with a 5 mm safety buffer on each axis:
$130=340(X travel)$131=360(Y travel)
The machine can physically travel to about X=345 and Y=365, but the configured values intentionally stop 5 mm short to reduce overtravel risk.
If you want to expand the limits and remove the 5 mm safetly buffer on each axis, you can reconfigure the settings using the serial interface through the software or the Arduino IDE.
- Connect to the controller.
- Send:
$130=345$131=365
- Send
$$and verify$130and$131.
If you change the firmware limit settings the software will need to be updated too.
- LightBurn: Open Device Settings and set work area to X 345 mm / Y 366 mm (or your chosen values), then save.
- LaserGRBL: Open machine profile/settings and set work area to X 345 mm / Y 365 mm (or your chosen values), then save.
This fork adds and enables the pieces needed to run a Makeblock LaserBot as a Grbl laser machine:
- LaserBot/MegaPi build profile enabled
grbl/config.henables MegaPi CPU map and LaserBot defaults.
- LaserBot hardware pin mapping
grbl/cpu_map.hdefines LaserBot motion, enable, endstop, and laser PWM pins.
- MegaPi board-specific runtime support
grbl/megapi.cinitializes drivers, reads LaserBot limits, and controls laser PWM behavior.
- Laser-oriented defaults
grbl/defaults.hsets machine travel, speeds, homing, baud, and laser mode defaults for LaserBot.
- Laser command behavior compatibility
- Laser power behavior is adapted for MegaPi/LaserBot handling in core motion/spindle flow.
Together, these changes modernize the LaserBot workflow and allow practical use with current host software, especially LightBurn.
Repository settings that should be configured on GitHub:
- Description:
Makeblock LaserBot firmware upgrade for MegaPi using Grbl + LightBurn workflow - Topics:
laserbot,makeblock,megapi,grbl,firmware,lightburn
See also:
- Release/submission workflow:
doc/markdown/distribution.md - Community announcement templates:
doc/markdown/community_announcement.md