Setting up the development environment
1. Python Environment Setup#
Check if your Python environment is already configured:
   python3 --version
   pip3 --version
Python 3 supported versions
Currently, rasa supports the following Python versions: 3.7 , 3.8 , 3.9 and 3.10 . Note that Python 3.10 is not currently supported for rasa installations on Apple Silicon. The blocker consists of current inability to update to Tensorflow version >= 2.10. x which is pending the resolution of a Tensorflow bug.
Follow this link to learn more
If these packages are already installed, these commands should display version numbers for each step, and you can skip to the next step.
Otherwise, proceed with the instructions below to install them.
Ubuntu:
   sudo apt update
   sudo apt install python3-dev python3-pip
macOS
Install the Homebrew package manager if you haven't already.
Once you're done, you can install Python3.
   brew update
   brew install pyenv
   pyenv install 3.8
Windows
Make sure the Microsoft VC++ Compiler is installed, so python can compile any dependencies. You can get the compiler from Visual Studio. Download the installer and select VC++ Build tools in the list.Install Python 3 (64-bit version) for Windows.
C:\> pip3 install -U pip
Virtual Environment Setup#
This step is optional, but we strongly recommend isolating python projects using virtual environments. Tools like virtualenv and virtualenvwrapper provide isolated Python environments, which are cleaner than installing packages system-wide (as they prevent dependency conflicts). They also let you install packages without root privileges.
We will need to install the virtual environment so that we generate the default folders and files for the bot.
 Windows users instructions
python3 -m venv env
Then run
env\Scripts\activate
Your environment is activated you can now install the rasa library
If you want to deactivate the environment run deactivate

 Mac(with Intel chip) & Linux users instructions
python3 -m venv env
The you run the following command to activate environment
source env/bin/activate
Your environment is activated you can now install the rasa library
If you want to deactivate the environment run deactivate
pip3 install -U pipOnce Python is installed, you can install Rasa using pip, the package installer for Python. Open the command prompt or terminal and run the following command:
pip3 install rasaCreate a new Rasa project: After installing Rasa and its dependencies, you can create a new Rasa project by running the following command:
rasa initThis command will create a new directory with the basic file structure for a Rasa project, including the config file, NLU file, stories file, and domain file.
rasa shellThis command will start the Rasa shell, which allows you to test the chatbot and see the responses generated by Rasa.
Once you have completed these steps, you should have a working development environment for building a chatbot using Rasa. Remember to keep your packages up-to-date to have the latest features and bug fixes.
Create the file in the root directory ie. casa/Dockerfile
FROM python:3.7-slim

RUN python -m pip install rasa

WORKDIR /app

COPY . .

RUN rasa train nlu

# set the user to run , dont run as root
USER 1001

# set entry point for interactive shell

ENTRYPOINT ["rasa"]

# command to run when container is called to run
CMD ["run", "--enable-api", "port", "8080"]
You cannot run Rasa in a Docker container on Apple Silicon, only native installations currently work. An installation in docker requires support for Ubuntu aarch64 which the current tensorflow version 2.8 does not provide - only MacOS is supported as an operating system running on aarch64. Rasa team expects a future upgrade of Tensorflow to allow Apple Silicon users to run Rasa inside of Docker.
The syntax command docker build -t <image_name>:<version> .
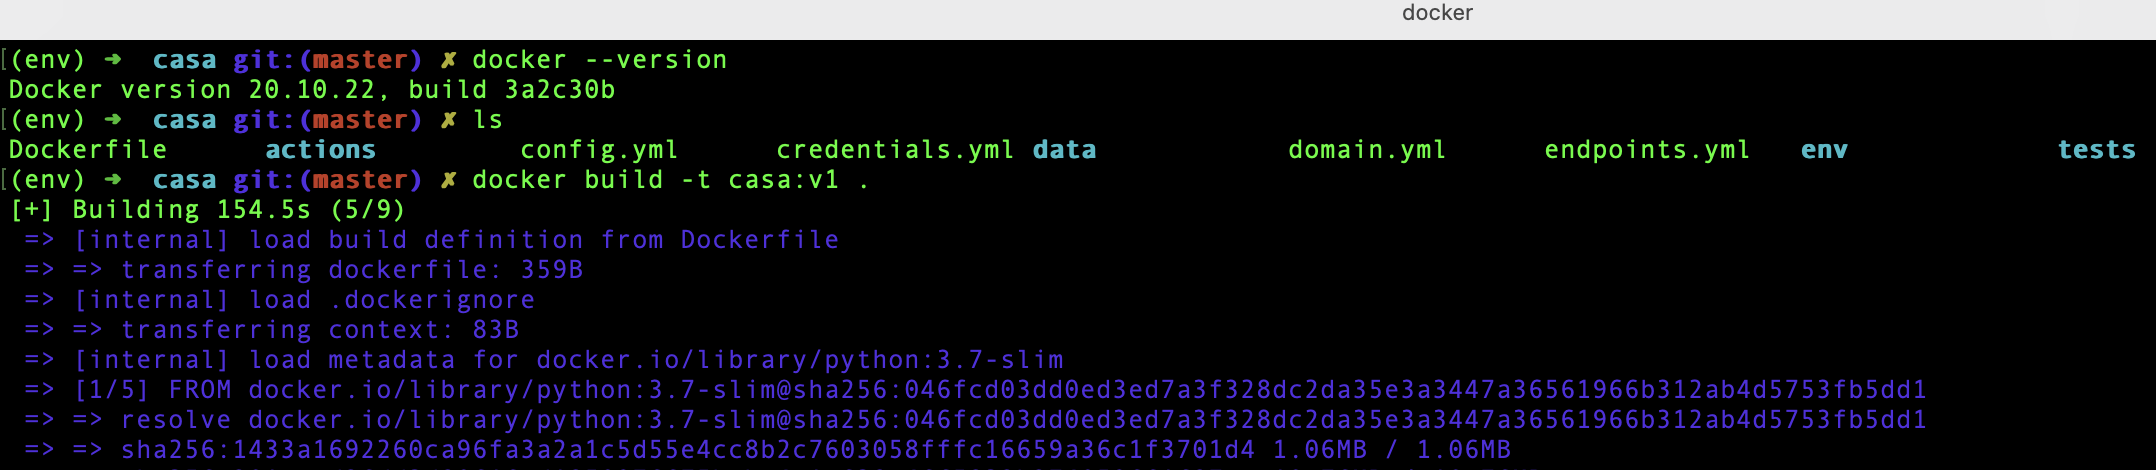
Run the following: docker build -t casa:v1 .
Example output after running command
This will take a while so be patient 😉