| layout | default |
|---|---|
| title | L4: Light-Level Instrument |
| description | Build an interactive CPX instrument in MakeCode that turns light levels into sound and color, using the onboard light sensor, speaker, and NeoPixels to make a playful light theremin. |
| image | https://img.youtube.com/vi/RlEPQqyQGEk/hqdefault.jpg |
| parent | Circuit Playground Express |
| has_toc | true |
| comments | true |
| nav_exclude | false |
| usetocbot | true |
{: .no_toc }
{: .no_toc .text-delta }
- TOC {:toc}
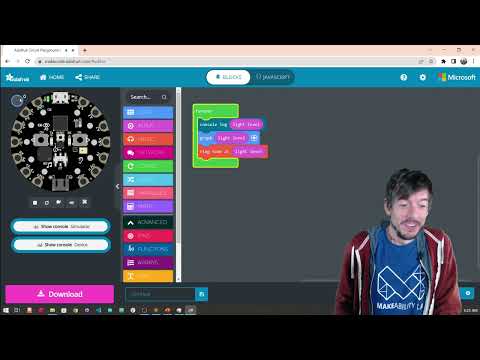
In this lesson, we will build on our last lesson—the Button Piano—to make an interactive instrument that translates light levels into sound and light. It won't sound great but it will sound fun!
Here's the final code. Right-click on the code below and select "Open link in a new tab" to open it in the MakeCode editor.
We use the following blocks in this example. See the Adafruit MakeCode Reference guide.
For output, we used Light, Music, and Console blocks, particularly:
- graph makes the on-board NeoPixels into a real-time "bar graph"
- ring tone plays a tone at a given frequency
- set volume sets the volume of the output speaker
- stop all sounds stops all sounds from playing
- console log writes a line of text to the console output
For Input blocks, we used:
- light level measures light level between 0 (dark) and 255 (light)
- switch right is true if the switch is to the right; however, I could not find documentation for this block
We also used one Logic block to check to see if the switch was to the right and, if it was, to play the sound. Otherwise, to stop all sounds.
- if runs code depending on whether a statement is true
To ensure that our volume is properly set, we initialize it to 255 (the highest value) when the program first starts using the on start block
- on start runs once and only once when the program starts
{: .note } The examples we include here are intentionally more complicated to help demonstrate the power and potential of MakeCode with the CPX. It's OK if you don't understand something. We'll get there!
How might you use the other built-in sensors to create music? Try playing with acceleration (motion), sound level, and temperature. For example, we've created an example accelerometer-based instrument that changes the pitch and volume based on the y and x acceleration, respectively. You need not create something so complicated but do try to experiment with different sensors!
 Figure. An accelerometer-based instrument that changes the pitch and volume based on the y and x acceleration, respectively. Here's the full code.
{: .fs-1 }
Figure. An accelerometer-based instrument that changes the pitch and volume based on the y and x acceleration, respectively. Here's the full code.
{: .fs-1 }
Relatedly, how might you improve how the music sounds? In the example below, we map the light level to notes in the C scale using a predefined array of frequencies (each frequency maps to a musical note in the C scale, which is indexed based on the light level).

Figure. A more advanced light sensor instrument that translates the raw light levels to notes in the C scale. Here's the full code. {: .fs-1 }
Similarly, here's a version that maps the x component of the accelerometer to notes in the C musical scale.
In the next lesson, we'll introduce a multi-part series on using capacitive sensing to interact with everyday objects and more!