| layout | default |
|---|---|
| title | L5: Capacitive Touch |
| description | Explore capacitive touch sensing on the CPX with MakeCode. Build a proximity sensor and a fruit piano from bananas and soda cans, then turn everyday objects into keyboard keys. |
| image | https://img.youtube.com/vi/HKwtXrTdocE/hqdefault.jpg |
| parent | Circuit Playground Express |
| has_toc | true |
| comments | true |
| nav_exclude | false |
| usetocbot | true |
{: .no_toc }
{: .no_toc .text-delta }
- TOC {:toc}
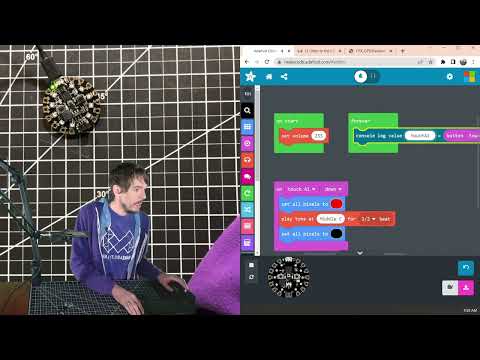
In Lesson 5 in our CPX series, we will learn how to use capacitive touch sensing. This is a multi-part series starting with an introduction to capacitive sensing.
In this lesson, we will first introduce the concept of capacitive sensing before building a simple capacitive touch "piano." We will then show how to visualize the raw capacitance values and capacitance touch threshold values, which are used to trigger capacitance events. Third, we cover how to use both auto-calibration and manual calibration to change the capacitance touch threshold before building a capacitive-responsive instrument (similar to Lesson 4: Light-Responsive Instrument).
Here is a link to the programs we built in Lesson 5.1.
- Code for graphing A1 capacitance
- Code for graphing A1 capacitance, the touch threshold, and recalibration
- Code for capacitive-responsive instrument (proximity!)
Building on 5.1, we will prototype an interactive piano out of everyday objects like an orange, banana, and soda can with the CPX, MakeCode, and capacitive touch sensing. We'll again show how important it is to measure the capacitance touch values of different objects and to use auto-calibration or manual calibration to configure capacitance touch thresholds.
Here is a link to the programs we built in Lesson 5.2.
Building on 5.2, we'll use capacitive touch sensing to make a custom keyboard and play music and video games with fruit, a coin, and a soda can. Essentially, we're going to make your laptop think the CPX is a keyboard and have all sorts of fun using different objects as keys!
Here is a link to the programs we built in Lesson 5.3.
Building on 5.3, we'll use capacitive touch sensing to make a custom lo-fi Nintendo NES controller out of cardboard, copper tape, and tin foil and play Super Mario Bros.
Here is a link to the programs we built in Lesson 5.4.
-
Capacitive Touch Input on the CPX, Adafruit MakeCode Documentation
-
Calibrate Capacitive Sensitivity, Adafruit MakeCode Documentation
-
Making Touch Sensor Objects, Adafruit MakeCode Documentation
If you want to learn more about how capacitive and resistive touchscreens work, see below:
- Capacitive Touch Screens, Tufts Final Project 2015
- Using a resistive touchscreen, DroneBot Workshop
- How to Add Capacitive Sensing to Any Arduino Project, Maker.io
In the next lesson, we'll revisit using the CPX as a programmable keyboard and deepen our understanding.
[Previous: Light-Responsive Instrument](sensor-instrument.md){: .btn .btn-outline } [Next: CPX as a Keyboard](cpx-keyboard.md){: .btn .btn-outline }