How to get started
Before running this program, make sure you have Python installed on your operating system. If you already have it installed, you can skip this section.
To install Python on Mac, you can follow these steps:
Open Terminal on your Mac (you can find it in /Applications/Utilities/Terminal.app). Run the following command to install the Homebrew package manager:
/bin/bash -c "$(curl -fsSL https://raw.githubusercontent.com/Homebrew/install/HEAD/install.sh)"Once you have Homebrew installed, run the following command to install Python 3:
brew install python
To install Python on Linux, you can use your distribution's package manager. For example, in Ubuntu you can use the following command:
sudo apt-get install python3To install pipenv, you can use pip, the Python package manager:
pip install pipenv
-
Virtual environment configuration pipenv
with zsh, add this to your configuration ~/.zshrc:
eval "$(_PIPENV_COMPLETE=zsh_source pipenv)"Alternatively, with bash, add this to your configuration ~/.bashrc or ~/.bash_profile:
eval "$(_PIPENV_COMPLETE=bash_source pipenv)"
Once you have pipenv installed, you can create a virtual environment to install the project dependencies
pipenv shell
This will create a new virtual environment and activate it automatically. Any dependencies you install via pip or pipenv will be installed in this virtual environment, instead of affecting your global Python installation.
Once you have the virtual environment set up, you can run the program with the following command:
python filename_of_file.py
Be sure to replace filename.py with the name of the file containing your program.
Make sure you have an OpenAI account. If you don’t visit this page and create an account.
After you create an account, generate an API key which is exclusive to your account. Visit this page and create a new secret key.

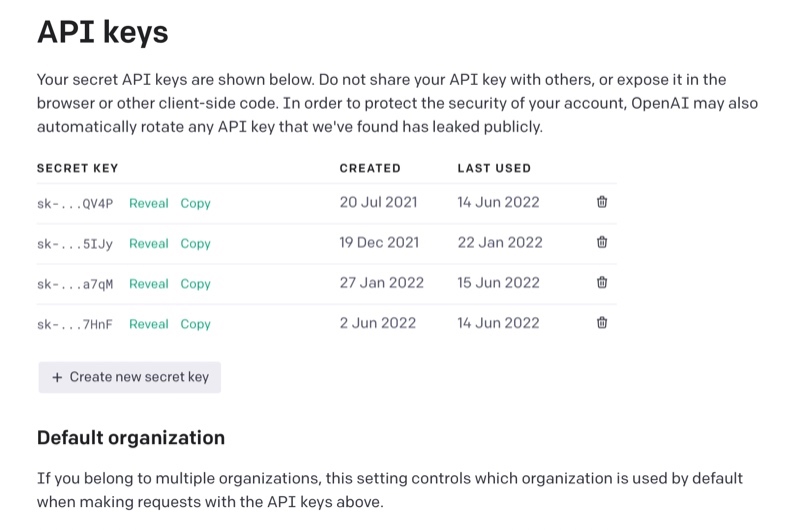
Do note that you will be charged based on your monthly usage. The cost structure is, for 750 words (aka 1000 tokens), $0.02 if you use the most advanced model.
For example, if you use 2500 tokens per day for 20 days a month, you will be charged $1 per month.
To have a more interactive and dynamic conversation with our models, you can use messages in ChatGPT instead of the old prompt-style using with completions.
-
Instead of sending a single string as your prompt, you send a list of messages as your input.
-
Each message in the list has two properties: role and content.
-
The 'role' can take one of three values: 'system', 'user' or the 'assistant'
-
The 'content' contains the text of the message from the role.
-
The system instruction can give high level instructions for the conversation
-
The messages are processed in the order they appear in the list, and the assistant responds accordingly.
Even basic Completions requests can be completed through ChatGPT, as you can see below:
| Then | Now |
|---|---|
'prompt' : 'tell me something' |
'messages':' [{'role':'user', 'content':'tell me a joke'}]' |
Now, it is easier than ever to have back-and-forths with your model by just by extending the list of messages in the conversation.
'messages': '[{'role':'user', 'content':'tell me a joke'},{'role':'assistant', 'content':'why did the chicken cross the road'}, {'role':'user', 'content':'I don't know, why did the chicken cross the road'}]' |
|---|
You can also use a system level instruction to guide your model's behavior throughout the conversation. For example, using a system instruction and a message like this
'messages': [{'role':'system', 'content':'You are an assistant that speaks like Shakespeare.'},
{'role':'user', 'content':'tell me a joke'},
will result in something like :
{...
'message': {'role':'assistant',
              'content':'Why did the chicken cross the road? To get to the other side, but verily, the other side was full of peril and danger, so it quickly returned from whence it came, forsooth!'}
...}