Wemus Pro is a DIY project for a minimalist and modern little clock, designed to be simple and smart. It displays the time and weather information.


The Wemus Pro is a sleek, minimalist clock designed to be simple, functional, and easy to use. With a high-contrast 128x64 OLED display, it offers multiple beautiful clock modes that are both modern and clean. You can customize it to turn off automatically and enter deep sleep to save power. The intuitive button on the back lets you switch modes and access a menu with useful features like system info, Wi-Fi status, and even software updates. Every detail was carefully crafted to create a user-friendly experience, making it feel like a commercial product, both in design and performance.
- Features
- Requirements
- Required Hardware
- Firmware Installation
- Connection
- Case
- Assembly
- Debug
- License
- 128x64 OLED display: Crisp, high-contrast visuals.
- Clean, modern interface: Easy to navigate, designed for beauty and simplicity.
- Multiple clock modes: Beautiful, minimalist options to show the time.
- Deep sleep & auto-off: Save power by setting auto turn-off times.
- Simple button/menu: One button to switch modes and access settings like system info, Wi-Fi status, and more.
- Screensaver: A power-saving display mode.
- Crafted for quality: A sleek, user-friendly design, blending modern aesthetics with practicality.
To assemble and use Wemus Pro, you’ll need:
- A computer with Windows, macOS, or Linux
- A laser cutting machine (to make the case)
- Super glue (for assembling the case)
- A soldering iron and solder (basic soldering required)
- A basic understanding of electronics (flashing firmware, soldering, and assembly)
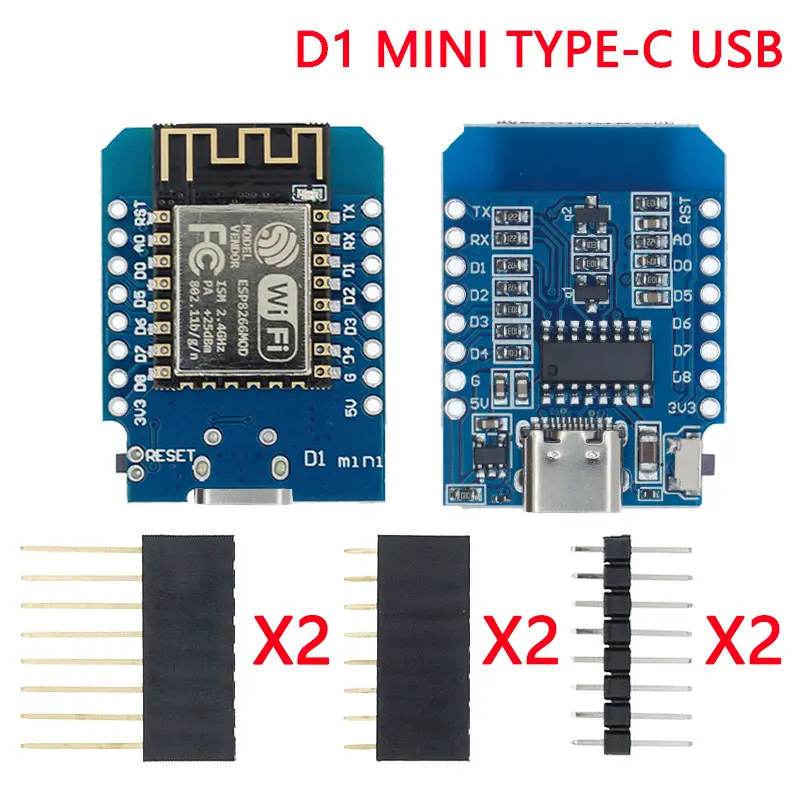 Wemos D1 Mini |
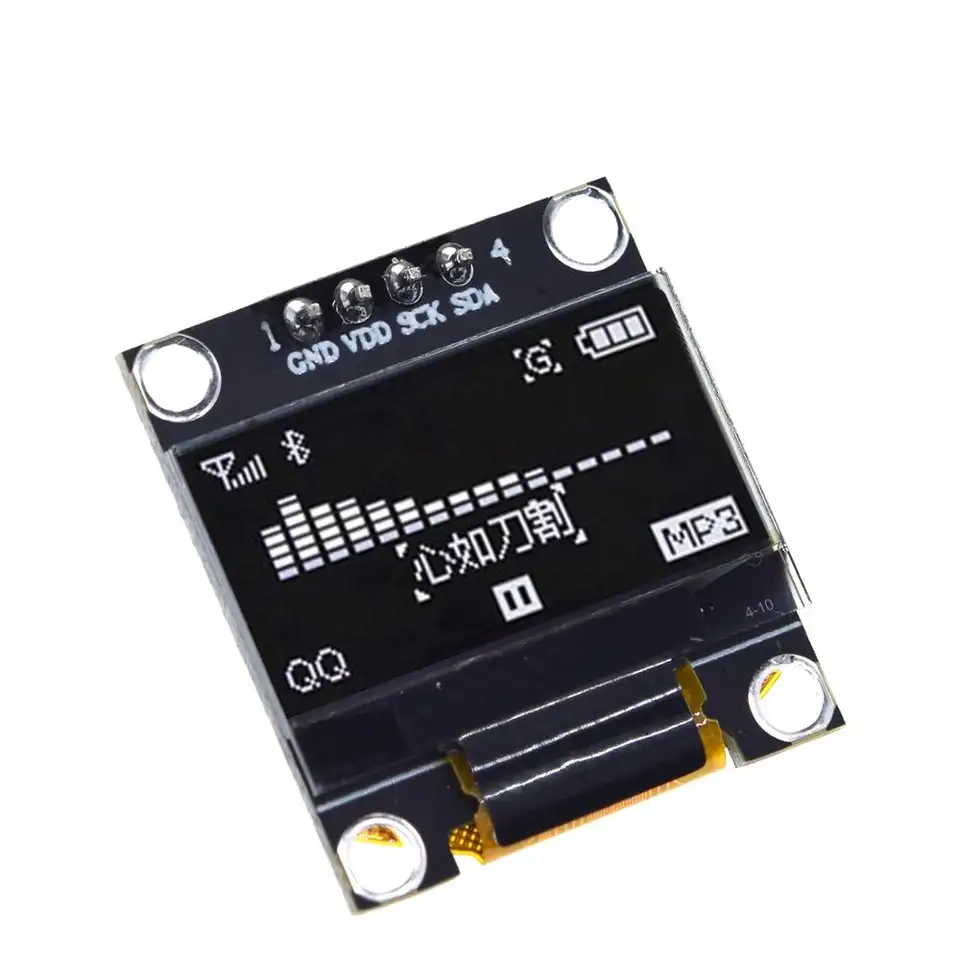 OLED Display SSD1306 128x64 I2C |
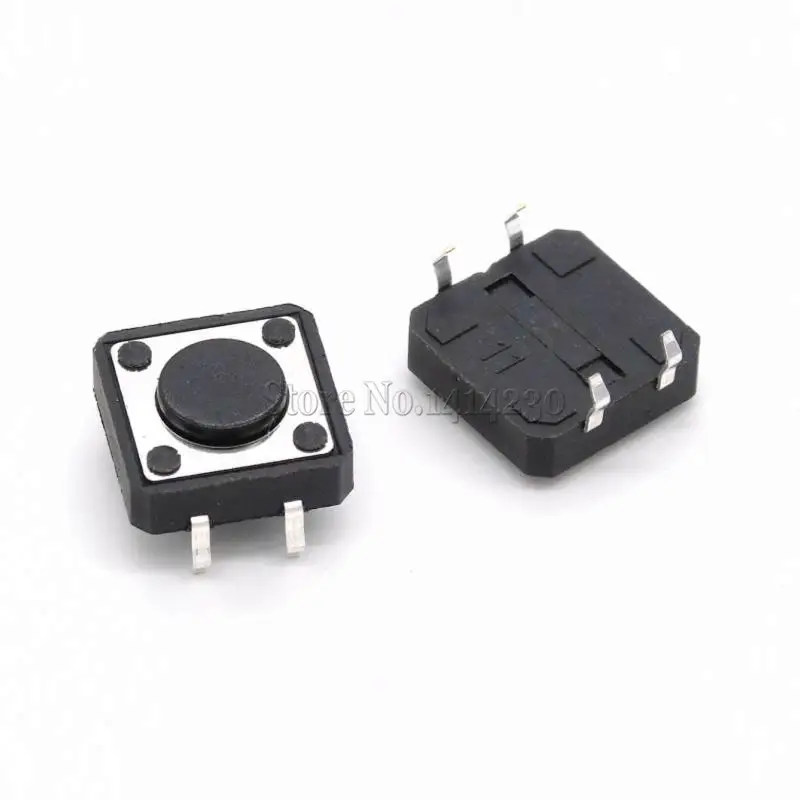 Push Button 12mm |
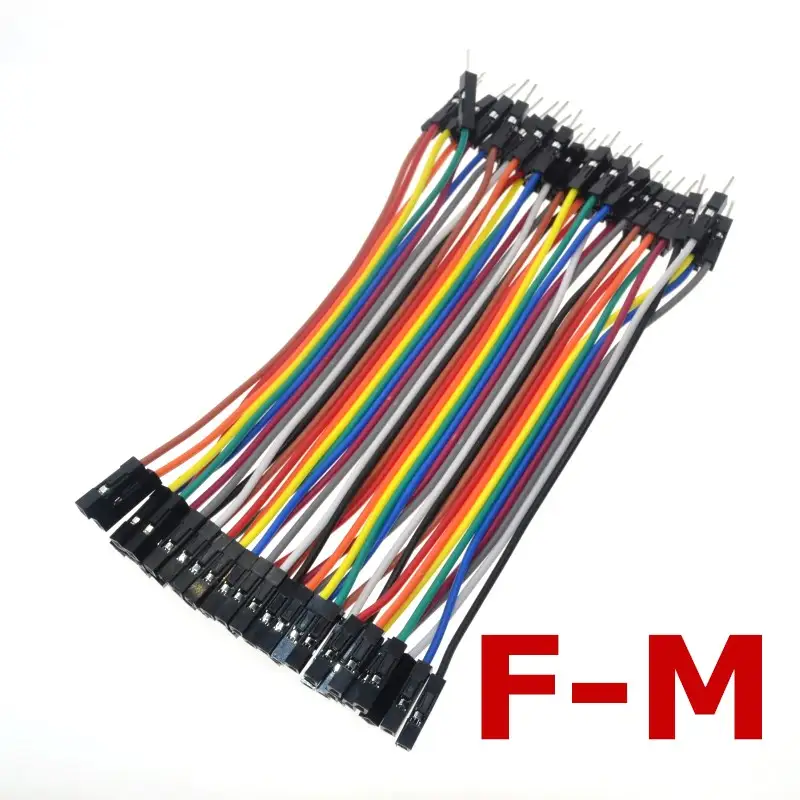 Jumper Wires |
- 1x Wemos D1 Mini
- 1x SSD1306 I2C 128x64 OLED display
- 1x 12mm push button
- 7x Jumper wires
- 4x for connecting the display
- 2x for the button
- 1x for connecting D0 to RST (required for sleep mode)
- 1x 3mm MDF board (HDF also works, untested with acrylic)

- Download the latest firmware: wemus_os.ino.bin
- To install the firmware on your Wemos D1 Mini, use one of the following tools:
-
Plug the Wemos D1 Mini into your PC via USB.
-
Go to https://web.esphome.io/ and click Connect.
-
Select the correct COM port that your Wemos D1 Mini is connected to.
-
Click Install, browse for the
wemus_os.ino.binfile on your computer, and then click Flash. -
The flashing process will take a moment. Once finished, the device will reboot.
-
Install Python and esptool if you haven't already:
pip install esptool
-
Connect your Wemos D1 Mini and identify the COM port:
- Windows: Check Device Manager under "Ports (COM & LPT)"
- Linux: Run
ls /dev/tty*(usually appears as/dev/ttyUSB0) - macOS: Run
ls /dev/cu.*(usually appears as/dev/cu.usbserial-*)
-
Flash the firmware using esptool:
# Erase flash memory
esptool.py --port COM3 erase_flash

# Windows
esptool.py --port COM3 --baud 115200 write_flash 0x0 wemus_os.ino.bin

# Linux/macOS
esptool.py --port /dev/ttyUSB0 --baud 115200 write_flash 0x0 wemus_os.ino.bin
Note: Replace COM3 or /dev/ttyUSB0 with your actual device port.
- If you get permission errors on Linux/macOS:
sudo chmod 666 /dev/ttyUSB0
- If the device isn't recognized:
- Install/reinstall CH340 drivers
- Try a different USB cable
- Press and hold FLASH button while connecting the device
- VCC → 5V
- GND → GND
- SDA → D2
- SCL → D1
- RST → D0
- BUTTON1 → D8
- BUTTON2 → D3

|
⚠️ Important: Most SSD1306 displays support both 3.3V and 5V, but some models are 3.3V only. If unsure, try 3.3V first. If the display doesn’t turn on, use 5V instead.
After flashing the firmware and powering on your Wemus Pro for the first time, follow these steps to complete the initial setup:
- Connect to Wemus Pro Wi-Fi
 Look for "WemusPro" in your Wi-Fi networks |
 Open the IP address in your browser |
After saving all the settings, the Wemus Pro will restart and attempt to connect to Wi-Fi. If successful, it will determine its geolocation based on the IP address and then restart once more (this only happens once).

The flickering on the screen is due to the camera's refresh rate and does not occur in real life.
Now you can customize your Wemus! 🎉
You can change the mode by pressing the button and access the configuration by holding it
 |
 |
 |
 |
 |
 |
 |
The case is designed to be laser cut in 3mm material (acrylic or MDF).

1. Start by carefully placing both supports on the display. Pay close attention to avoid damaging the flat cable.

|

|
Glue may be necessary.
|


I recommend gluing it with the side part attached to ensure proper alignment.
Then, glue the small piece from the USB hole to lock the Wemus firmly in place.
 |
 |
 |
 |

|

|

|

|
If you want, you can glue the other side, but I highly recommend not gluing the top part, the clutch power should be enough to hold it. Enjoy!

These are commands that you can run in the terminal on your Wemos D1 Mini clock.
ultrareset→ Erases all saved data.sleep→ Enters deep sleep for 1 minute.wifi→ Displays the current Wi-Fi status (on or off).wifion→ Turns Wi-Fi on.wifioff→ Turns Wi-Fi off.-HH:MM-HH:MM→ Sets deep sleep. The first time is when it sleeps, the second is when it wakes up.logATNF→ Sends logs to the serial monitor if sleep mode is enabled.restart→ Restarts the device.check→ Checks the WemosOS version.printAll→ Displays all saved information.mode→ Changes the operating mode.font→ Changes the font style.theme→ Toggles between light and dark mode.light→ Turns the blue LED on or off.
- Open an Issue
- Learn more about the project
- Send an email to wemus.dev@gmail.com