The VIP (Vertically Integrated Projects) project Machine Learning in Motion consists of the development of motion analyzing software to help dance choreographers gather data on their rehearsals and performances, such as distance, speed, and position of the dancers. The project's goal is to provide open-source software for individuals to learn how technology may be utilized to assist artists from a variety of disciplines in using the physical world to impact the electrical and hardware realms. This data can be used in the dance making process and/or performances through the interaction of design elements such as lighting, sound, and projection. The backend implementation tested for the motion tracking of multiple figures uses Pose Net and Move Net and TensorFlow. In the Front-End, the web app flow and UI has been conceptualized and is under development. The final web app flow and UI is going to be intuitional and user-friendly so that individuals who are not familiar with technology can easily navigate throughout the application.
- Import p5
- Import ML5 version (0.12.2)
- Javascript
- HTML
- CSS
Tested on Window and Mac
1) Downloading Visual Studio Code (VS code) for Window system and Mac Os system through the link: https://code.visualstudio.com/Download
For the Window system:
- Click on the link above and select the VS code for the Window system as the symbol on the left in the picture below:
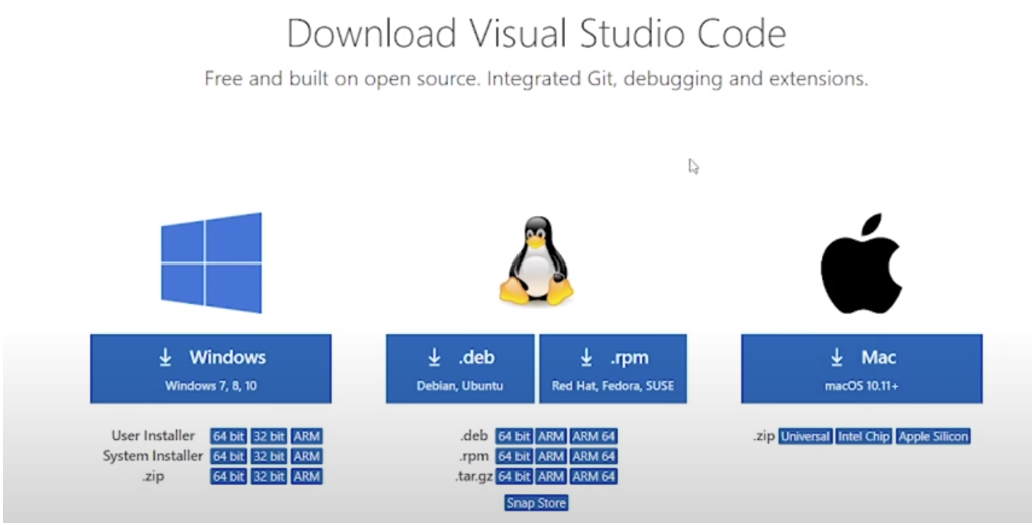
- After the Vs code file is downloaded, open the VS code file, the screen would be appeared as the picture below, the click on “I agree the agreement” and click on “Next.”
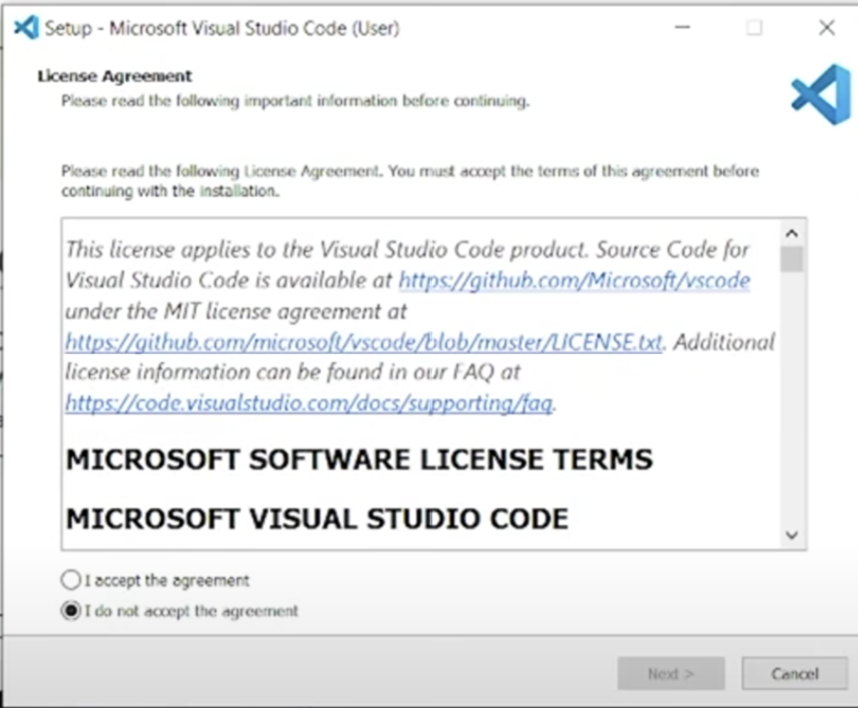
- Then click on “Next” to past “Select Desination Location” and “Started New Folder” until you are in the “Select Additional Tasks” then click the box following boxes that is under the “Additional icons” Section as the picture below:
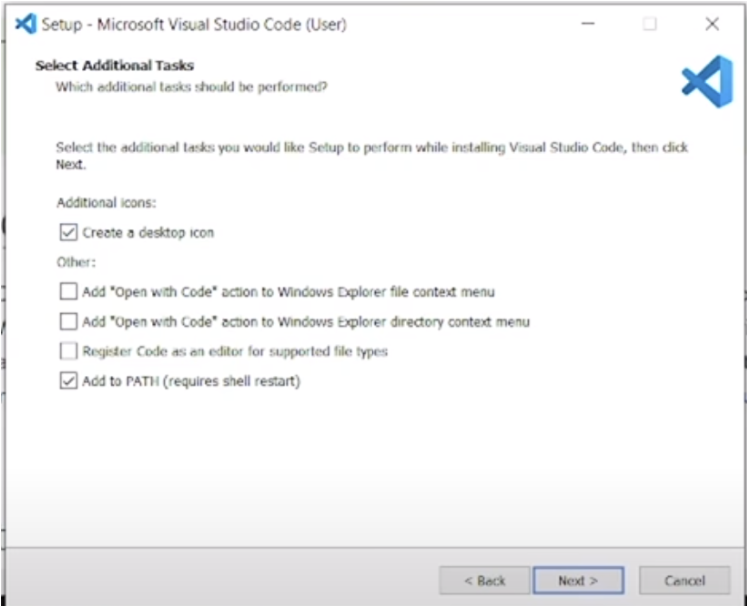
- Click on “Next” then downloading the VS code is finished.
For Mac OS systems:
- Downloading the VS code then open the VS code file then you will be under this picture below then click “Open” and you are set in downloading VS code for Mac OS system:
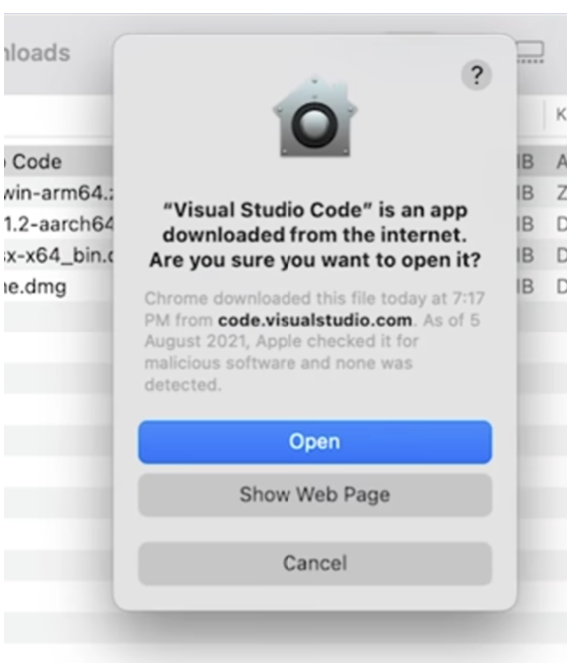
- Further guidelines of downloading VS code will be through this YouTube tutorial link: https://www.youtube.com/watch?v=bN6DE-4uFNo.
2) Download Git, which is an open-source version control system which will allow you to run the code on your own machine.
The instructions to setup Git on your VSCode will be though this link. https://www.geeksforgeeks.org/how-to-install-git-in-vs-code/
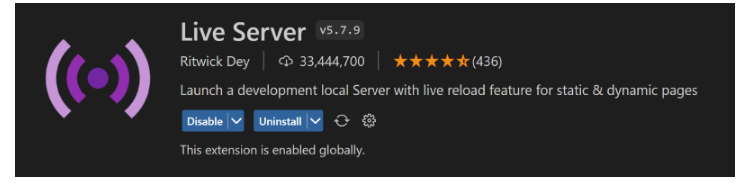
- First go to the extensions tab on the left-hand side of VSCode and then search “Live Server.” Install the application that has a purple logo and is by the publisher Ritwick Dey. This is shown below.
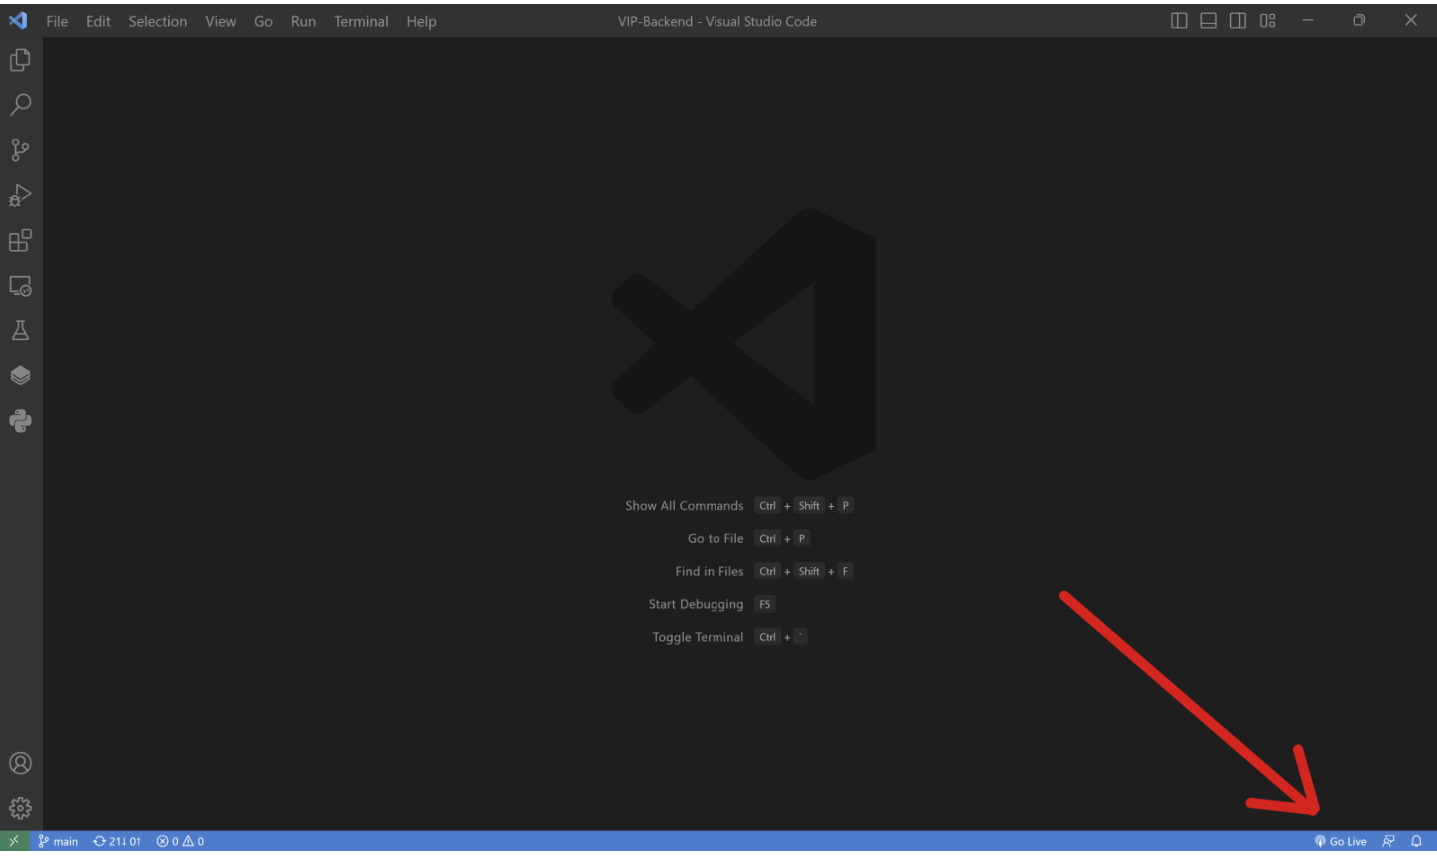
- After the download has completed there should be a “Go Live” button on the bottom right side of the VSCode as shown below.
-
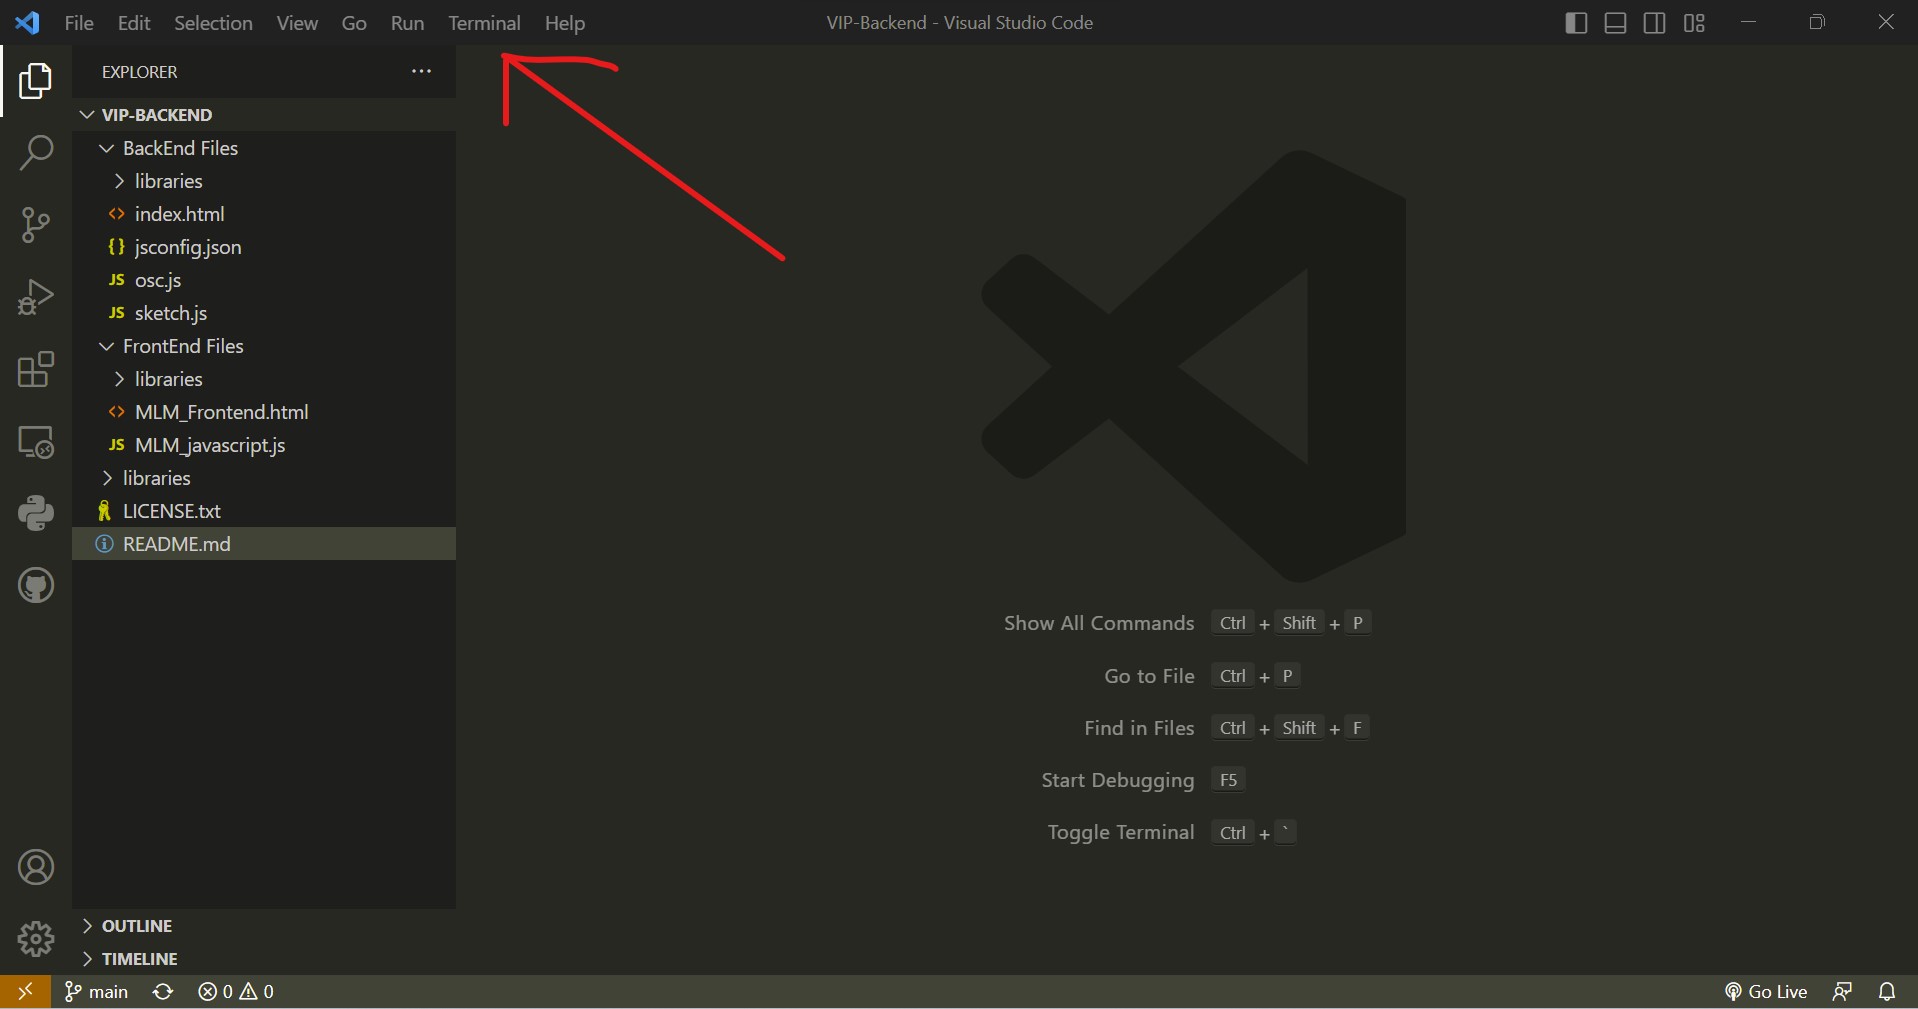
Now you need to use git to “clone over the repository” into your machine. This will finally allow you see transfer all the code onto your computer. To do this you need to create a terminal in VSCode and type in “git clone” and then url of the repository. To get the url of the repository you can click on the green code button, then under local and HTTPS there should be a url that you can copy.
-
Now create a new terminal.
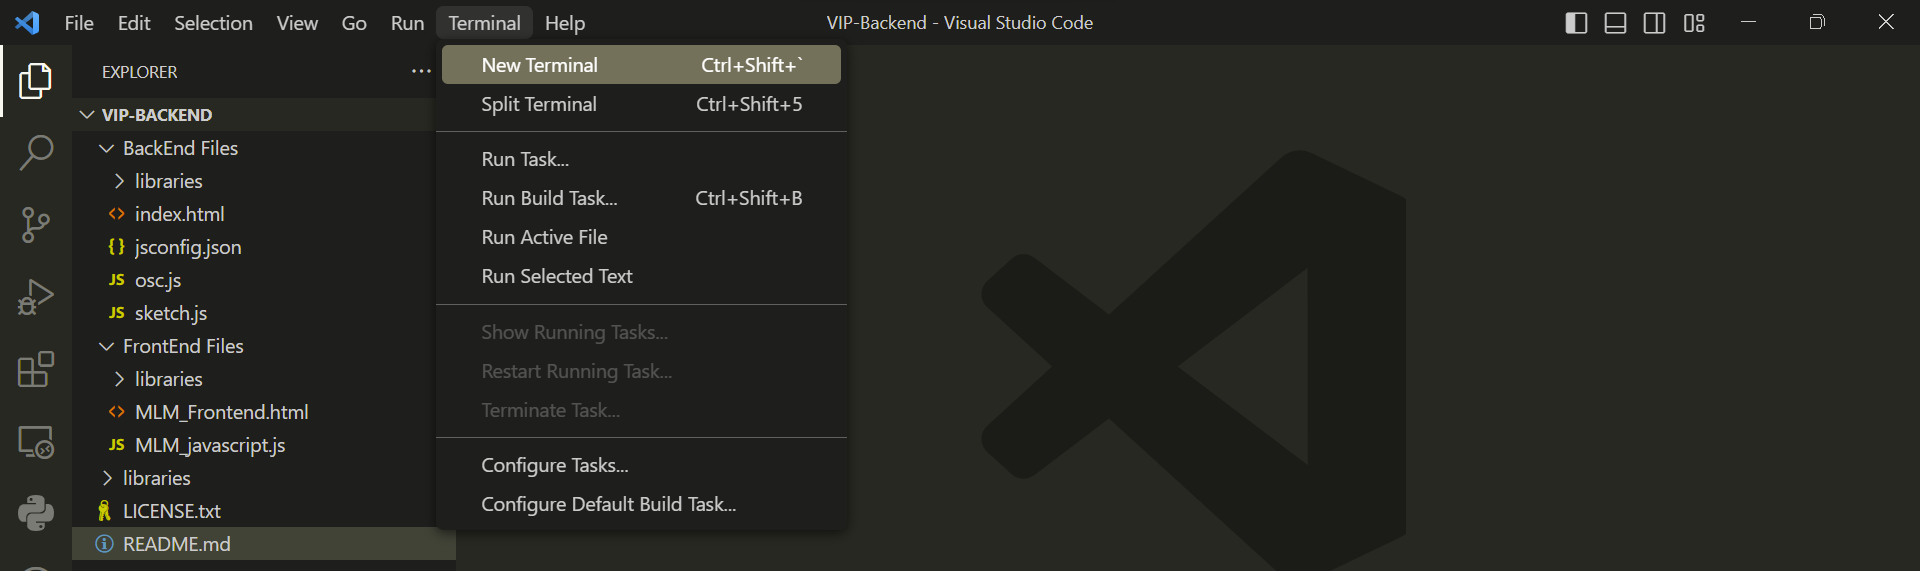
- It should look something like this in the terminal.

- Now you should be able to finally run the current version of the program by opening the “MLM_Frontend.html” file and clicking the “Go Live” button on the bottom left.
-
Description: The html and javascript files work together to create an interactive webpage where the user can choose what distinct joints will be selected on each pose all while displaying a video that is be taken by the camera.
-
Input: These files take in the camera visual and then display it.
-
Output: These files will output the user input of the chosen joints to the backend files, so that they can filter the data to only the chosen joints. Thus, allowing the light fixture to only display on the chosen body parts.
-
Environments: Works in Windows and Linux
-
Description: The function sets up the canvas to access the webcam, then access the Pose net function from the library ml5 to operate the Pose net model
-
Input: This function takes no input
-
Output: This function will operate the Pose net model, which will detect of object that consists of the pose, skeleton, key points of joints, confidence key point and the coordinate in x and y of each key point
-
Description: The function accesses the pose and skeleton of an object and gain the pose and skeleton key point into the variable
-
Input: This function takes object/ person
-
Output: This function gives out the pose and skeleton part of a person
-
Description: The purpose of this function is indicating whether the model is ready to load
-
Input: This function takes no input
-
Output: This function indicates either the model is ready or not
-
Description: The function will access the pose and skeleton of an object to label the joint of an object and connect joints together with the skeleton. The function also estimates the distance between camera and the object with the coordinates x and y of the key points
-
Input: The function will access the pose, object label, and skeleton of an object
-
Output: The function will label the joint and draw lines that connect each joints of an object and will estimate the distance between camera and the object. Also, draws the box around only on object labeled as person.
-
Description: I need to update the object coordinates in every frame to keep track of the same object label for each object. The previous frame is a reference frame, which is compared to the current frame to find the Euclidean distance.
-
Input: object’s [x, y, w, h, unique_id]
-
Output: Stable object labeling on each person throughout the video
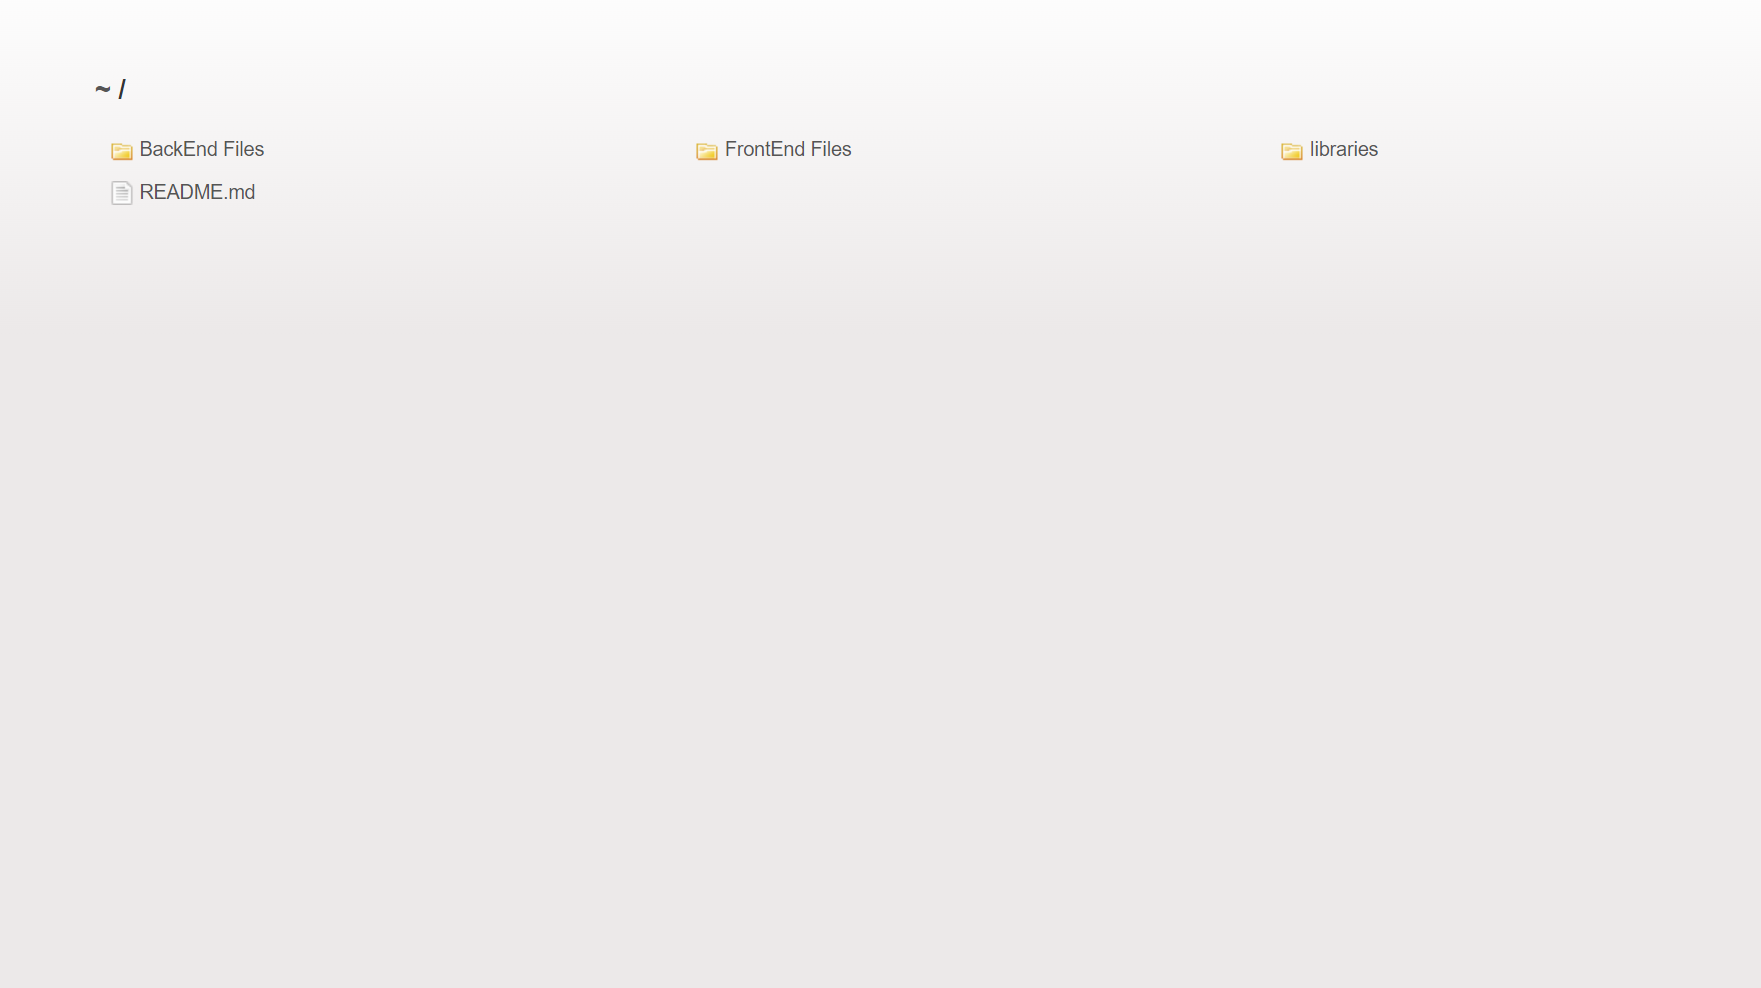
- 1) In the VS code, after open the file, click “Go Live” on the right bottom of the VS code such that, It pops up a local website as the picture below
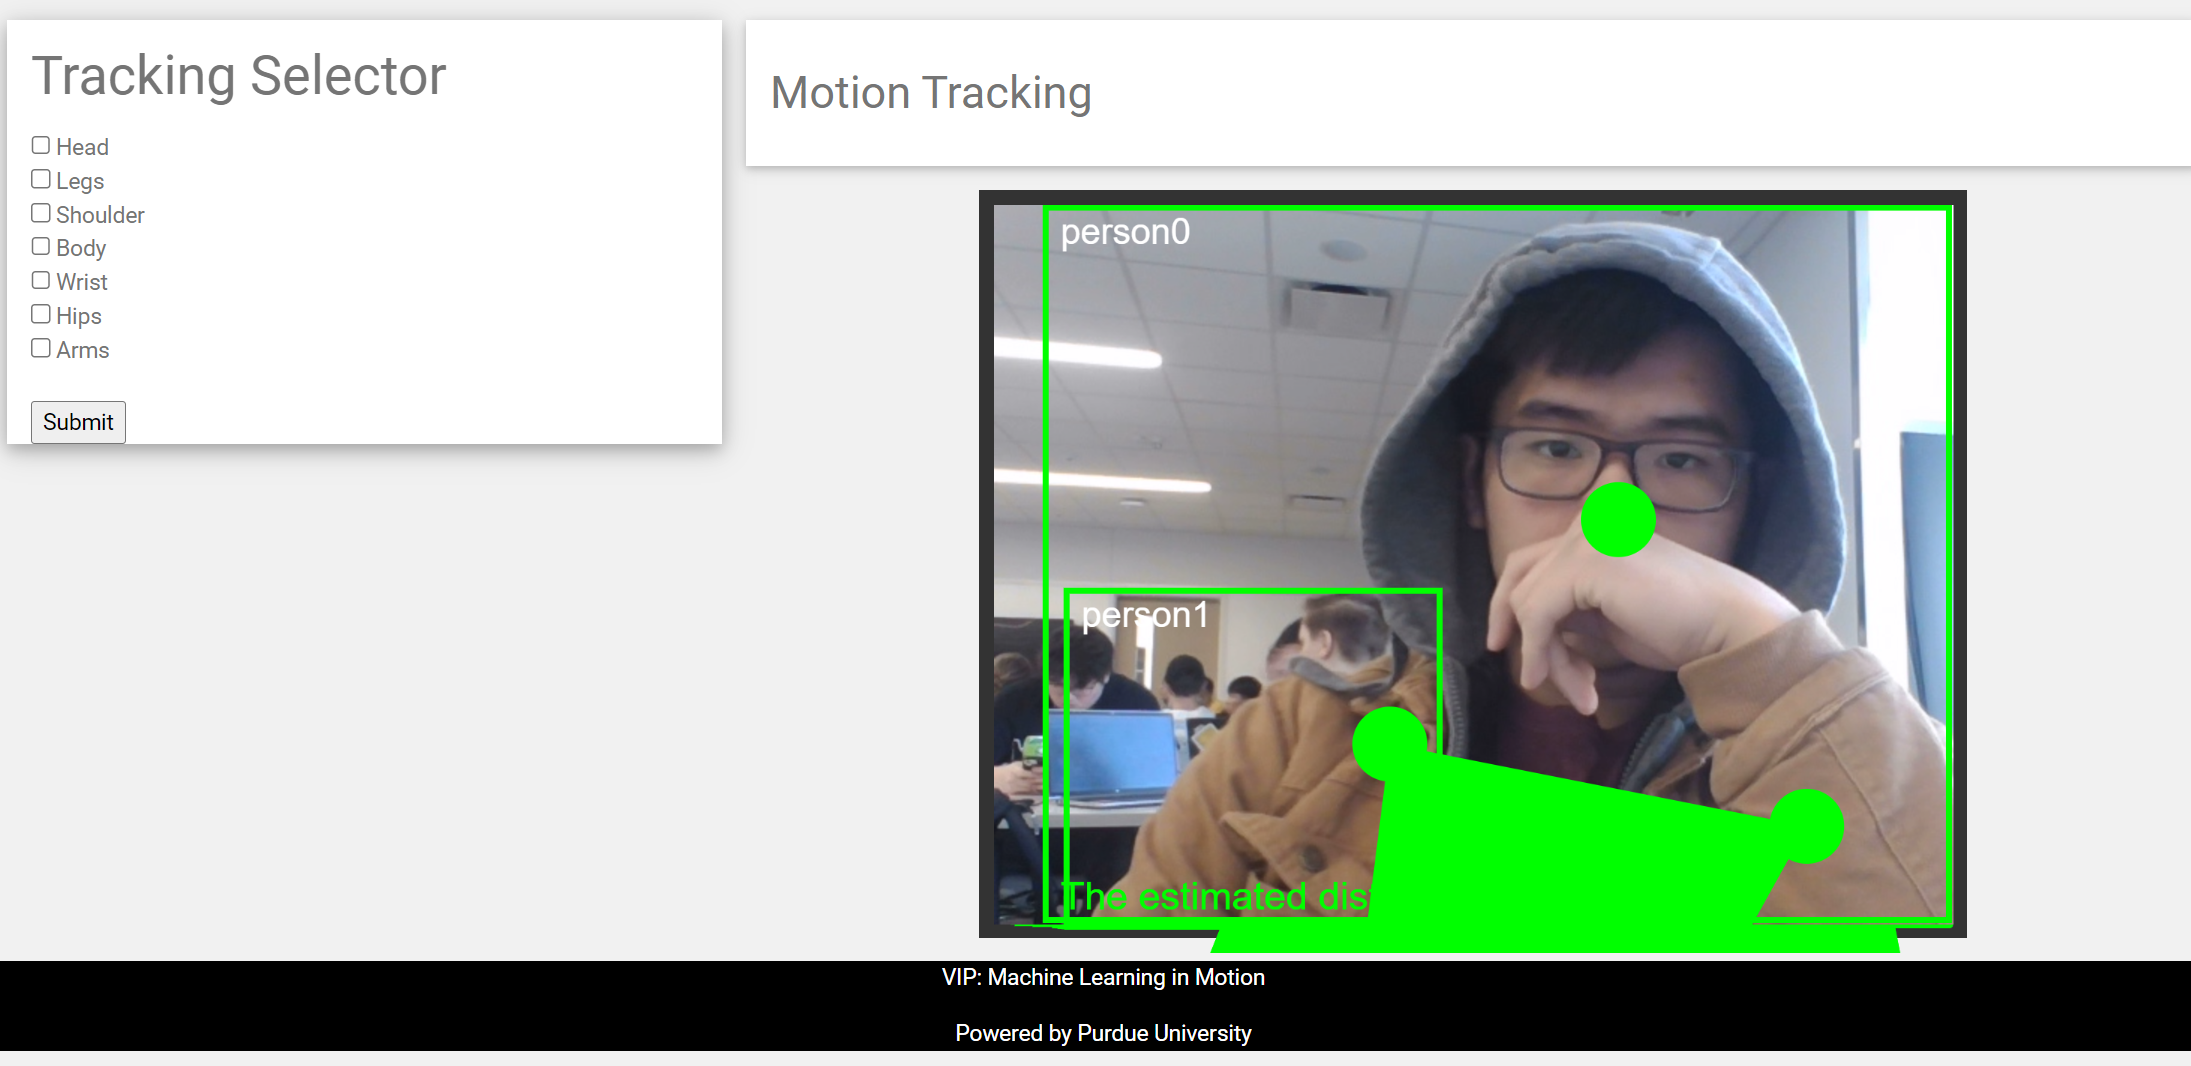
- 2) Then click on the “FrontEnd Files” section and click on “MLM_Frontend.html, then the website will appear as the picture below:
-
Tracking Selector section: * The section has (Head, Legs, Shoulder, Body, Wrist, Hips, Arms) that you can choose for the model focus on to detect that particular of the object by changing the color from green to pink.
-
Canvas section: * The model detects people as objects but focuses on one individual and labels them as “person 0”, then the model labels and creates pose on a person and detects the distance between the camera and the object.