This document is intended to showcase the current design status of the project via the figma UI mockup and workflows.
Only the principal workflows are included, but if you feel like a use-case isn't being covered either here or in the figma file, please file an issue with the design issue label attached.
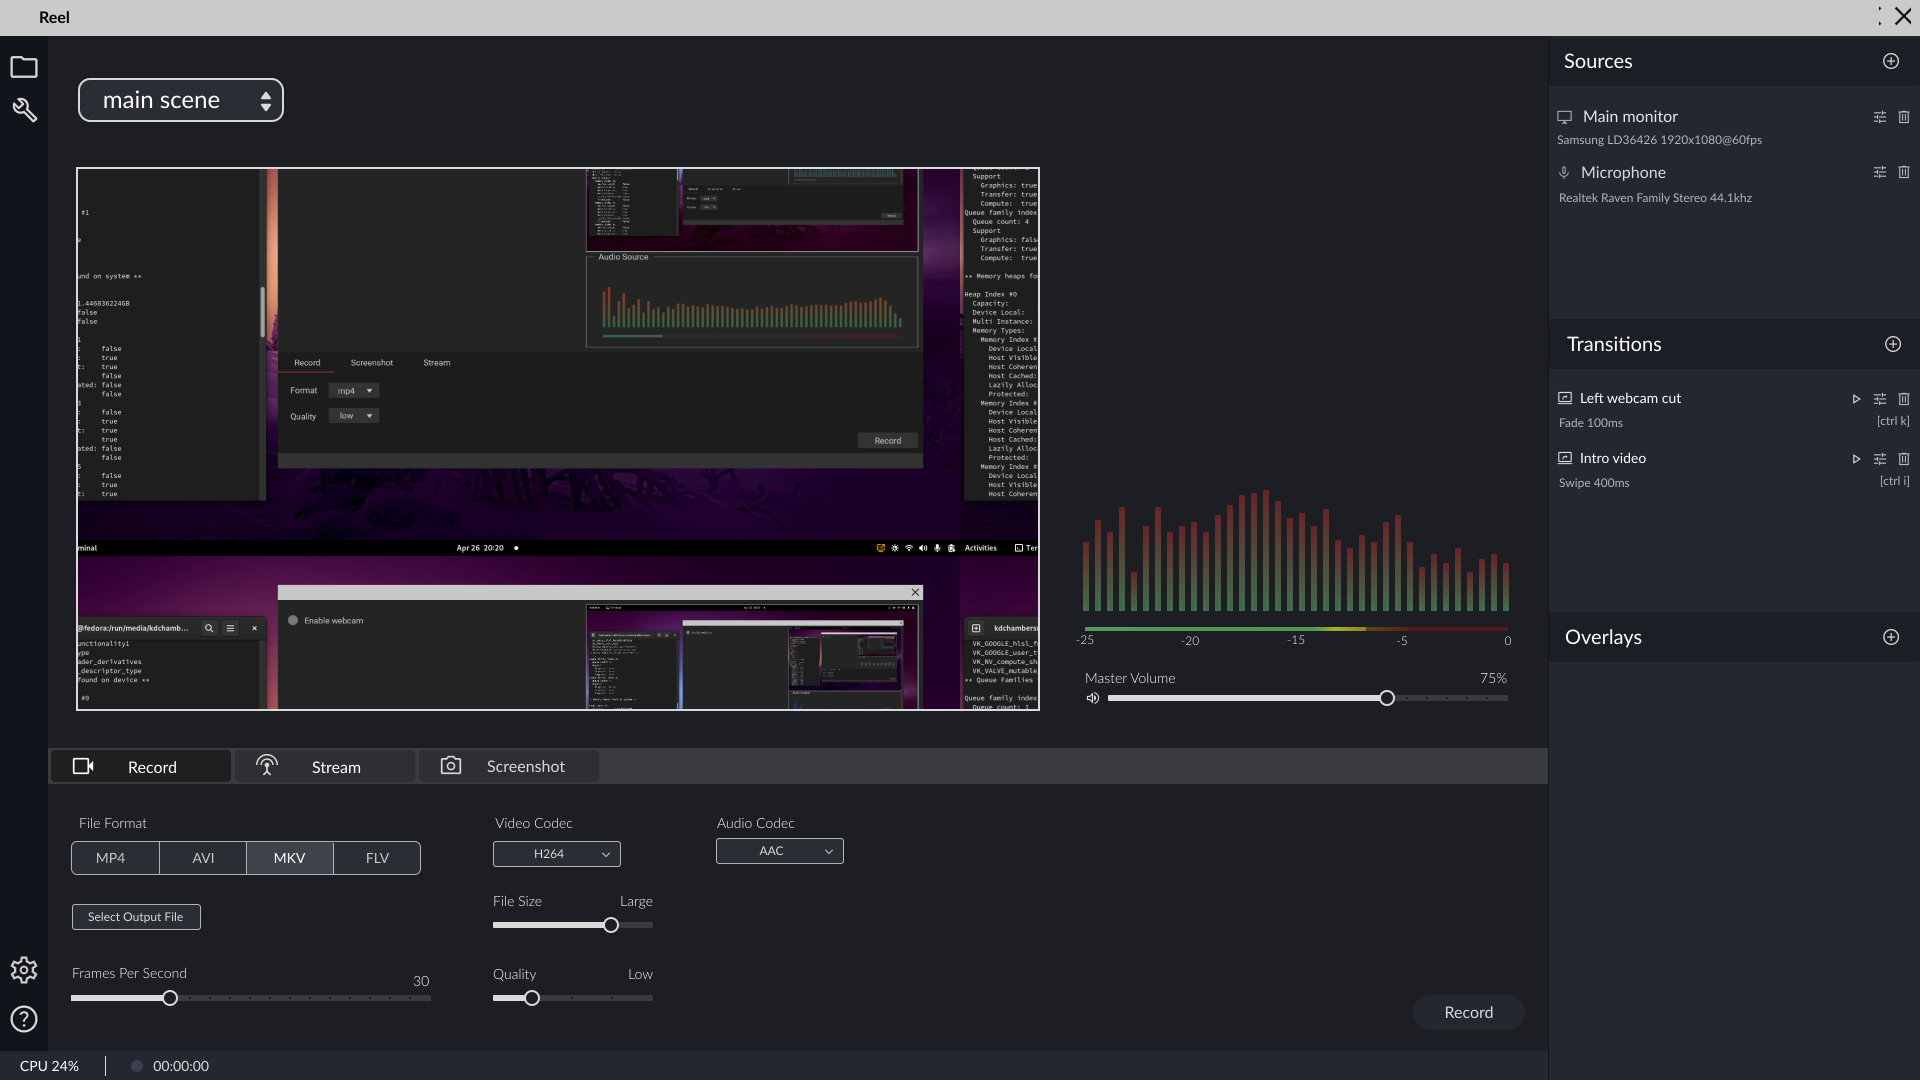
- Click the Add icon under Sources
Source type selector appears - Select "Video"
Pipewire desktop selector appears - Select Window or Desktop source to add
Pipewire desktop selector closes - Apply desired settings to source
- Click Add
Add sources dialog closes
The source is listed in Sources sections with provided label - Repeat for other sources that you wish to add (Microphone, Desktop audio loopback, etc)
- Click the Add icon next to the Scene Selector
Create scene dialog opens - Type in the name of the Scene and click Add
Create scene dialog closes
Scene Selector displays name of Scene - Add desired sources as specified above
- Click on the Record tab
- Specify desired settings for the recording
- Click the Record button
Video recording begins Record button text changes to Stop
NOTE: Global hotkeys are implemented at the compositor level. If your compositor supports them, you will need to set the same shortcut there. Otherwise this will only work when Reel is in focus
- Add 2 Scenes as shown above
- Use the Scene Selector to select scene #1
- Click the Add button under Transitions
Add transition dialog appears - Specify desired properties and set Destination Scene to scene #2
- Click the Keyboard Shortcut button
Pending keypress dialog appears - Press the desired key shortcut (E.g Ctrl + t)
Pending keypress dialog closes
Keyboard shortcut button shows Ctrl + t - Click the Apply button
Add transition dialog closes - Select Scene #2
- Add a transition to this scene in the same manner, setting Destination Scene to be scene #1
- Press the desired key shortcut (E.g Ctrl + p)
- Select the scene that you want to start the recording with using the Scene Selector
- Select Record tab
- Click the Record button
Video recording begins - Use set shortcut keys to switch between scenes
- Setup 1 or more scenes
- Click the File icon from the icons bar
File Dialog appears - Click Export Scene Collection button
XDG file chooser popup appears - Use File Chooser popup to select output file location
XDG file chooser popup closes UI indicates when file have been saved successfully - Close Reel
- Open Reel Reel opens to an empty scene collection
- Click the File icon from the icons bar
File Dialog appears - Click Import Scene Collection button
XDG file chooser popup appears - Select previously saved scene collection file
XDG file chooser popup closes
All scenes from previous session are loaded
- Setup a scene
- Click Add button for Overlays
Add overlay popup appears - Select Video Source
XDG file chooser opens - Navigate and select video file to use as intro
XDG file chooser closes - Select Play on start checkbox
- Click Add button
Add overlay popup closes
Overlay is listed in sidebar - Start recording with scene that has the overlay that was created
Video starts recording
Video intro starts playing
When video intro is finished, the overlay is deactivated and the scene is visible as normal
- Q: How to position, scale, etc visual sources?
A: Same as OBS, either click on the source in the preview, or in the sources side panel and move / scale it.
TODO:
- Add mockup for adding a non-pipewire source
In this case Reel will have to list all available sources - Add workflows for taking screenshots
- Add workflows for streaming