VSCode is a code editor that comes with many helpful features to streamline your development process. It also comes with an integrated terminal, debugging capabilities, and a very helpful built-in source control UI.
-
Vist VSCode to download VSCode.
-
Launch the installer and follow the onscreen prompts. Be sure to install VSCode in the Applications folder.
-
When you reach the section for
Additional tasks, make sure every box is checked. -
Click install and continue to follow and onscreen prompts.
-
Verify that Visual Studio Code is in your Applications folder. You can verify in two ways:
- Either find the icon in the Applications folder
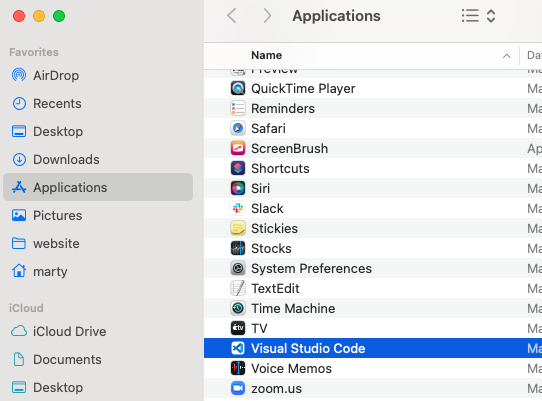
- Or inspect the location by right-clicking (or control clicking) the Visual Studio Code icon in your system tray. Then select "Show in Finder"
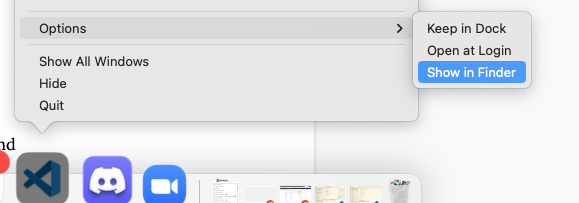
- If it's not in the Applications folder, find where your VSCode icon is located and move it into the Applications folder.
- Note
Macusers have an additional step to setting up. You must first setup the 'code' command, then you can run this command to validate that you have successfully setupVisual Code Studio.
code --version
The exact numbers will probably be different, but as long as you're getting numbers, you can count this as a success!
