Here we will deploy a slightly more complex scenario. We will deploy a (very) simple web application with a load balancer in front of it.
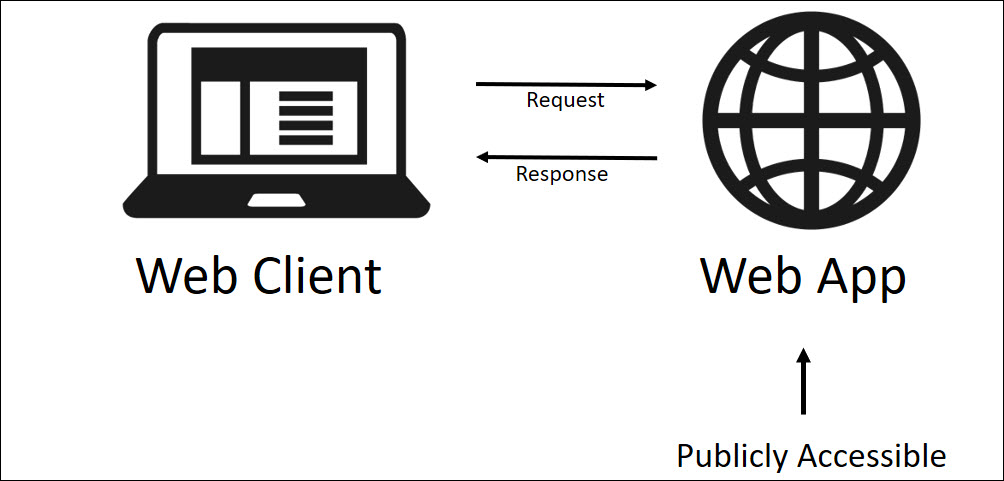
As you can see from the image above, we have a simple web app that is publicly accessible. The picture does not depict it, but the web app will be sitting behind a load balancer.
The web app in our case will be a very simple node app that simply exposes the host name. This will be helpful in illustrating that it is being load balanced. What will make this scenario a bit more complex is that we will not be using a pre-created docker image. We will create it. We will be performing the following functions:
- Download the code by cloning this repo
- Create the docker image
- Run the container locally in docker (optional)
- Push the image to docker hub
- Deploy the container into our DC/OS cluster
- Deploy marathon-lb into our DC/OS cluster
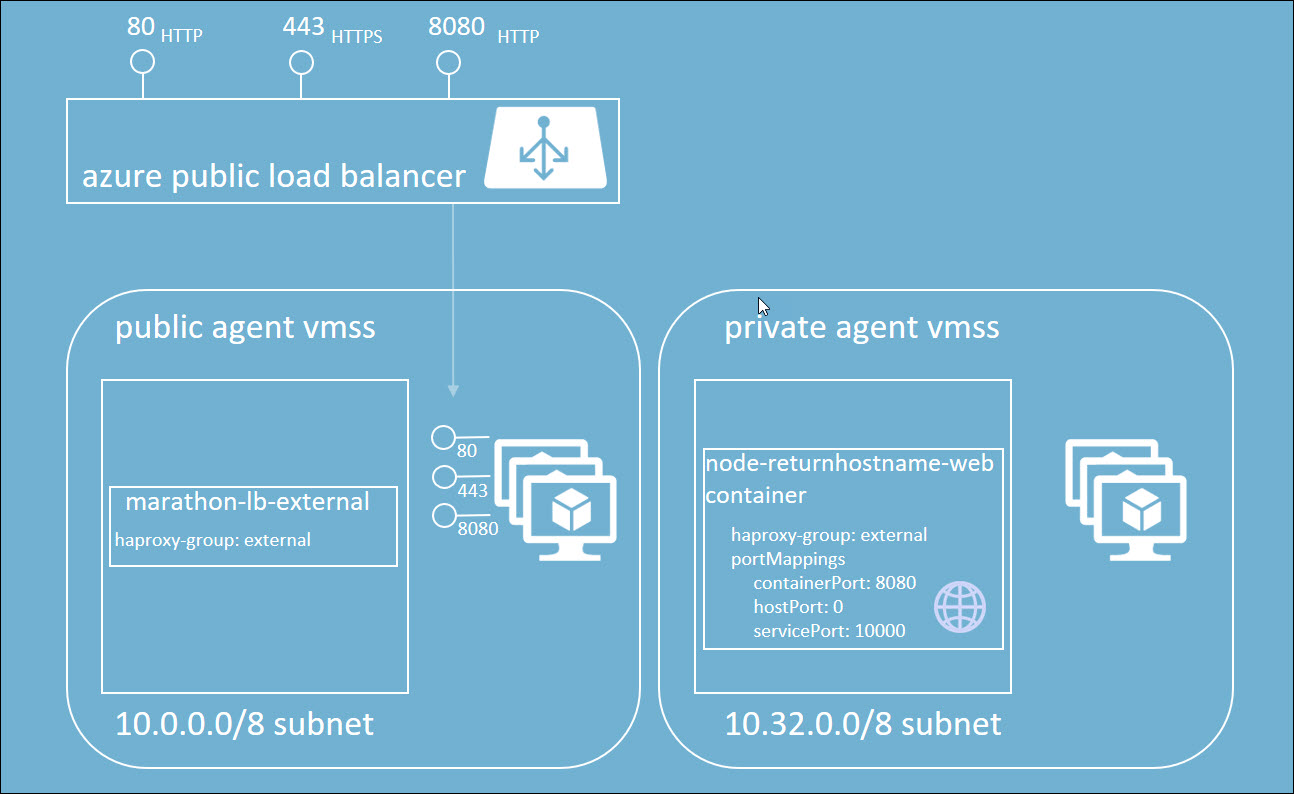
As described in the DC/OS Architecture section, the node application will be deployed to the private agent pool. We will deploy Marathon-lb to the public agent pool to both expose the web app to the outside world, as well as load balance it. We will discuss the particulars as we proceed.
Before we move on, though, we should understand why we are using marathon-lb and not simply using an Azure Load Balancer. The answer lies in the portability of the solution. If we expose our services using a vendor-specific load balancer, we could not easily move this workload. However, if we use a software load balancer that we can deploy in our cluster, we can easily move this workload anywhere.
I should mention that the code you see below borrowed heavily from Jim Spring: https://github.com/jmspring/weave-on-mesos. I simply stripped it down to the bare minimum I needed to illustrate a load balanced web app. Thanks Jim!
Below, I will briefly discuss the code you will need for dockerizing the node app. You can find the code here. It is likely the best option for you to simply clone this repo.
'use strict';

var os = require('os');

const express = require('express');

// Constants
const PORT = 8080;

// App
const app = express();
app.get('/', function (req, res) {

   var hostname = os.hostname();

   res.send('hostname: ' + hostname);
});

app.listen(PORT);
console.log('Running on http://localhost:' + PORT);
As you can see, this is a very simple node app that returns the host name.
{
  "name": "node_returnhostname_web",
  "version": "1.0.0",
  "description": "Returns the IP address",
  "author": "Rob Bagby <rob@robbagby.com>",
  "main": "server.js",
  "scripts": {
    "start": "node server.js"
  },
  "dependencies": {
    "express": "^4.13.3"
  }
}
This is the node package file that defines the app and the entrypoint.
FROM node:boron

# Create app directory
RUN mkdir -p /usr/src/app
WORKDIR /usr/src/app

# Install app dependencies
COPY package.json /usr/src/app/
RUN npm install

# Bundle app source
COPY . /usr/src/app

EXPOSE 8080

CMD [ "npm", "start" ]
Perform the following steps to build the Docker image:
- Open a cmd prompt (assuming you are running on Windows and have Docker for Windows installed)
- Change to the directory containing the Dockerfile
- Run the following command (please replace the yourgitusername token with your git username):
docker build -t <yourgitusername>/node-returnhostname-web .
For me it looks like this:
docker build -t rbagby/node-returnhostname-web .
4. Run the following command to see the built docker image
docker images
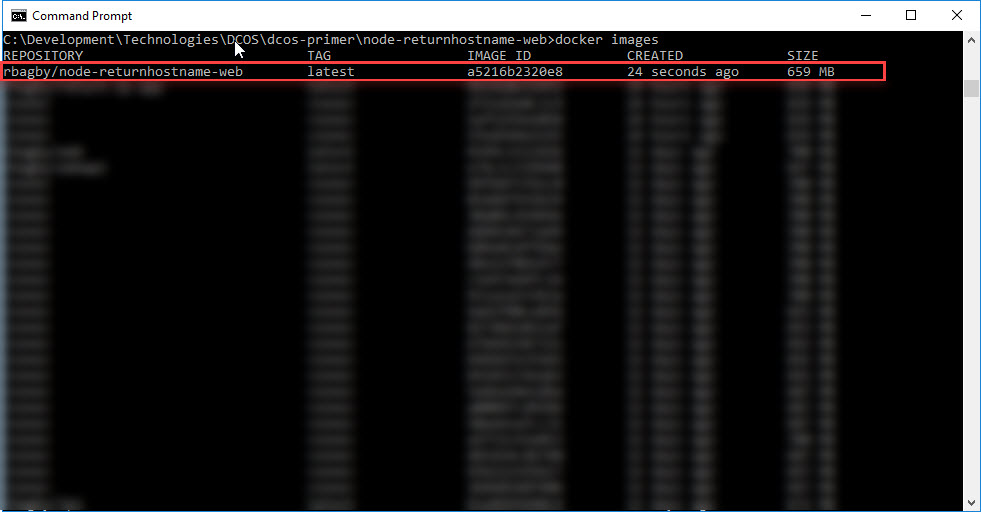
Again, assuming you are running Docker for Windows, you can run the container locally with the following command (please replace the yourgitusername token with your git username):
docker run -d -p 8095:8080 --name test <yourgitusername>/node-returnhostname-web
For me it looks like this:
docker run -d -p 8095:8080 --name test rbagby/node-returnhostname-web
You can test it by opening a browser to http://localhost:8095. You should see something like this:
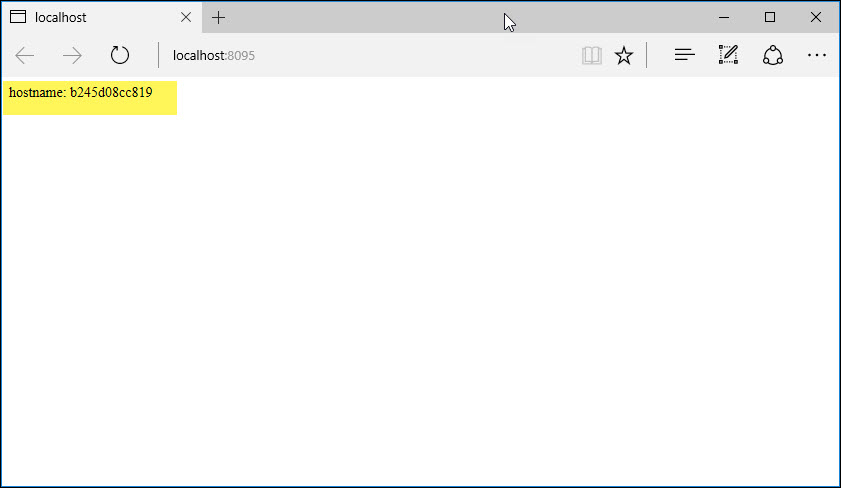
This section assumes that you have a Docker Hub account. If you do not, you can sign up for one. If you would prefer not to, you can always skip this section and use the image I pushed to my Docker Hub account.
Perform the following steps to push the image we created to Docker Hub:
- Open a command prompt
- Login to Docker Hub
docker login
3. Push your image (please replace the yourgitusername token with your git username):
docker push <yourgitusername>/node-returnhostname-web
For me it looks like this:
docker push rbagby/node-returnhostname-web
You should now see your image in Docker Hub:
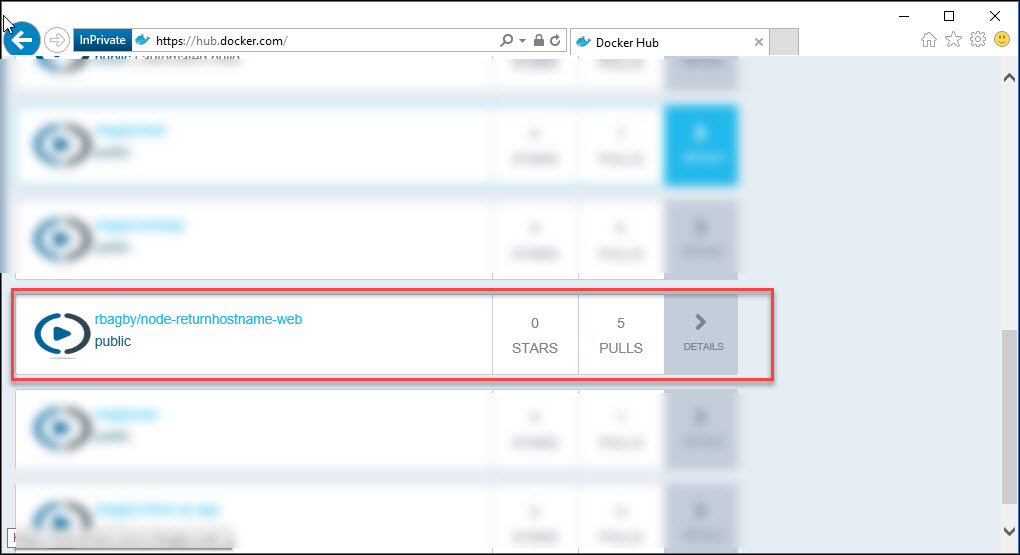
This section and the next assume that you have already opened an SSH tunnel to your master node
Remembering the topology, we want to deploy marathon-lb into the public agent pool. The easiest way to do this is to deploy it via the Universe. To deploy marathon-lb, perform the following steps:
- Open a browser to http://localhost:8080 (assuming you tunnelled to port 8080)
- Click on the 'Universe' tab on the left
- Scroll down to the marathon-lb package and click 'Install'
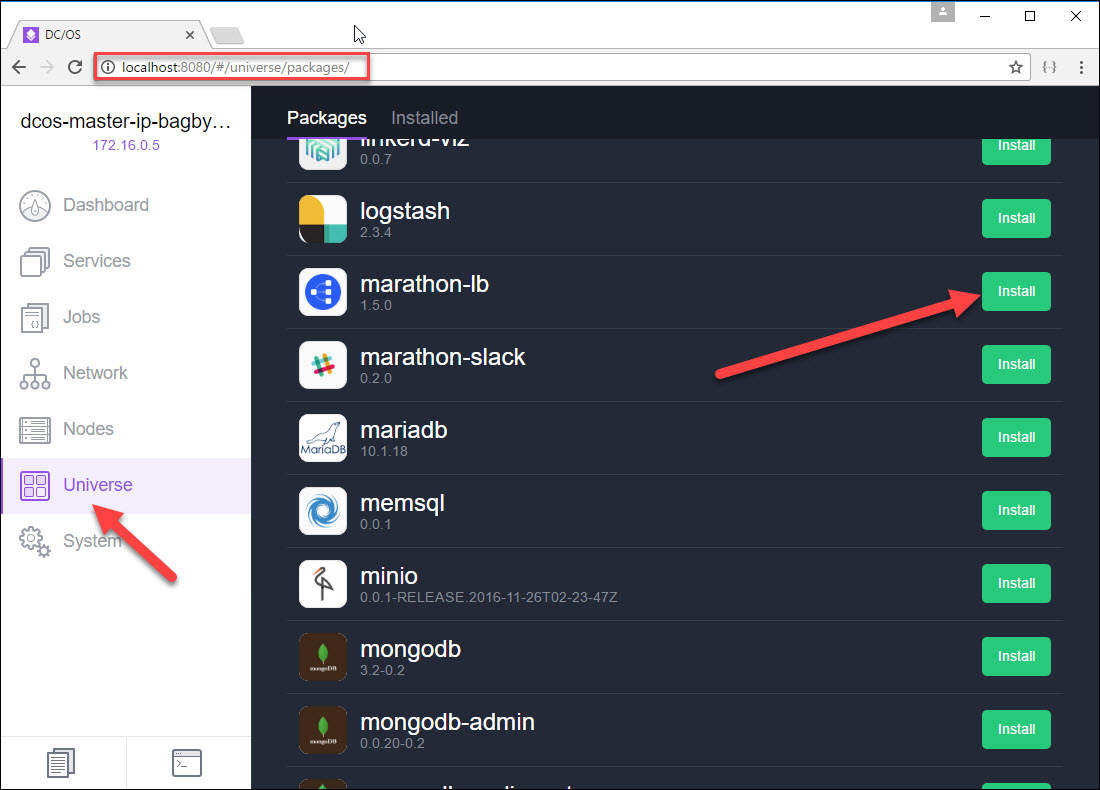
It is now deployed. Let's take a look at some of the interesting aspects of the deployment:
- Click on the 'Services' Tab in the DC/OS UI and click on the marathon-lb service.
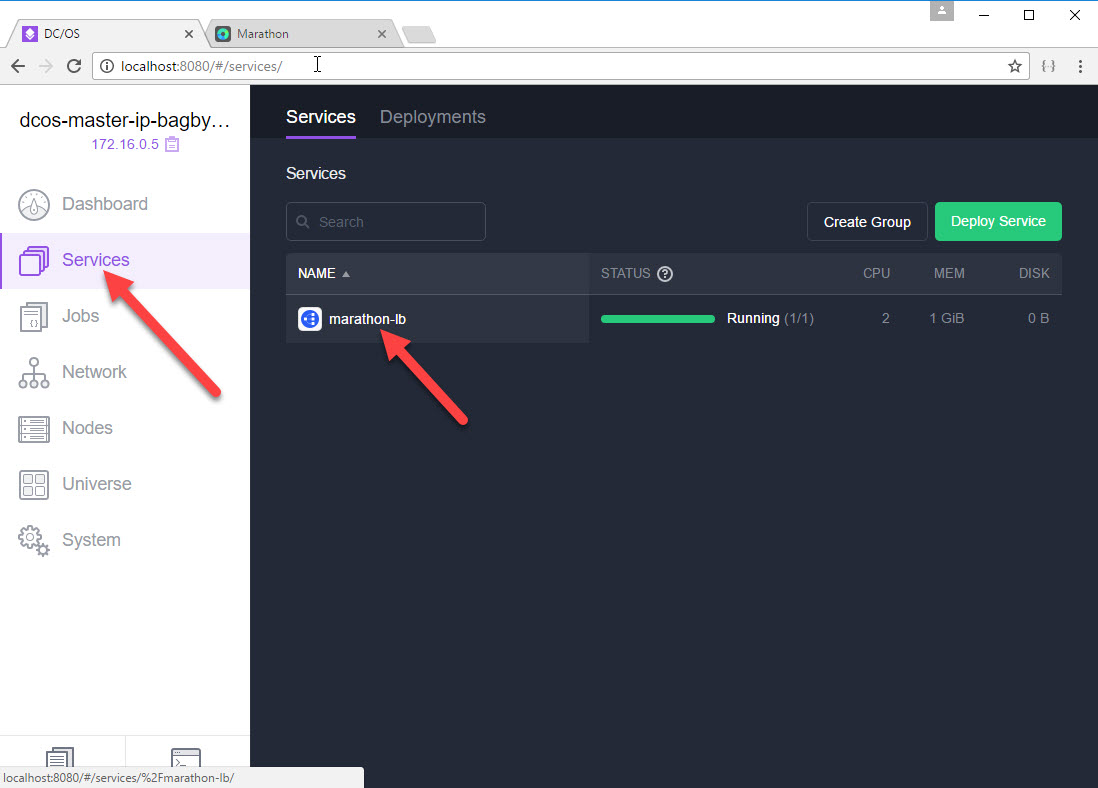
- Click on 'Edit' to bring up the config and click on 'JSON mode'
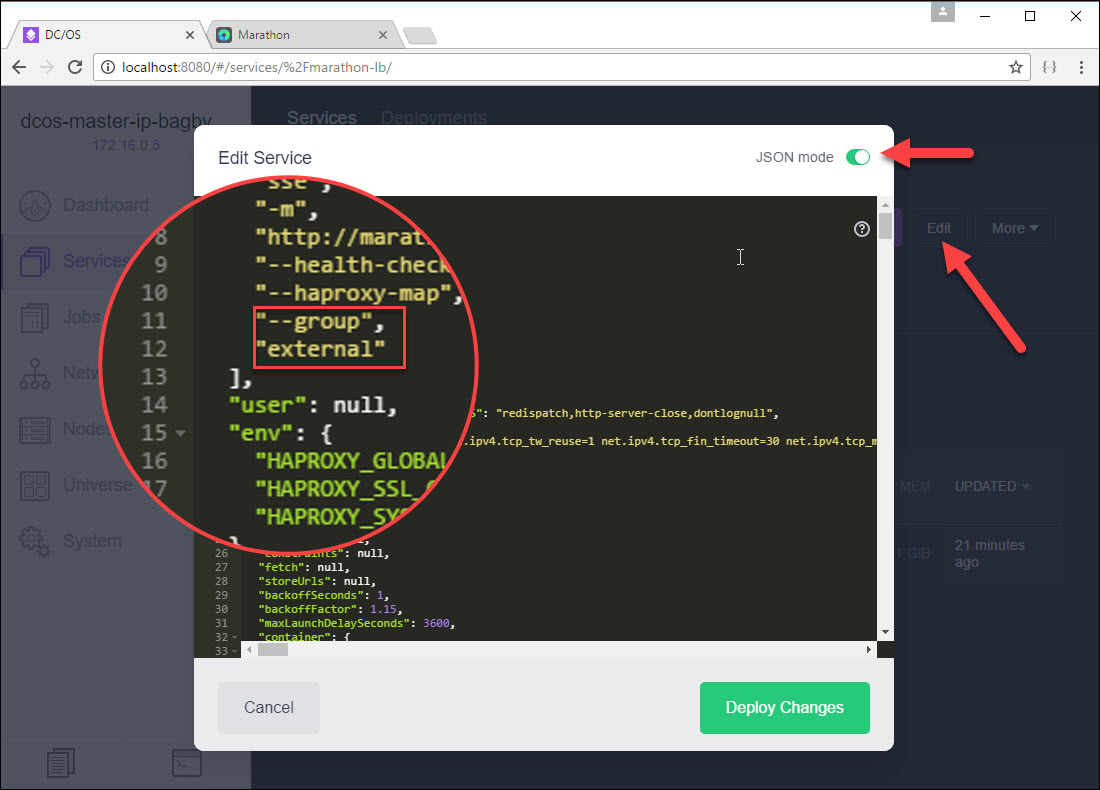
You will notice that the group is set to 'external'. This is important. This load balancer will only expose apps that have the app label of HAPROXY_GROUP with the same value. For example, when deploying a service, you will typically have a json file that represents the resource. In that file you can specify labels. As you can see below, a label with HAPROXY_GROUP set to external would be exposed by our load balancer. We will see the entire recource config for our node service shortly.

The next thing to notice is where the load balancer was deployed. Remembering back to the DC/OS Architecture, the public agent subnet is 10.0.0.0/8 and the private agent subnet is 10.32.0.0/8. We should expect that the load balancer will be deployed on a node in the public agent subnet.
- Open the DC/OS UI
- Click on the 'Nodes' tab. You should see something like below:
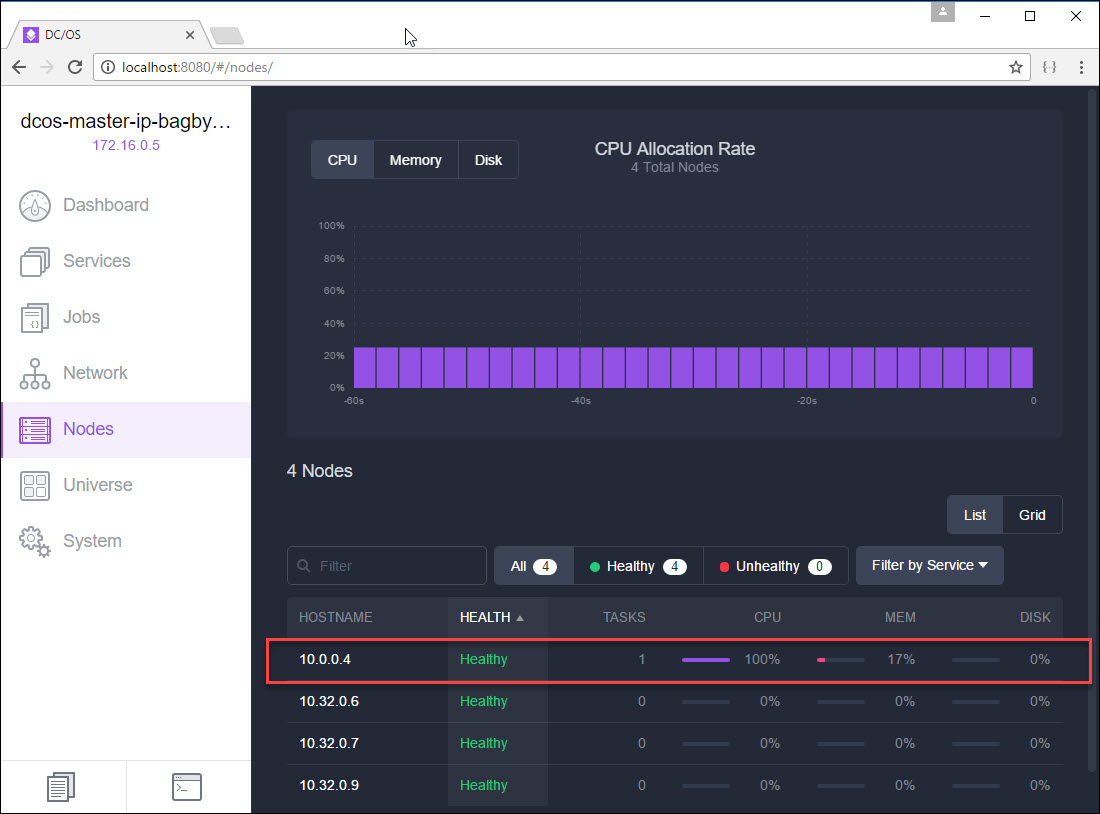
You should notice that the service is, in fact, running on a node in the public agent pool.
How did that happen. If you look at the 'Advanced Installation' of marathon-lb when deploying from the universe, you will see that the 'role' is set to 'slave_public'. This means that this package will only be deployed to nodes that have this role. In our DC/OS cluster, the nodes in the public agent pool have slave_public role.
Now we can deploy our web app. Essentially, we want to accomplish 3 things:
- We want to deploy our web app on a node in the private agent pool
- We want to expose our web app via the load balancer that has a group (HAPROXY_GROUP) of 'external'
- We want to virtual host for our web app to expose it over port 80 and 443
{
  "id": "node-returnhostname-web",
  "instances": 2,
  "cpus": 0.5,
  "mem": 512.0,
  "container": {
    "type": "DOCKER",
    "docker": {
      "image": "<yourgithubusername>/node-returnhostname-web",
	  "forcePullImage": true,
      "network": "BRIDGE",
      "portMappings": [
        { "containerPort": 8080, "hostPort": 0, "servicePort": 10000 }
      ]
    }
  },
  "healthChecks": [{
	  "protocol": "HTTP",
	  "path": "/",
	  "portIndex": 0,
	  "timeoutSeconds": 10,
	  "gracePeriodSeconds": 10,
	  "intervalSeconds": 2,
	  "maxConsecutiveFailures": 10
  }],
  "labels":{
	"HAPROXY_GROUP":"external",
	"HAPROXY_0_VHOST":"<the dns name for your public agent pool>",
	"HAPROXY_0_MODE":"http"
  }
}
The following are some important items to notice:
- The docker image is set to: <yourgithubusername>/node-returnhostname-web. This should match the image name of the image you pushed to Docker Hub earlier. You can use rbagby/node-returnhostname-web to use my image. You need to change this value
- The instances is set to 2. We will have 2 instances deployed.
- The HAPROXY_GROUP in labels is set to "external" this matches the group on our load balancer, so that LB will expose this service
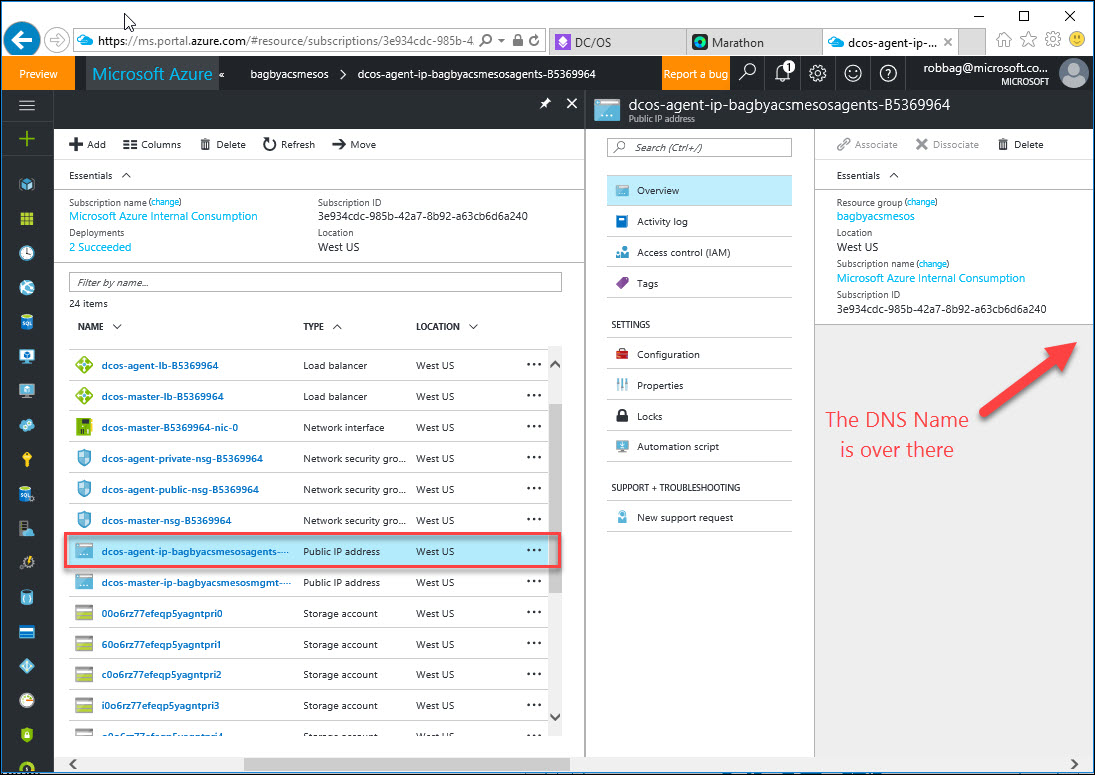
- The HAPROXY_0_VHOST should be set to the the dns name of the Public IP Address associated to the public agent pool load balancer. In my case, it is: bagbyacsmesosagents.westus.cloudapp.azure.com. You can find it in the Azure portal. Setting this will route traffic from that setting to our web app. You need to change this
- The container port is set to 8080 which is the port exposed in our container
- The service port is set to 10000. The service port is the port that exposes a service in marathon-lb. You will see more about service ports later when we deploy a web api along with a web app.
- The host port is set to 0. This allows marathon-lb to dynamically allocate a port on the host. This keeps us from running into port conflicts.
To deploy our app via the DC/OS CLI, perform the following steps:
- Open a command prompt
- Change directory to the marathon directory, assuming you have cloned this repository. On my machine, it is: C:\Development\Technologies\DCOS\dcos-primer\marathon
- Type the following command:
dcos marathon app add node-marathon.json
You should see something like the following:

- Open a browser to the dns name of the Public IP Address associated to the public agent pool load balancer. Again, in my case, it is: bagbyacsmesosagents.westus.cloudapp.azure.com.
- Take note of the hostname
- Refresh the web page (depending upon the browser, you may have to wait a short period of time before refreshing - chrome works best here)
- Take note of the hostname. It should be different.


Let's examine where our service was deployed. Again, given the DC/OS Architecture, we should expect that our service is deployed to nodes in the private agent subnet of 10.32.0.0/8.
- Open the DC/OS UI
- Click on the 'Nodes' tab. You should see something like below:
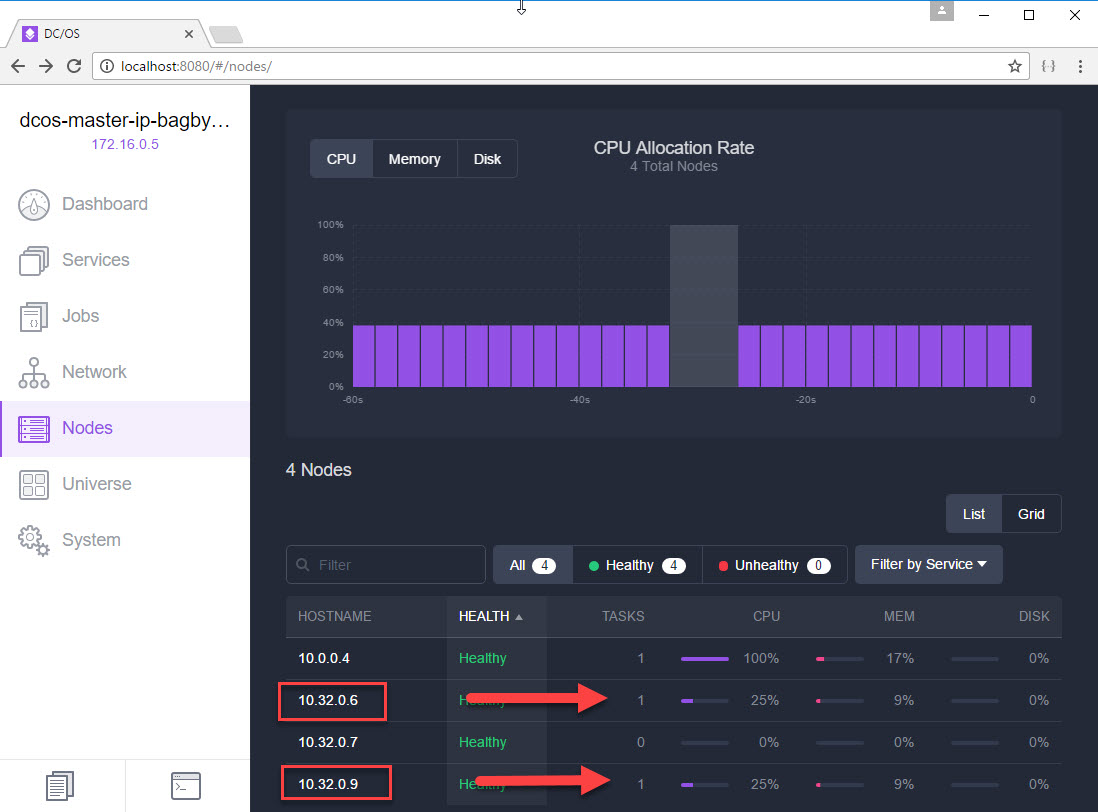
You should notice that nodes running in the private agent subnet are, in fact, running 2 instances of our service. You can click on the nodes and validate that they are running our service.
In this section, we have learned how to accomplish the following:
- Create a docker image
- Run a container locally in docker
- Push the image to Docker Hub
- Deploy an image from Docker Hub into our DC/OS Cluster
- Deploy marathon-lb into our cluster
In addition, you have learned quite a bit about how marathon-lb exposes services.