After unzipping the installer files to a folder, run setup.exe. The installer might be blocked by Windows Smartscreen. In this case click on "more info" and start the installer by clicking "run anyway".
Next you will be greeted by the welcome screen:
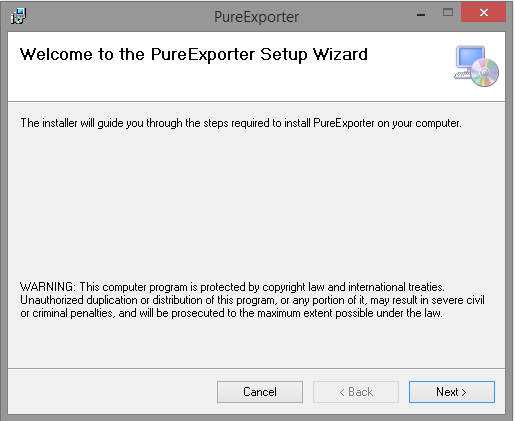
Click next to proceed.
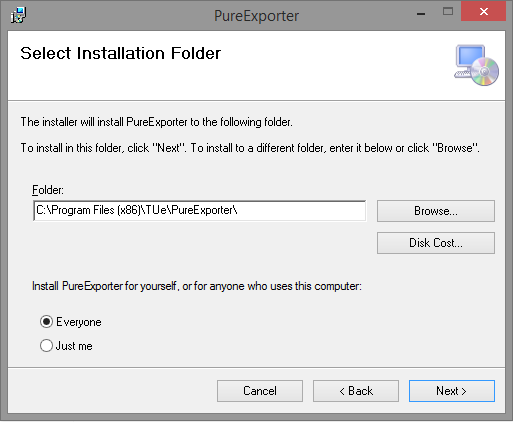
Select your installation folder.
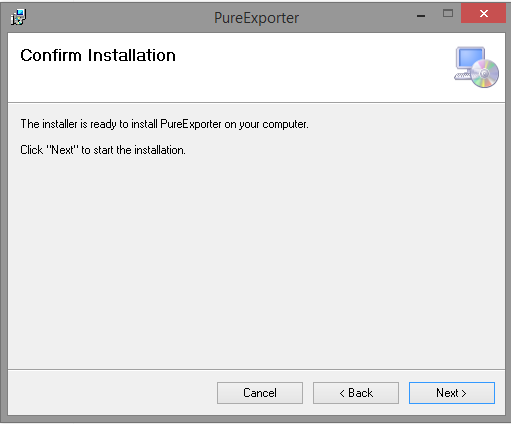
Confirm by clicking next.
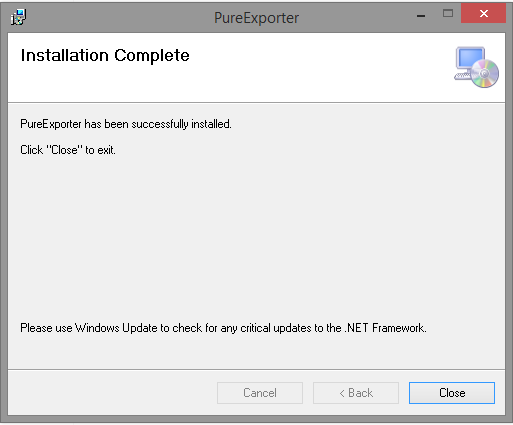
Click close to finish the setup.
Run the PureExporter from your installed location. When you run the application for the first time, the API connection needs to be setup:
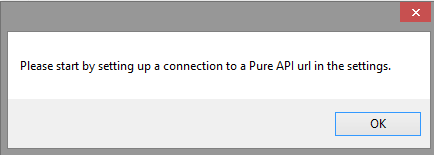
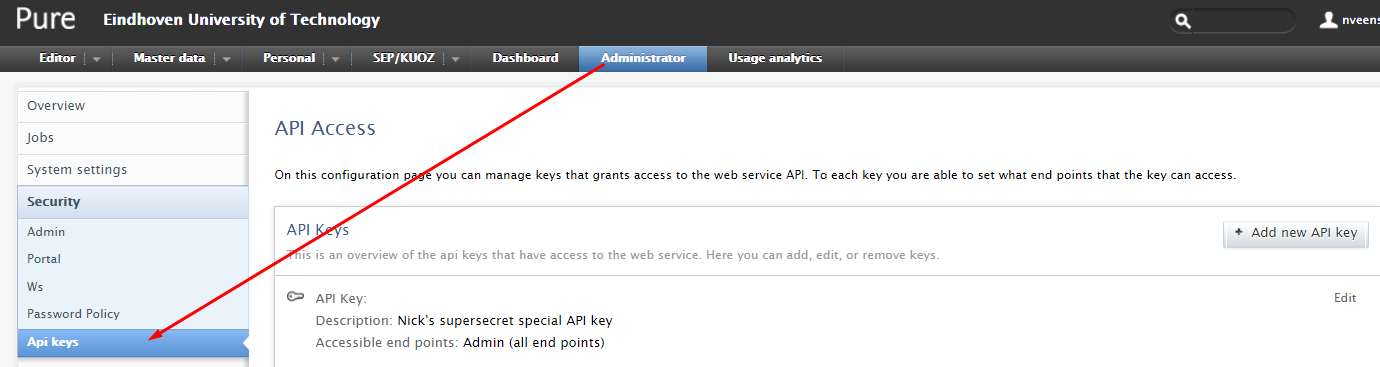
After clicking ok you will be taken to the setup tab. You will need an api key to retrieve data from the api. To do this, go into the admin tab of Pure and create an api key for the application. An all access admin key works best, but use at your own risk. The application cannot write any information into Pure, but an admin key gives the application access to confidential information.
Go back to the application. You should see the settings tab. On this tab enter the url to your new api. Make sure to use "https" and put a trailing slash at the end. Enter your current api version (if you dont know which one: type https://yoururltopure/ws in the browser and your current api version will be shown). Next enter the api key you created in the key field.
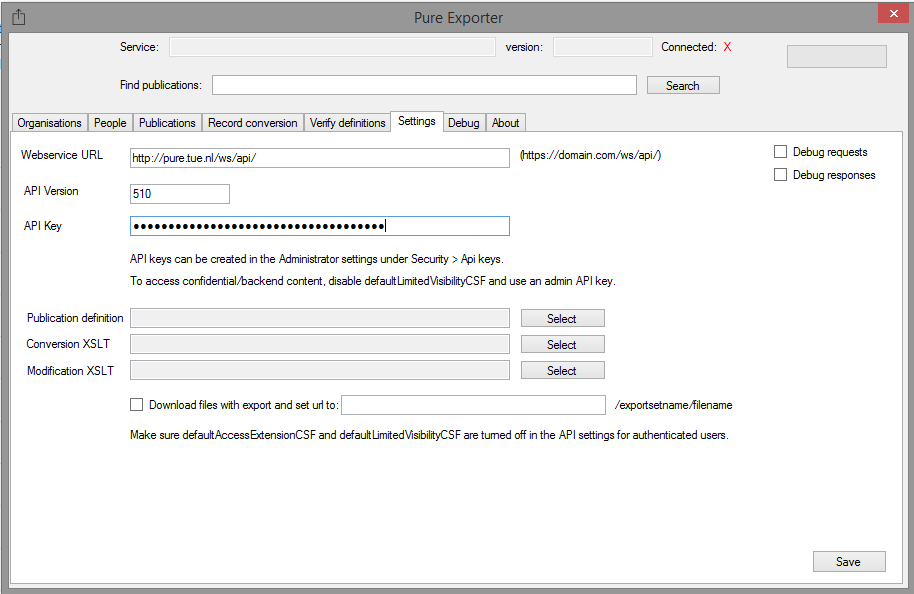
Click save and if the api setup is correct, the status bar at the top should say "connected":

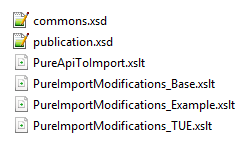
The application needs a few files to work with metadata and conversions. A subfolder of the application called "Conversion definitions" contains these files and a few examples:
Click on each "select" button and select the appropriate file for each setting.

For the publication definition select the publication.xsd file.
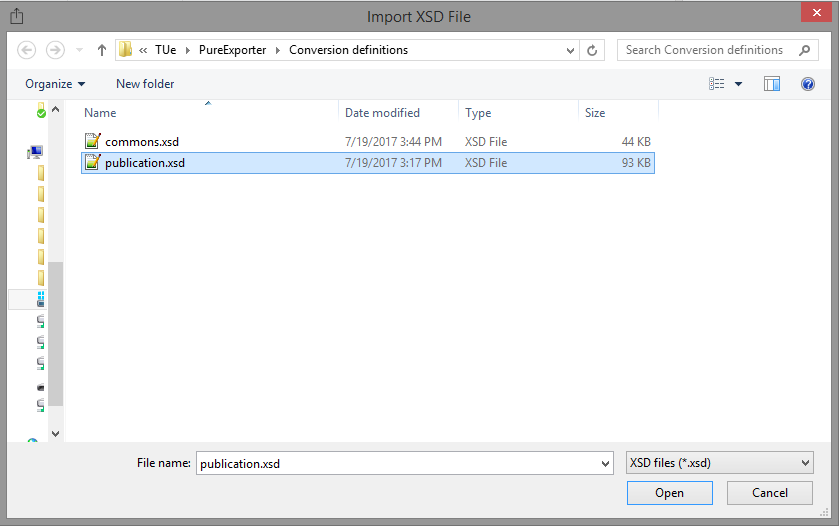
The conversion XSLT file is called PureApiToImport.xslt. For the modification XSLT select PureImportModifications_Base.xslt. (when clicking the "select" button the file dialog should open the conversion definitions folder and present the appropriate files.

The file settings should now show the same as in the screenshot above. You're now done setting up the app! Sorry it's a bit lengthy but these files are needed later for custom exports.
Please refer to the usage readme for further instructions.